This is actually quite a fast and simple process. The chocolate thins you produce are addictive! You’ll be converting bars of good-quality milk chocolate into slim, snappy and shiny treats to decorate your cakes. And even if they’re not perfect they’ll still be delicious.
Prepare a work surface with a plastic sheet (specially sold for food use or cut open a plastic folder), a metal spatula knife, a ruler, small sharp knife and the cutters you’ll be using to make shapes. Everything must be clean and dry.
Temper your chocolate (please go to my tempering chocolate – ice bath system page for instructions).
- 200-250g milk chocolate (good-quality like Lindt or Valrhona)
- Plastic sheet for this quantity: about 40cm x 30cm (16 inches x 12 inches)
- 2 Baking trays (about 40cm x 30cm each)
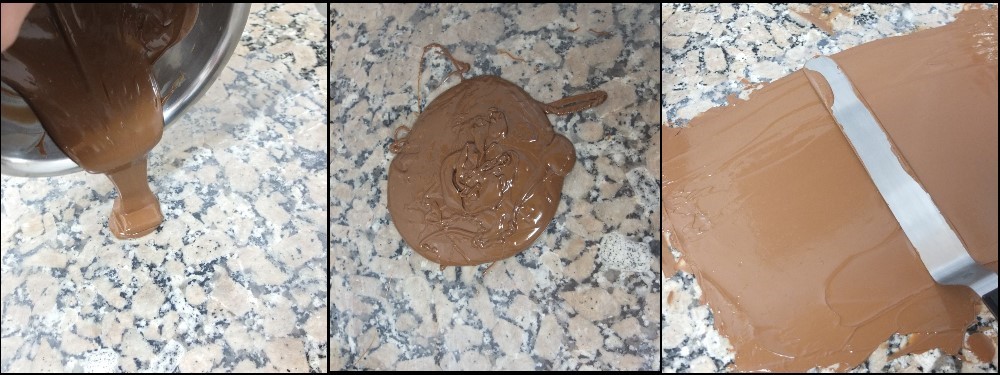
When your chocolate is tempered and at the correct temperature of 28-29°C/82.5-84°F use it immediately to make shapes.
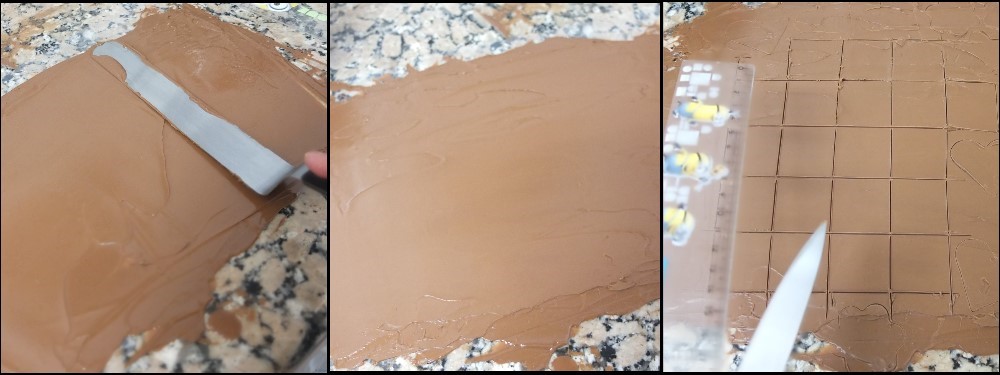
- Quickly pour onto the plastic sheet and start spreading to and fro (from left to right then back) with your metal spatula knife. Spread till thin and an even layer on the plastic.
- Keep spreading a few minutes until the chocolate begins to have a thicker texture, like custard but still smooth.

- Wait a few minutes or more until the chocolate starts to harden. When you touch it with your finger it won’t stick much. Immediately start cutting your sixteen squares, measuring with your ruler to make 4cm/1.5inch squares and first marking the measurements on the sides with your small sharp knife then cutting straight lines along your ruler. Make 2 or 3 extra squares in case some break.
- Now cut the shapes that will be on top of your cakes. They can be flowers, circles, hearts or more squares. Whatever you prefer. Either use cutters and press down or use your little knife to cut around shapes. You’ll need 16 but make 2 or 3 extra in case some break.
- Place your layer of cut chocolate on the plastic on top of a big baking tray (turned upside down). Then place a sheet of baking paper over the chocolate and cover with a big heavy baking tray. Place all this in the fridge. Chocolate usually curves a little as it cools so the baking trays make sure the chocolate cools nice and flat.

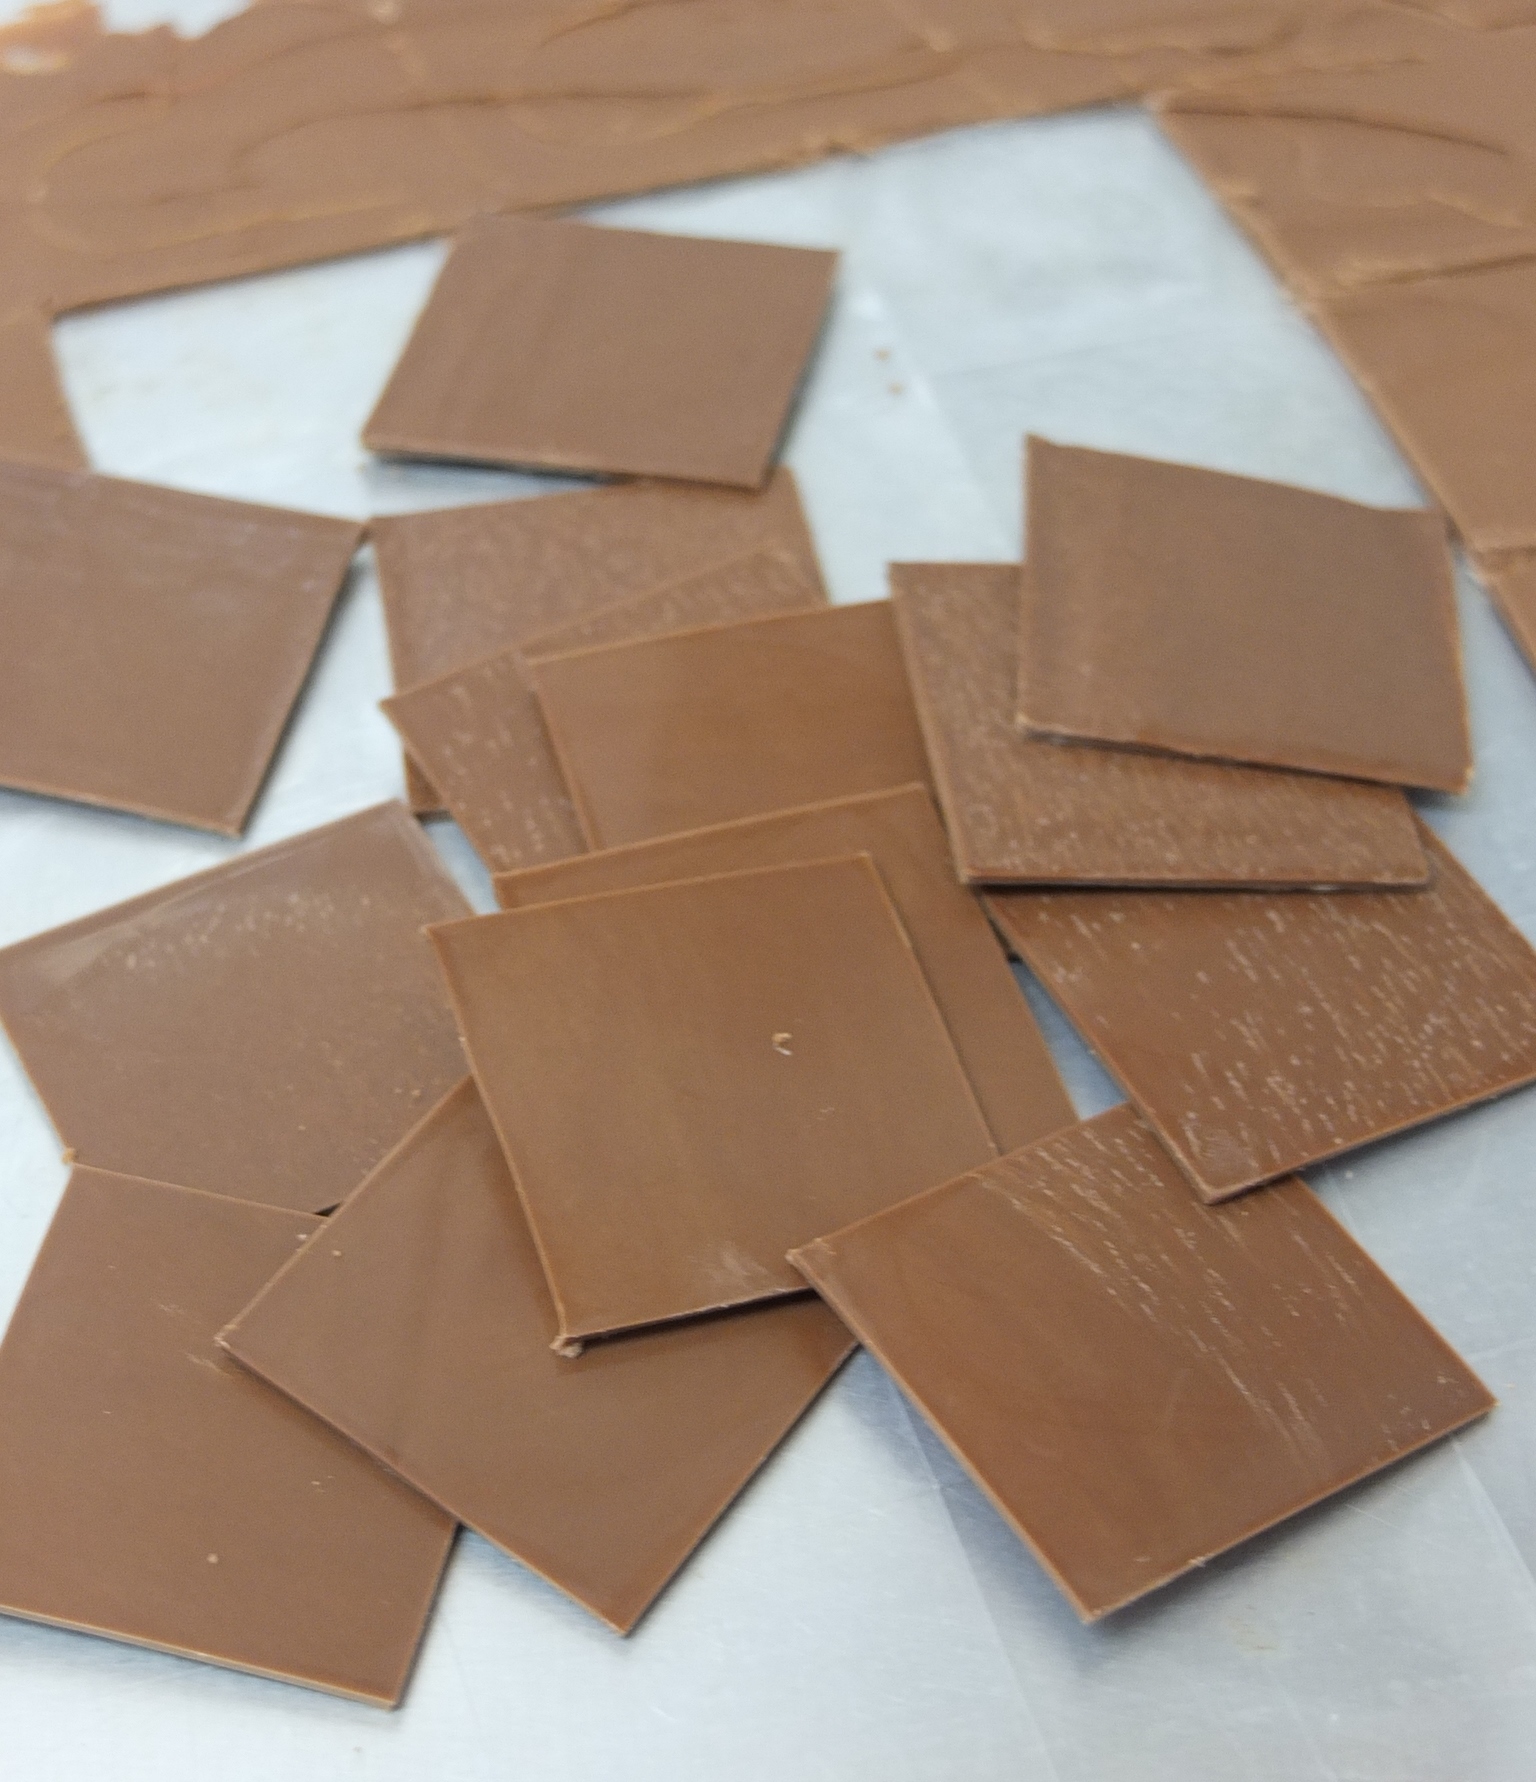
- Leave in the fridge at least 30-60 minutes to chill and set. Test a corner to see if it comes off the paper clean. If it does then carefully pull the thin chocolate shapes off the paper. Hold the shapes by the sides and not the middle, so you don’t put fingerprints on them. Store separated by baking paper in an airtight container in the fridge. If the chocolate has been tempered correctly the shapes will stay shiny and snappy. My shapes weren’t perfect but nice enough!
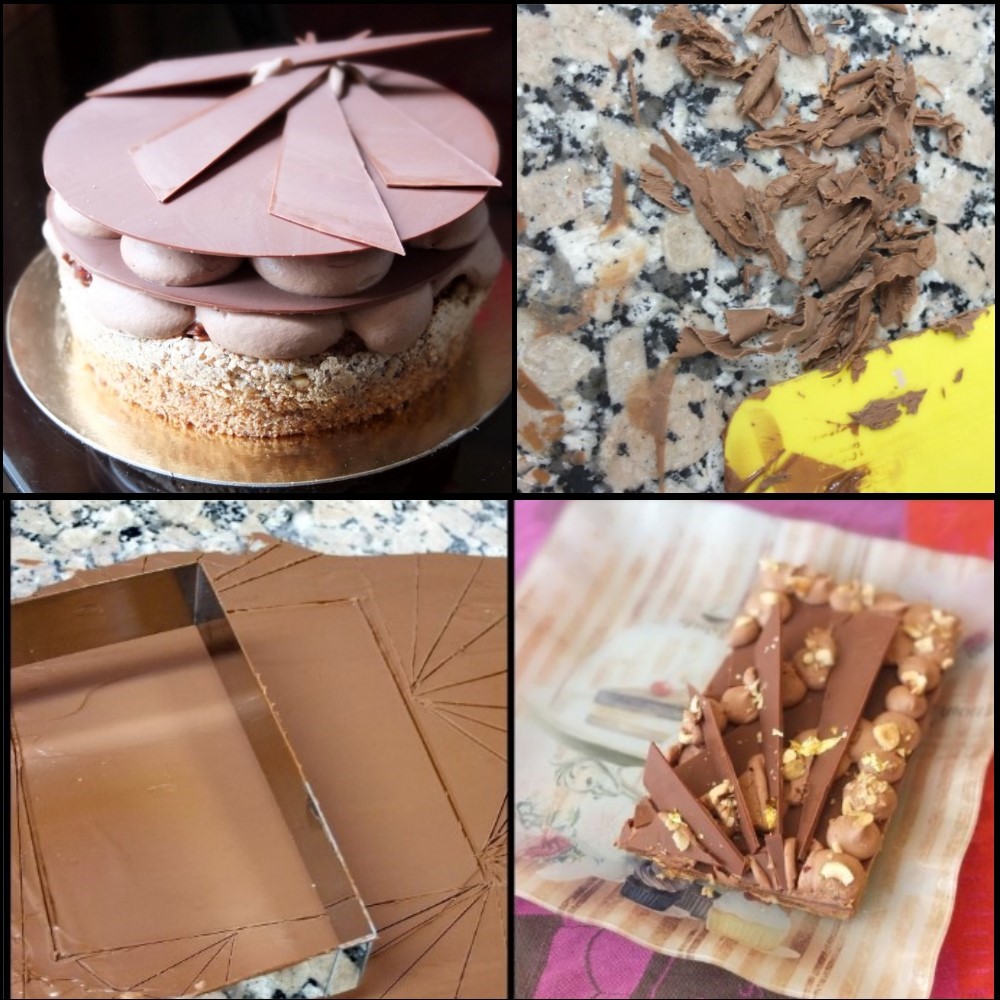
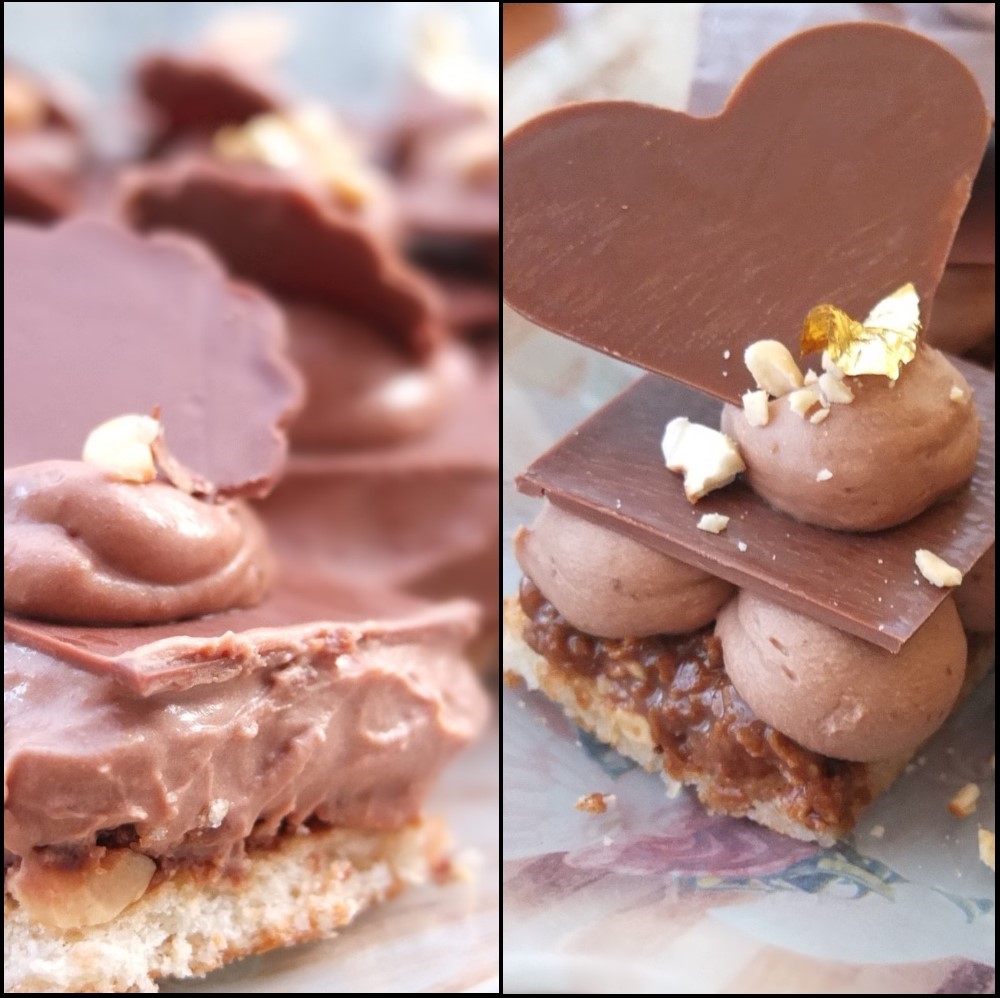
 Yummy decorative chocolate thins! 🙂


Used for some dreamy chocolate and hazelnut dacquoise mini cakes.
You can also make big circles or squares for your cakes, chocolate shards or use a scraper on the chocolate that’s gone over on the table to make shavings (copeaux).