
Making macaron shells is not difficult but as for most pâtisserie you should read all the instructions and tips beforehand, then be precise when measuring and making the macarons. There are just steps you need to follow, which will ensure you succeed first time. I did (which I considered a miracle!) thanks to both the background knowledge I gained from the Cordon Bleu and Christophe Felder’s clear instructions in his Pâtisserie book, on which I base this recipe.
Equipment
You’ll need a sugar thermometre, a heavy-based saucepan and a rotary handwhisk or electric whisk/standmixer. Or a strong arm. I’d also recommend digital weighing scales.
Ingredients
- 200g/1 and 2/3 cups ground almonds (or 210g to allow for residue you can’t sift)
- 200g/1 and 2/3 cups icing/confectioners’ sugar
- 75g egg whites (from about 2 medium-large eggs)
- 200g/1 cup granulated sugar
- 50g/3 (full) tablespoons water
- 75g egg whites (from about 2 medium-large eggs)
- Food colouring, preferably in powdered form. It is common for the macaron shell to have no extra flavouring added to it, just colouring powder to complement the flavoured filling. Though a quarter teaspoon of ground ginger whisked into the ground almonds does add a nice heat and flavour to the shells.
Preparation
Egg whites
Patissiers recommend keeping your separated egg whites in the fridge anything from 24 hours to 1 week before making macarons. The bowl should be covered with clingfilm and the top pierced with a sharp knife to make little holes in the plastic. You can use whites that you separate on the same day but I usually try to do it a day or two before, which works fine.
Baking sheets
Prepare your baking sheets before you start.
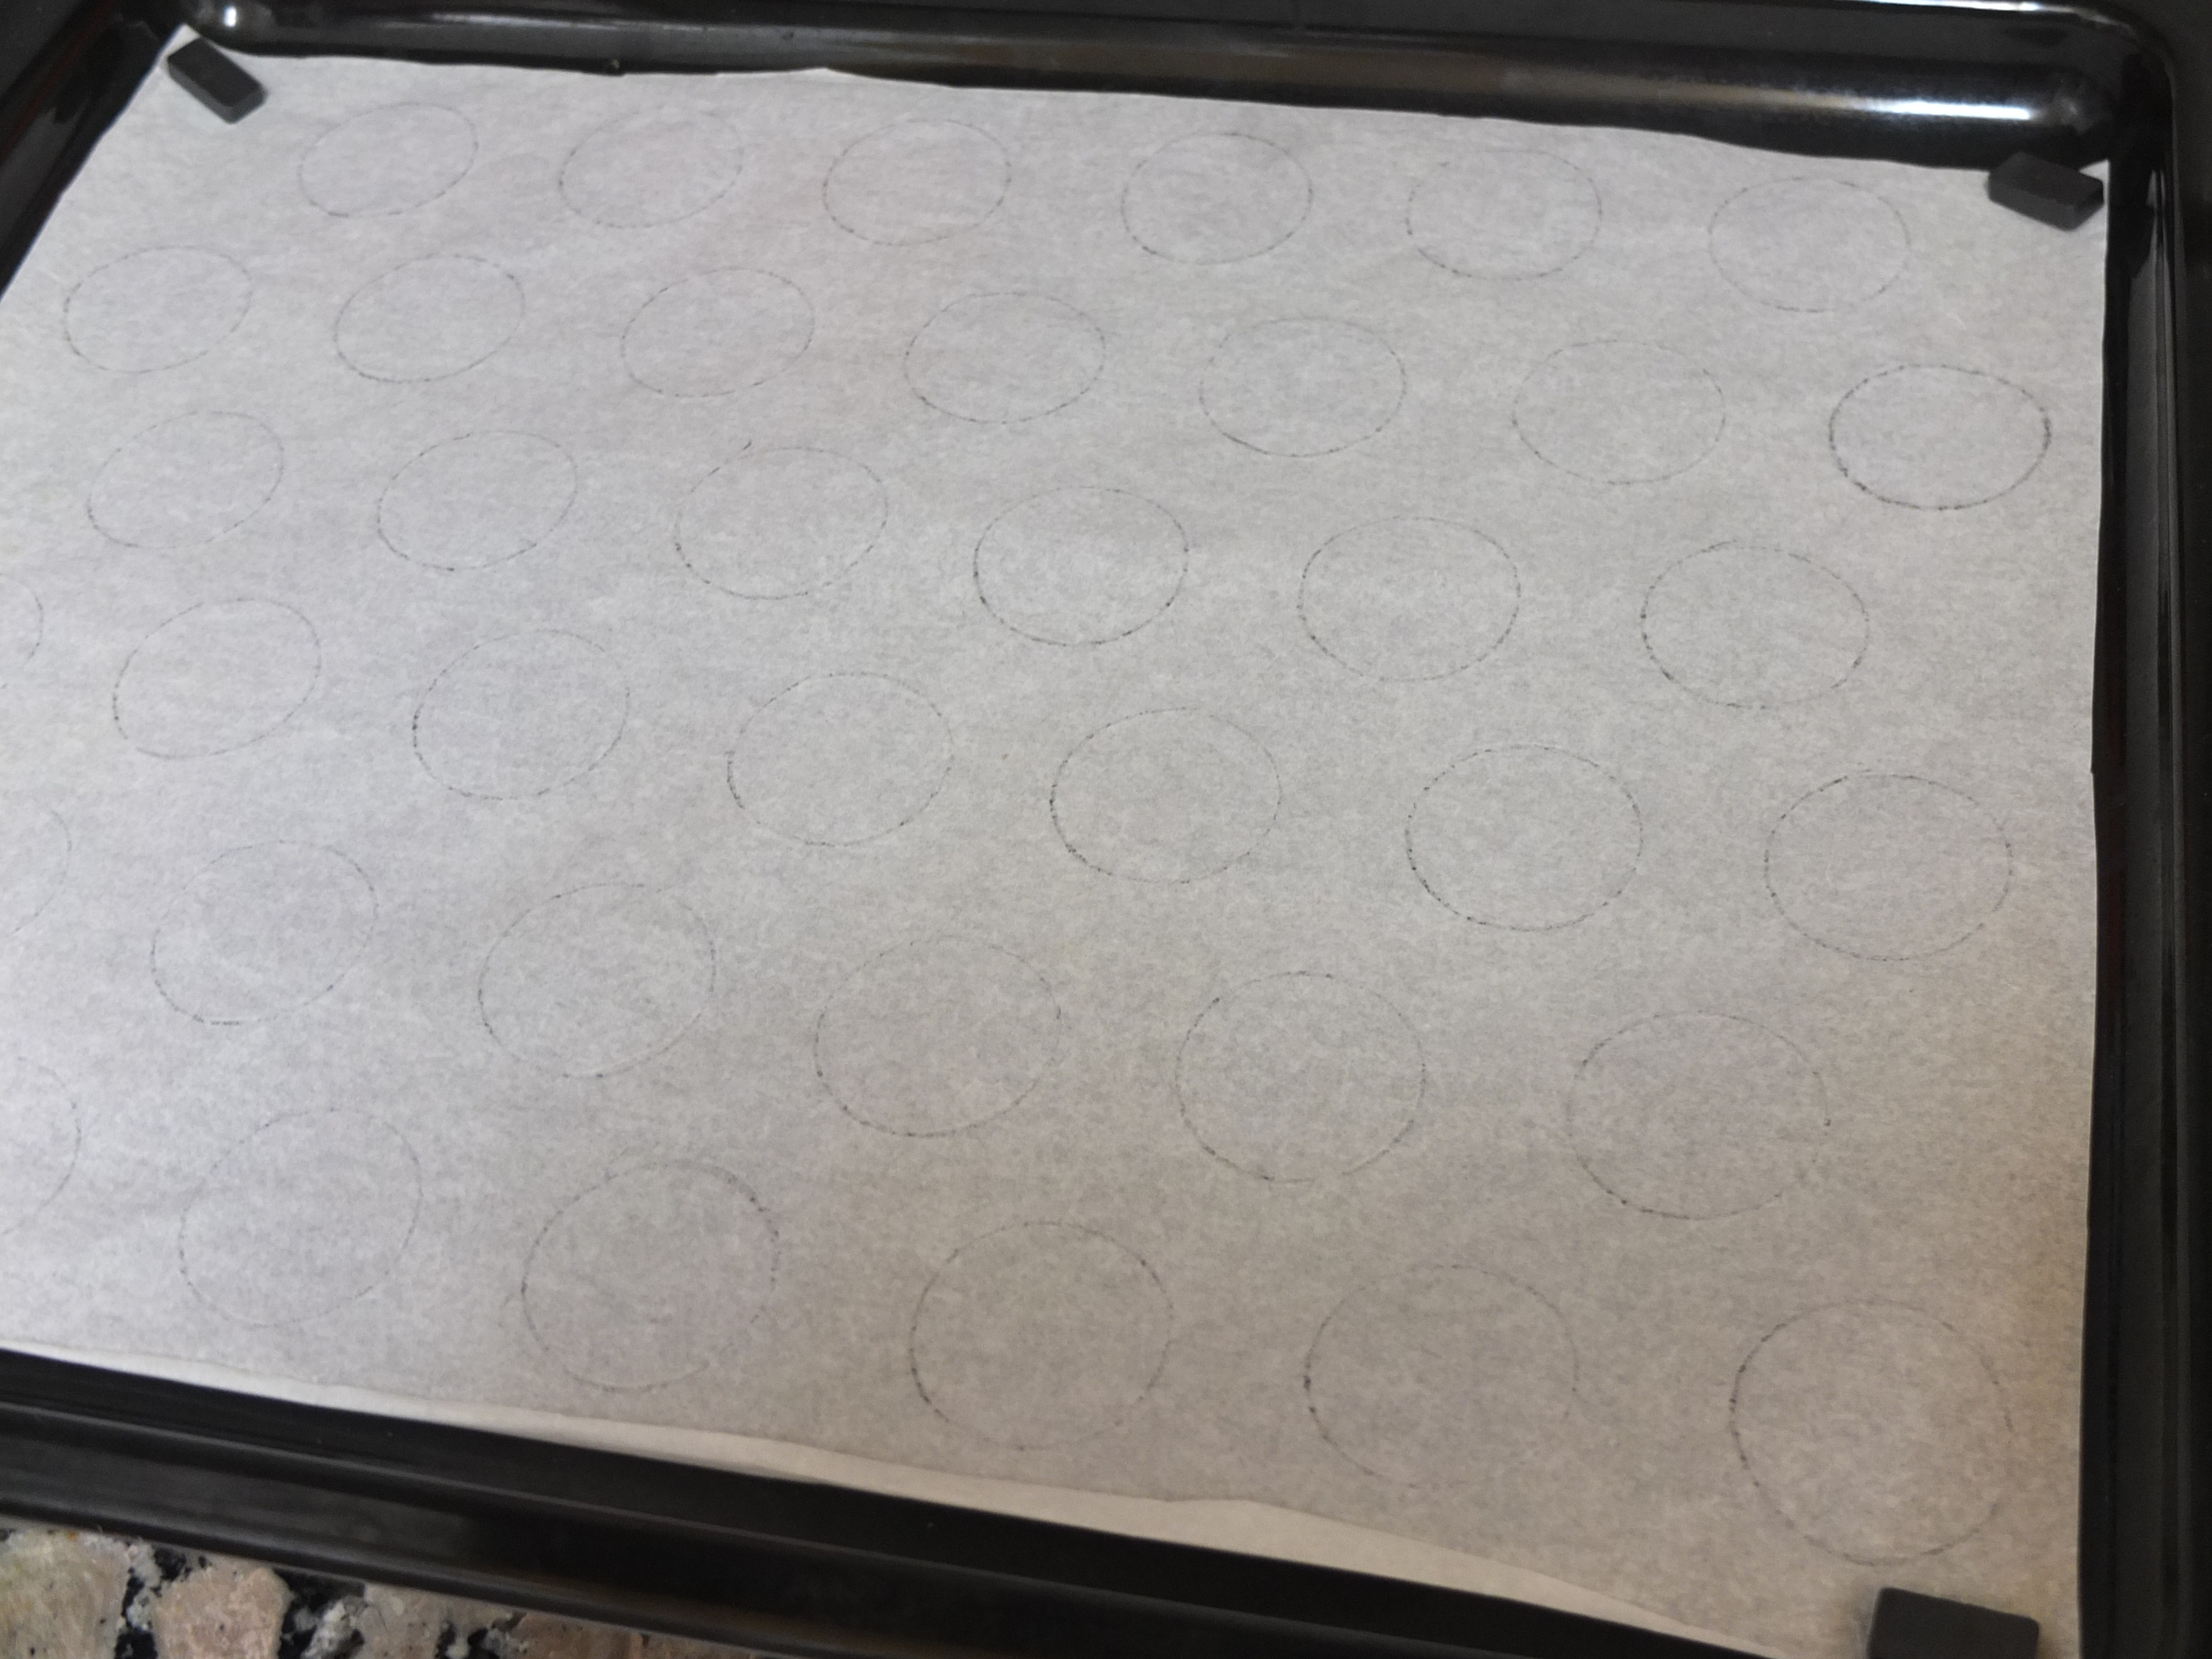 For a year I used greaseproof paper with circles drawn on them (4cm diametre circles, spaced 2cm apart). Turn the paper upside down so you don’t get pen or pencil marks transferring to the macarons! Alternatively, once you’re more confident you can start free-piping the macarons, which I started to do to save time and it was fine. It’s handy to have small kitchen magnets at each corner of the tray.
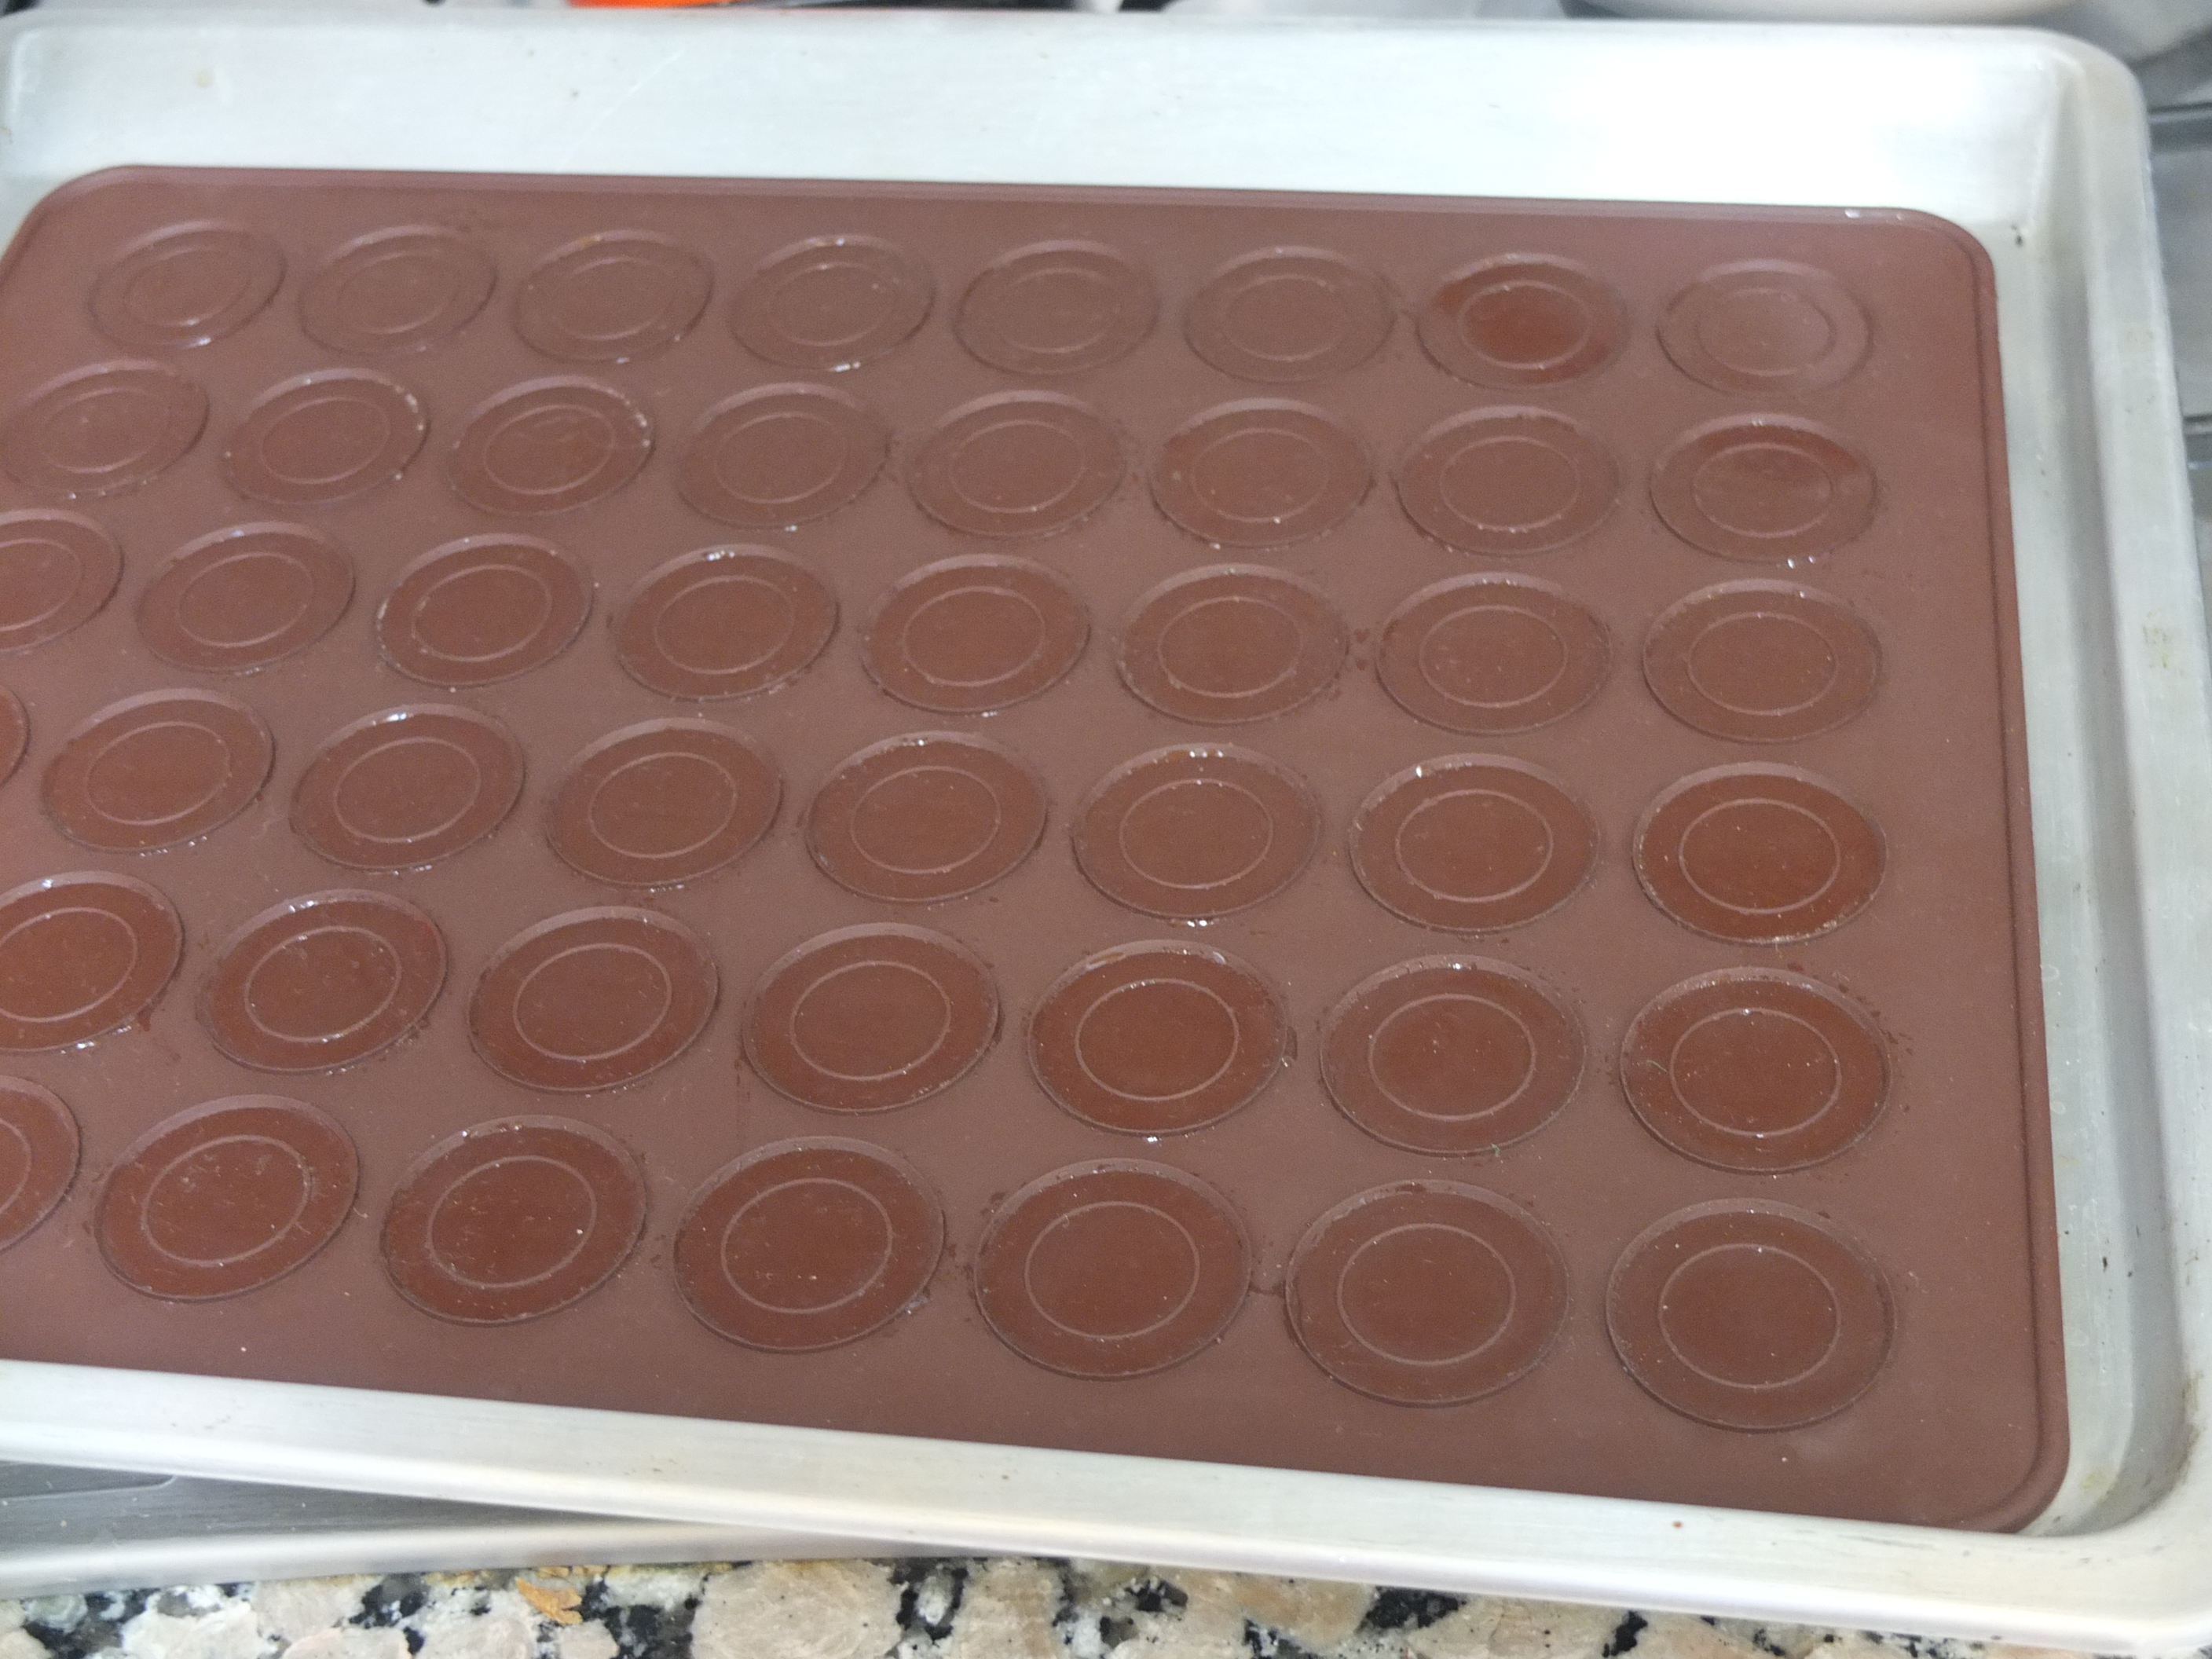 Then I had an order for a birthday party (eek!) and wanted super precise macarons that were all the exact same size. My mum introduced me to the beauty of the macaron silicone sheet and gave me two of hers. You still need to pipe with precision but it’s easier and it really helps macarons look good and alike.
Piping bag and nozzle
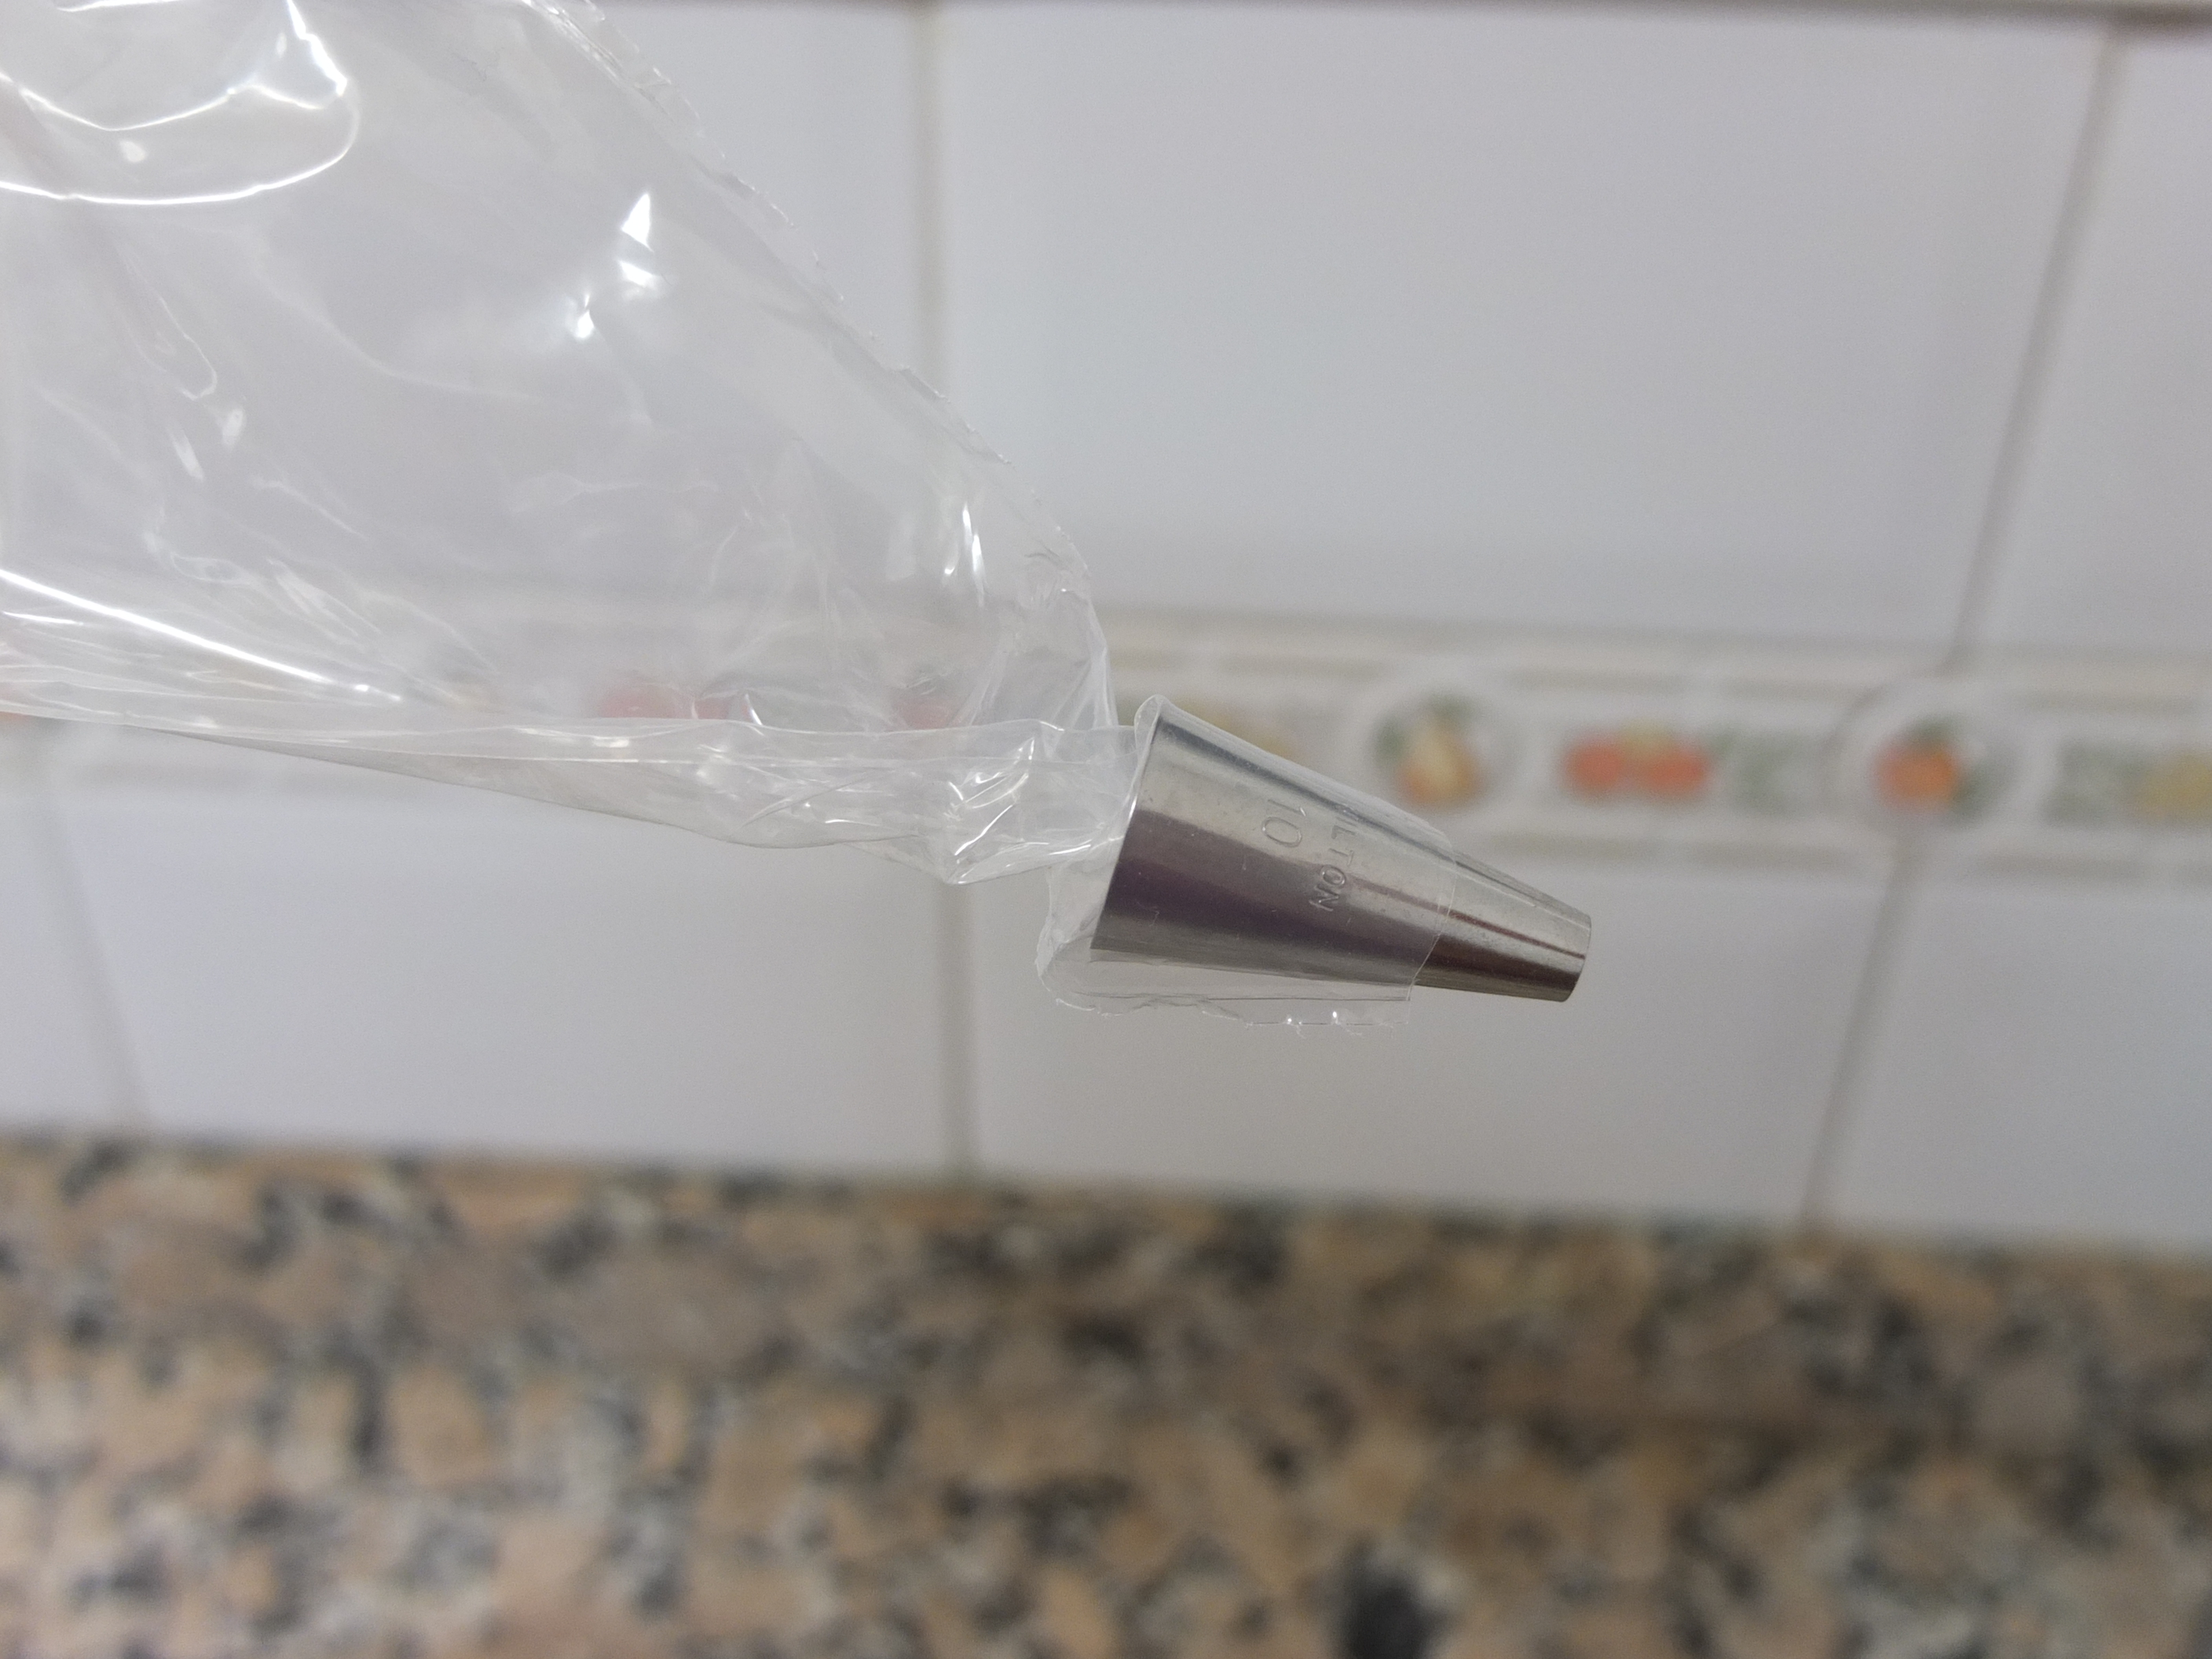 Prepare your piping bag (disposable is easiest) before you start. Put the nozzle inside the bag till it reaches the bottom. Pull the bag down over it by 2mm and cut the tip, then draw the bag up so it is tight around the nozzle. Then twist the bag just above the nozzle, so that when you put the mixture it doesn’t immediately come out. You’ll need to apply pressure with your hand to push the mixture down to the nozzle and out onto the macaron.
Ground almond and icing sugar ‘tant pour tant’ (half-half mixture)
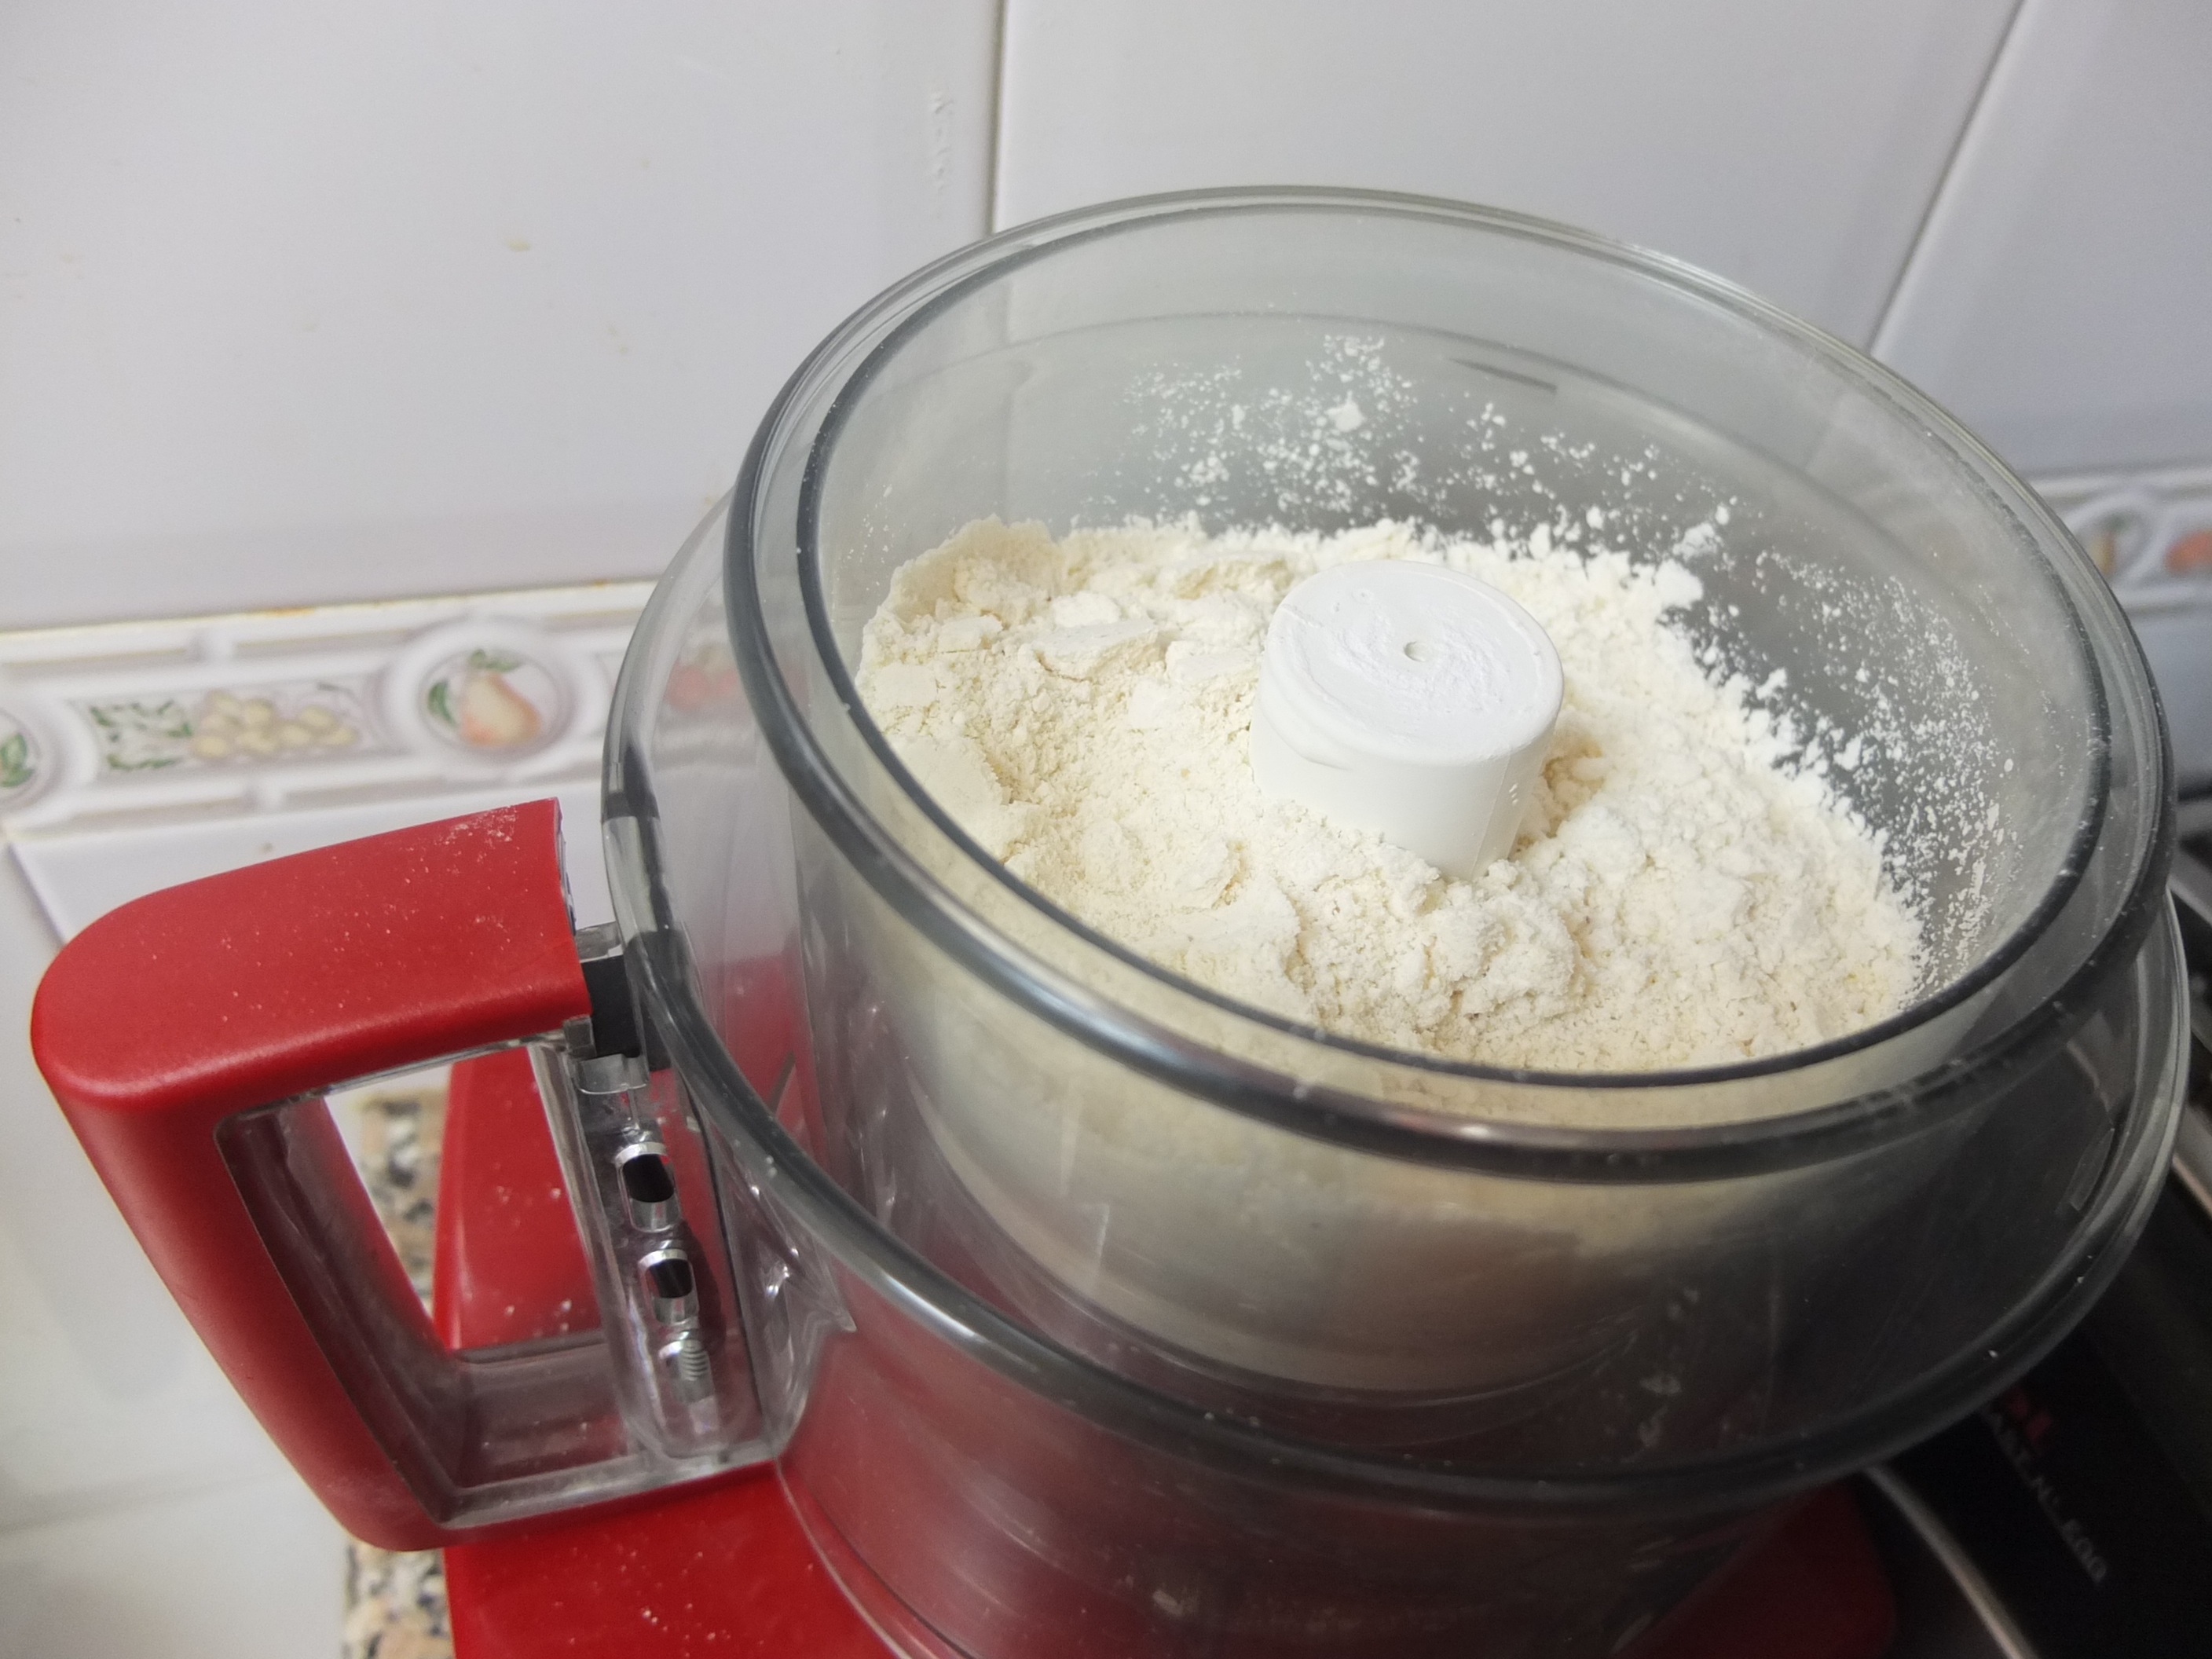 Blend the ground almonds and icing sugar together in a food processor or grinder till they make a finer powder.
Sift the powder into a big bowl on your weighing scales and continue to sift until you get the 400g you need for the recipe. You might want to reprocess some bits that are not going through. If you start finding that the last 60g or so is just not going through the sieve, you can pick out the biggest pieces of ground almond by hand and tip what you need into the bowl. I did this for the ones in the photo above, and you can see they didn’t suffer too much. If you don’t sift at all you’ll have rougher but edible macarons.
To be honest, the sifting process is a little tedious so I get it done in the morning listening to some good music then go for a walk or food break, so I can be all happy and relaxed to continue making the macarons later.
Walk or food break
So, refreshed and positive you get back to the macarons. Hurray!
Pre-heat the oven at 160°C (fan-assisted) and 180°C (static non-convection). Personally, I need to set my rather inaccurate fan-assisted oven at 150°C as the oven thermometre I bought shows it actually makes it 160°C in there. You might like to get an oven thermometre too if you find your oven often either burns or undercooks stuff.
Method
- Weigh 75g of the egg whites in a small bowl and put next to the sifted ground almonds and sugar, which you whisked together to combine.
- To make the Italian meringue, weigh the other 75g egg whites in the big stand mixer bowl (or a big bowl) and put this on the stand mixer to start whisking the egg whites (or start whisking the egg whites in the big bowl by hand).
- Put the granulated sugar and water in a small heavy-based saucepan on low heat. Stir with a silicone spoon to make sure the sugar dissolves completely. Once the sugar has dissolved and it starts boiling you need to STOP STIRRING! (if you don’t and the sugar hardens or crystalises, you’ll need to start again. Don’t worry, this happens to everyone at some point in their patisserie life).
- When the sugar starts boiling, put the sugar thermometre in the saucepan and keep a check on the temperature.
- Meanwhile, beat the egg whites at high speed till they are almost firm. Get the bowl off the stand mixer if using one and have a hand whisk ready.
- When the sugar has reached 115°C refresh the egg whites by whisking by hand a minute or so.
- When the sugar reaches 118°C, quickly pour the syrup in a steady stream into the middle of the egg whites with one hand whilst simultaneously whisking the syrup into the whites with the other hand, to make a smooth glossy meringue. Make sure you collect any spattering syrup off the walls of the bowl and that you combine everything quickly and well. If there is a little syrup left at the bottom of the saucepan do not scrape it out – just leave it. If you can, get someone to help you by pouring the syrup for you! Or do the whole operation on the stand mixer using the spatter shield.
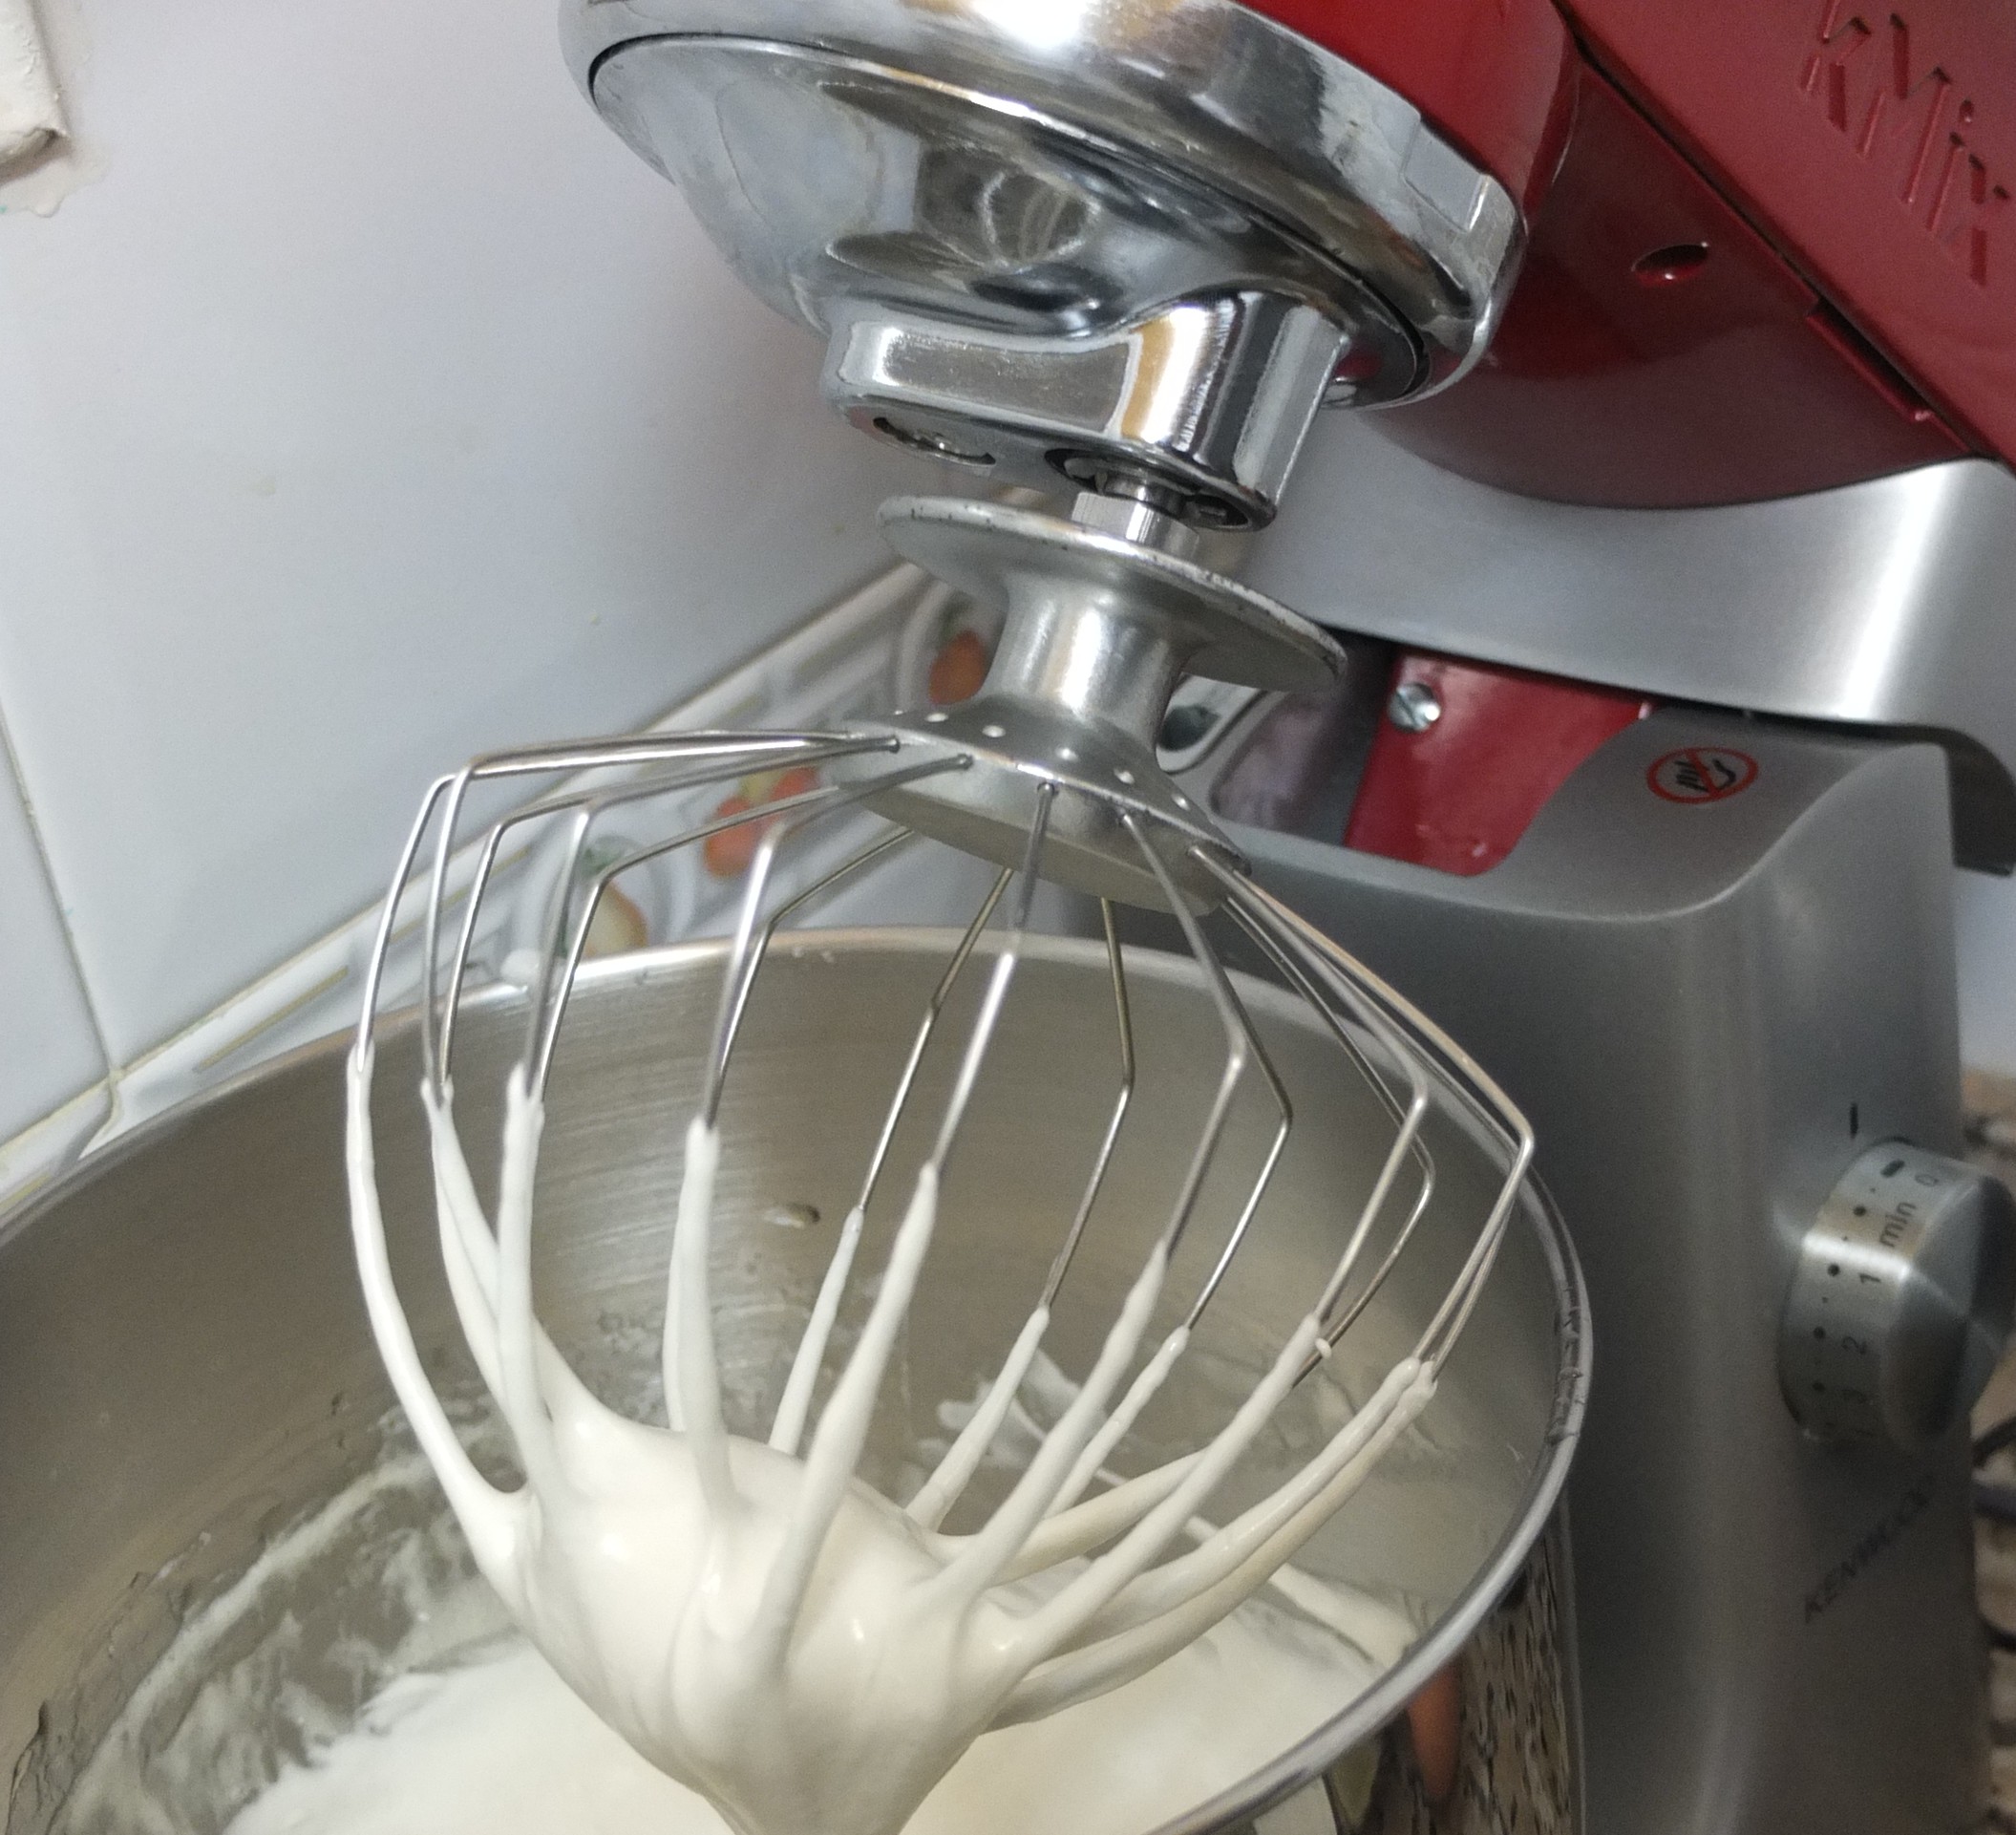
- Once the mixture is well combined and a nice soft glossy meringue, put it on medium speed on the stand mixer, or start whisking hard by hand. Whisk till the mixture cools down and the bowl is not warm to touch. You can whisk your food colouring in now and tada! Your Italian meringue is ready!

Italian meringue
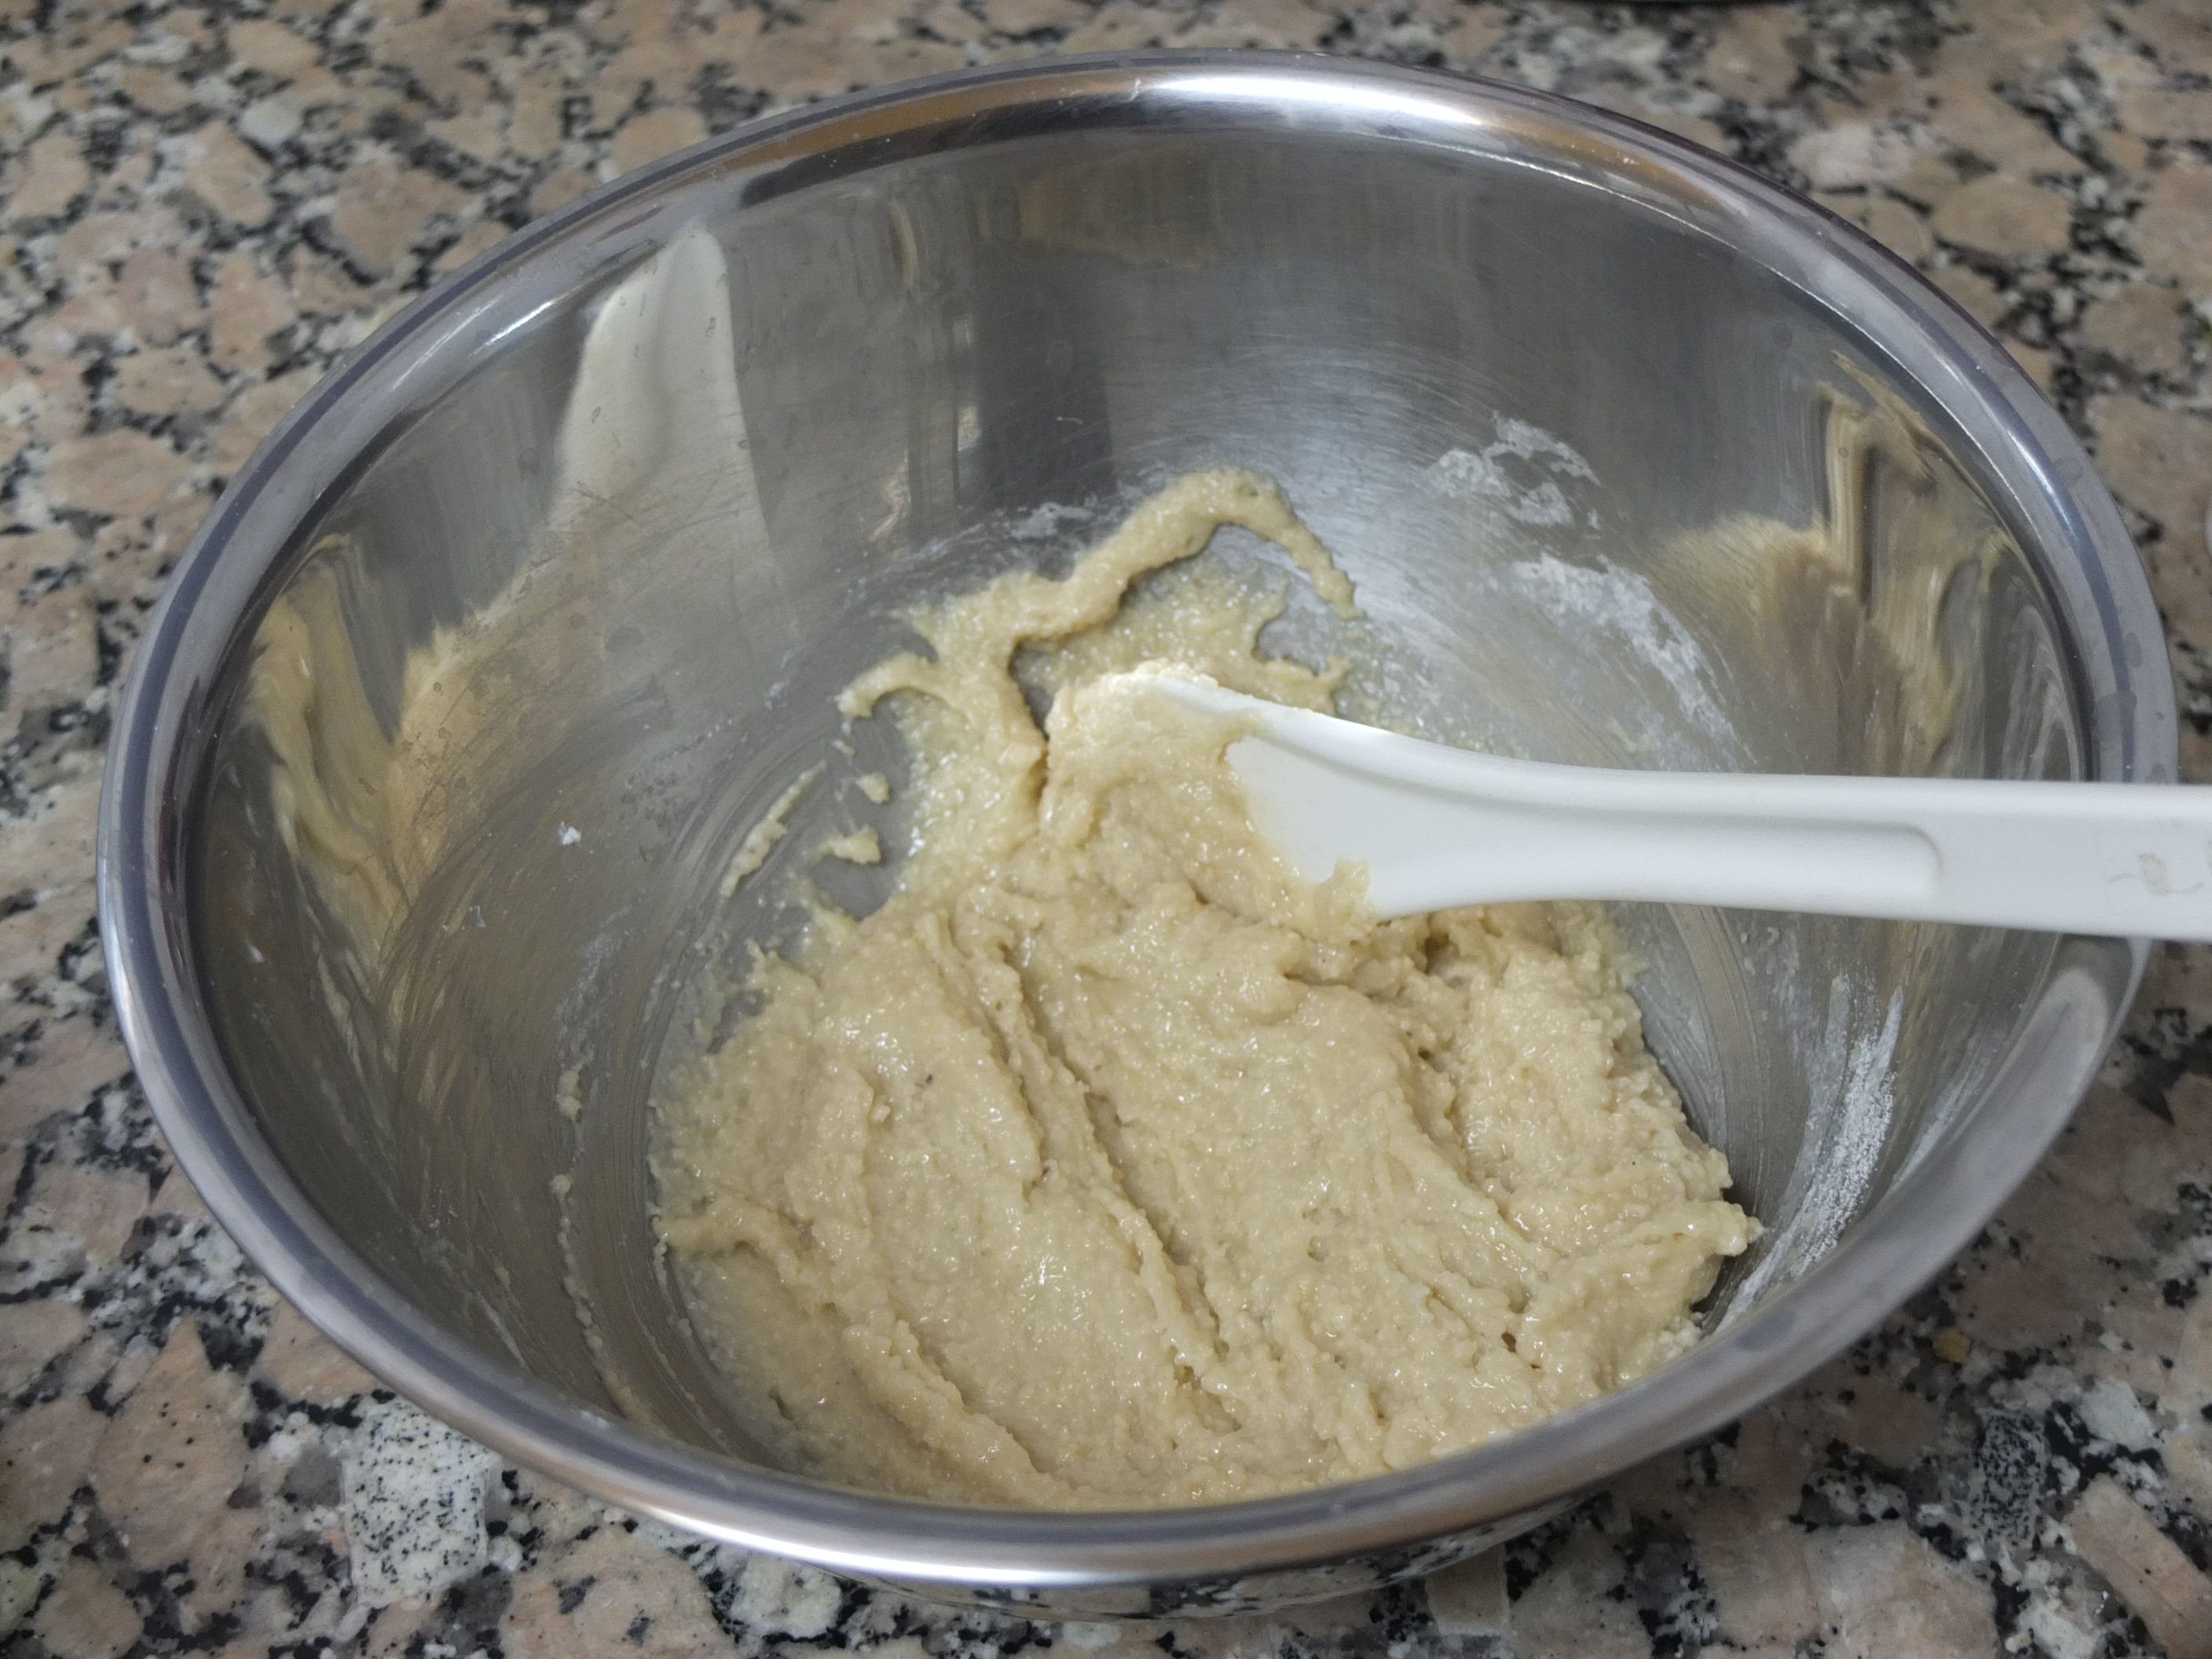
- Now use a silicone spooon to stir the other 75g egg whites into the ground almonds and icing sugar till you get a thick paste.

Ground almonds, icing sugar and egg white
- Stir a few spoons of Italian meringue into the paste to loosen it up.
- You’re going to Macaroner (yes, it’s a verb!). Switch to a rubber spatula and start folding all the Italian meringue in, with regular figure of eight motions, or turning the bowl with your hand as you fold so that all the mixture in the middle and on the sides is getting combined. http://www.youtube.com/watch?v=7iiU07wpk1o
- You need to fold until the mixture just gets shiny and starts to drop back down into the bowl. With practice you’ll get to know when to stop. Just remember that it should not be so stiff that when you pipe a macaron it stays up with a peak sticking out. But it should not be runny or so liquid that it immediately flattens out. The piped macarons should start out with a peak that flattens out in about 30 seconds. Try to work quite quickly when piping, because the macaron mixture will get warm and runnier as it hangs around.
- When you’ve finished the macaronnage you’re ready to pipe the macarons and here’s a little YouTube video to help you along (best with low soundtrack volume but very nice technique – note the little twist as she finishes piping each macaron):
Well, all your little macaron shells are ready on their trays (give the trays a little rap or tap on the table if it helps to flatten them out and lose a peak).
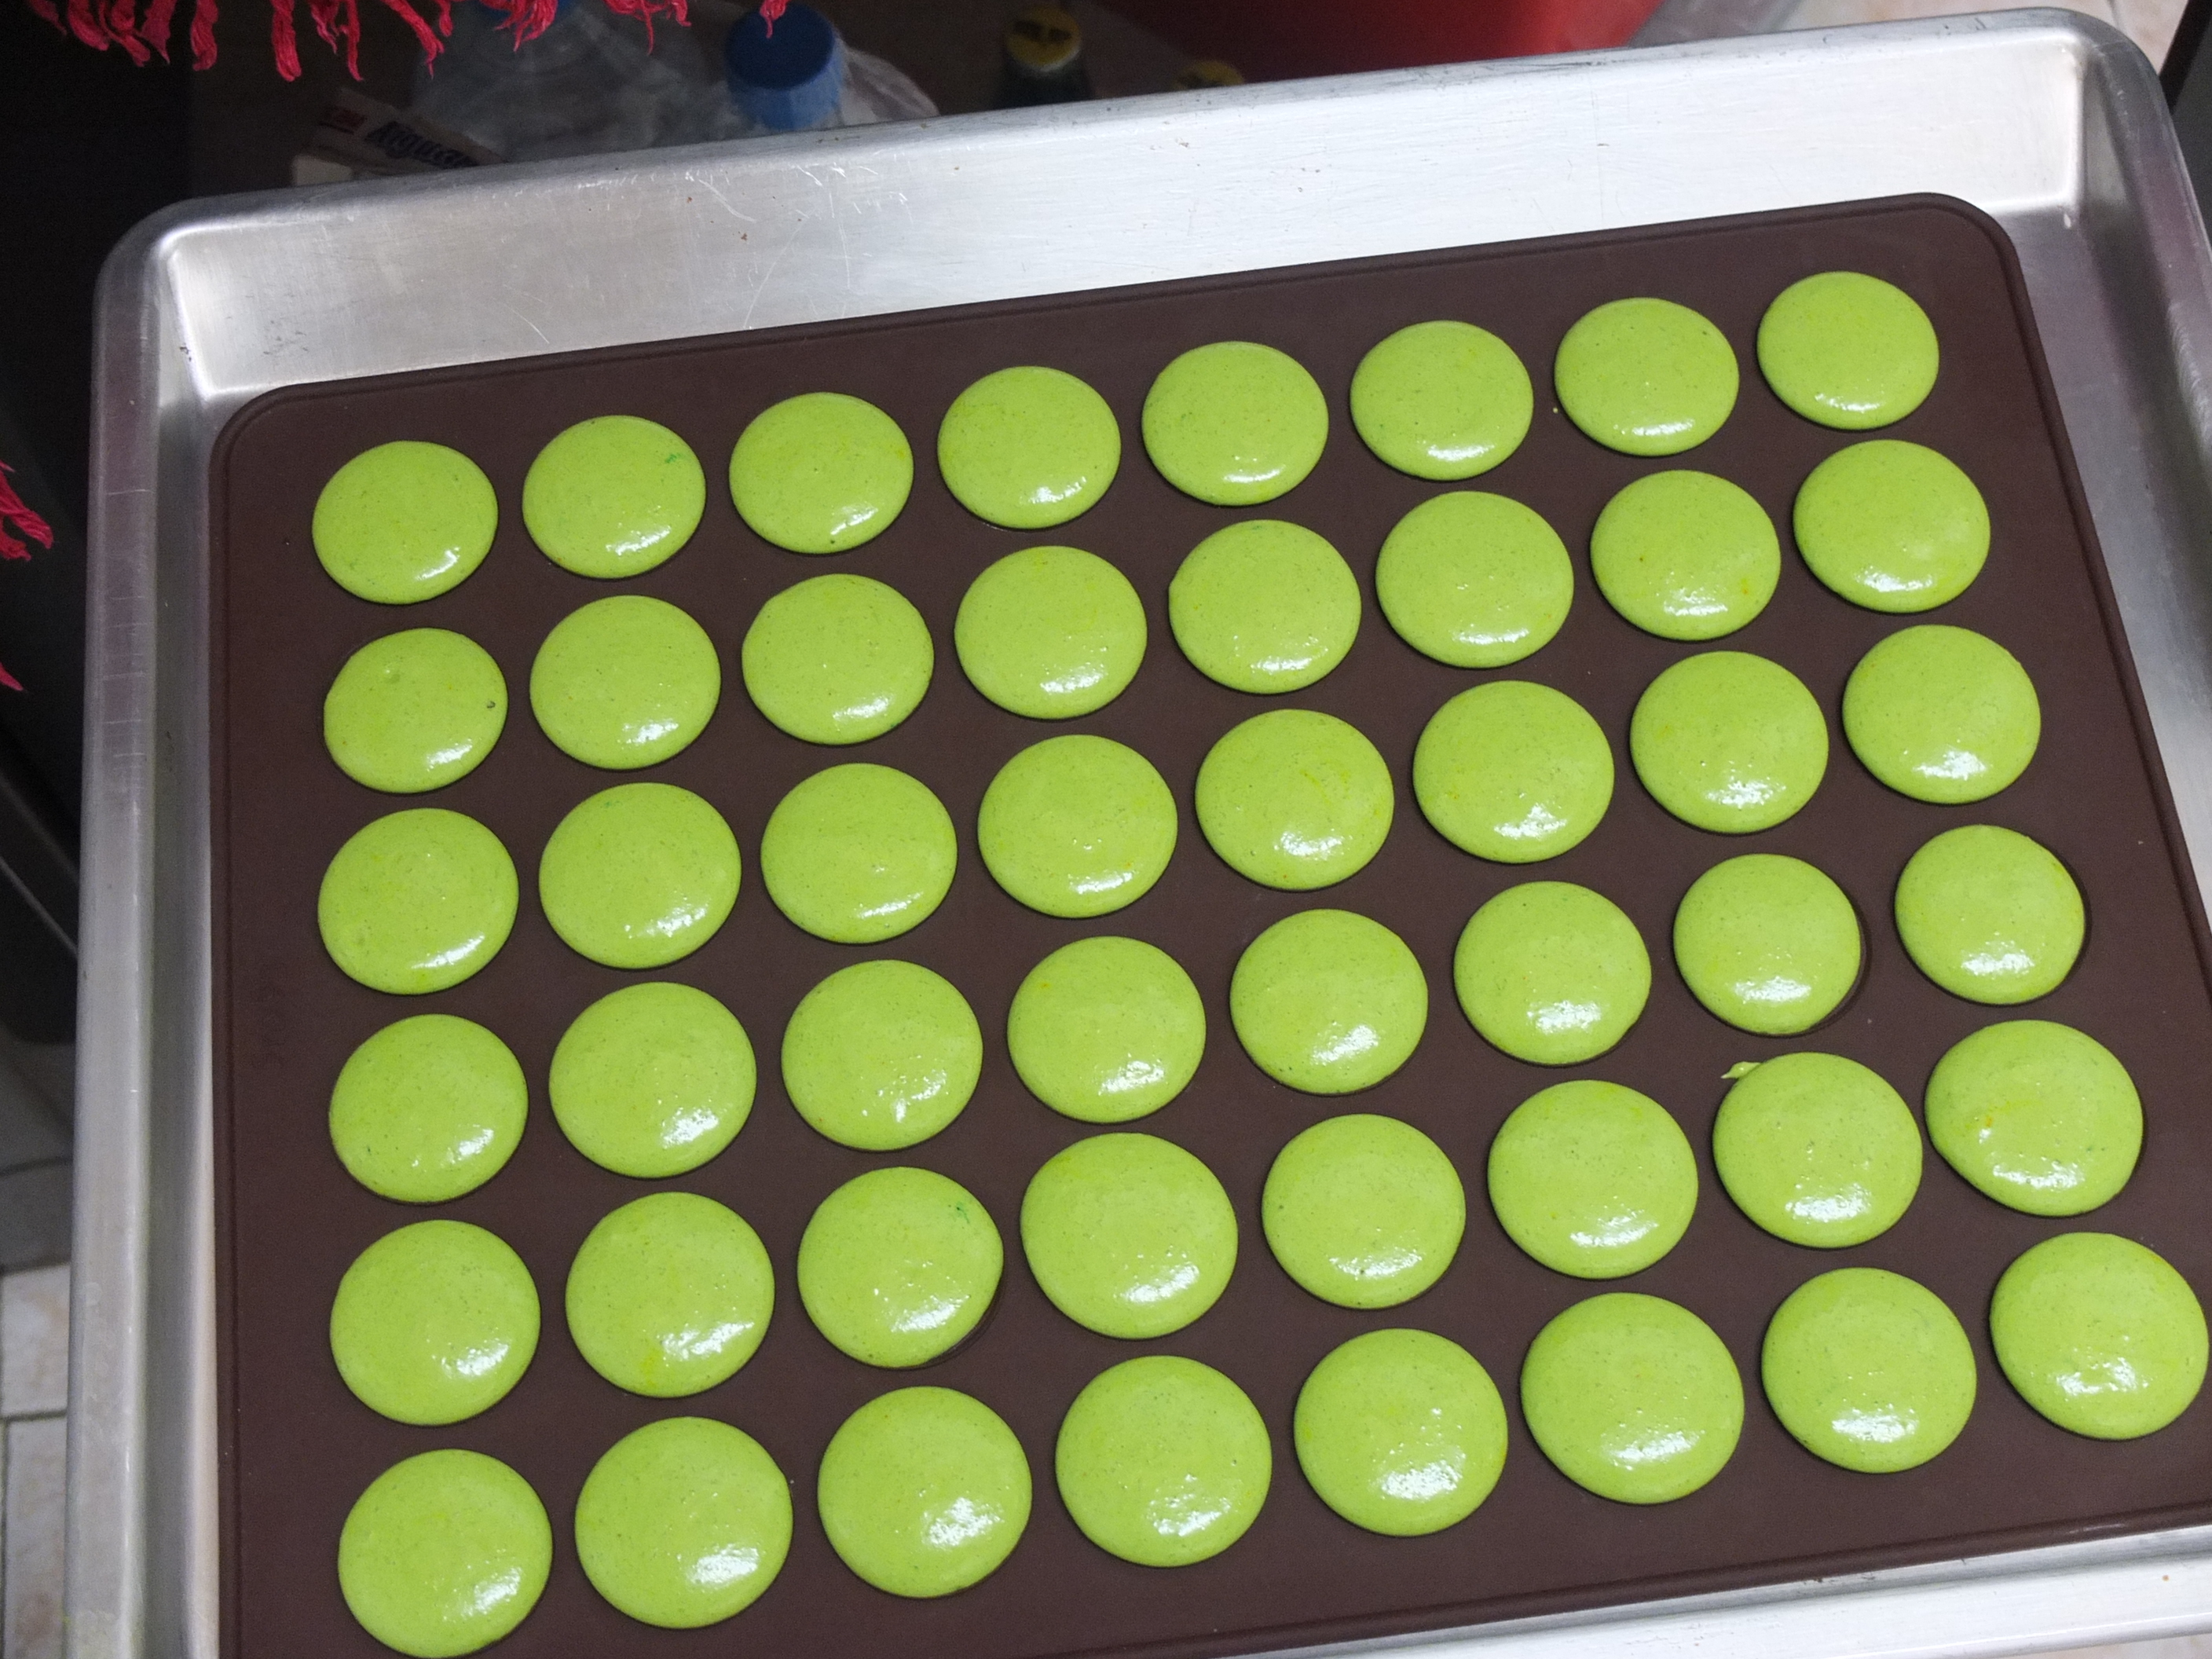 Now leave them for about 20 minutes to half an hour (or longer) until the outside has formed a drier shell. If you touch one lightly with your finger it shouldn’t stick to it anymore. Then you can put your first tray in the oven (I do them one at a time).
Note: so I can be precise about how long the macarons stay in the oven, I set two mobile phone alarms – one to 6 minutes and the other to 12 minutes.
During the first 6 minutes the macarons should form ‘feet’, those nice little ruffles at the bottom. After 6 minutes turn the tray around so the macarons that were at the front are now at the back. Bake for another 6 minutes.
After the total 12 minutes you can check the macarons. Use a little spatula or butter knife to see if you can prise one up fairly easily. If the macarons have formed a thin protective crust on the bottom they should be ready, even if some parts stick a little. You don’t want them overbaking, browning and losing their nice colour or shine. They should be lightly crisp outside and chewy inside (eat one and see!).
Put the tray on a wire rack to cool for 5 minutes. Put tray number 2 of macarons into the oven. Set your mobile phone alarm again to 6 minutes (turn the tray) and 12 minutes (check the macarons). Repeat process as for tray number 1, then do tray number 3 if there is one.
After 5 minutes cooling, the macarons will come off the sheets more easily. Take them off and put them on the wire cooling rack. Turn half of them around (match them to similar sized ones if you like) and press down to make a small crater with your thumb. This is to make more room for the filling. If the macarons are too hard to do this, don’t worry because it’s not crucial and macarons become softer as they absorb the moisture from the ganache or curd inside.
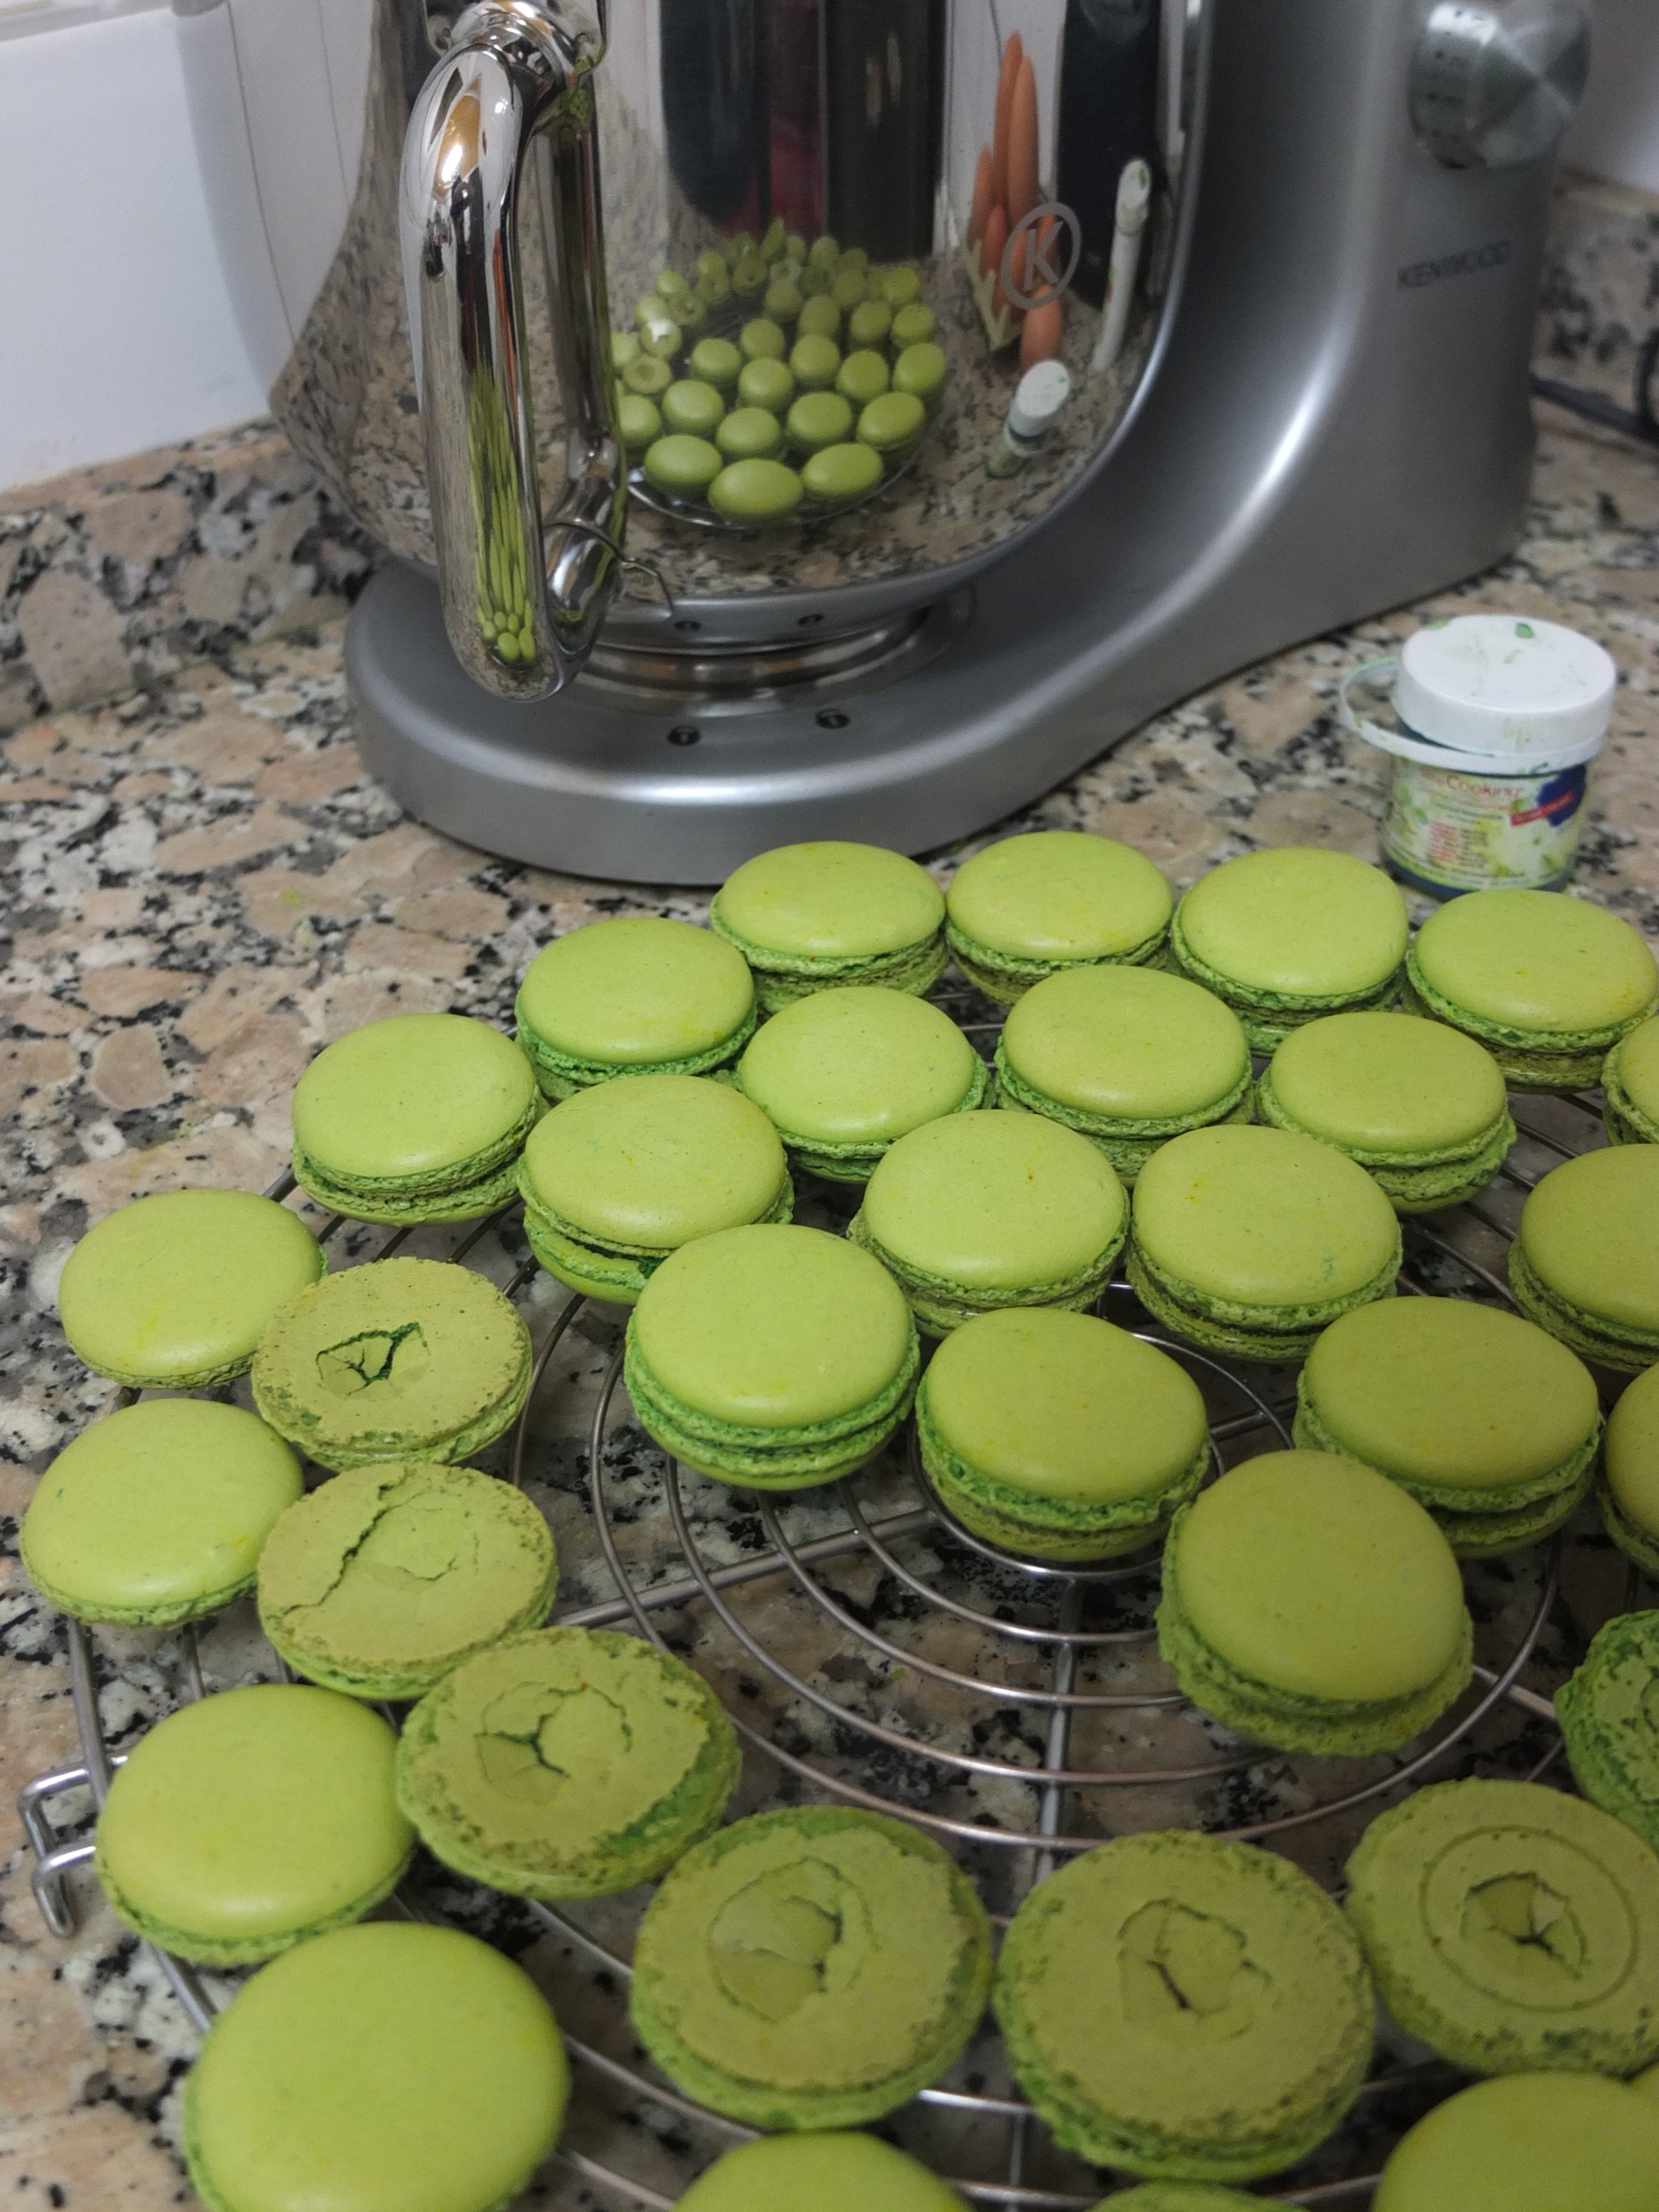
Macaron shells ready to be filled
As soon as the shells are completely cool, you can start filling! 🙂
Storage: you can fill your macaron shells on the same day or freeze the unfilled macaron shells for up to 2 months. Put them first on trays in the freezer for 1 or 2 hours then in airtight tupperware containers. Take them out from the freezer and fill immediately, then store uncovered in the fridge 24 hours before eating (you can return some quickly to the freezer to keep).
Once you’re familiar with the steps, making macarons becomes quite a fast process. You could probably turn out loads of macaron shells in a hour or so! I now really enjoy the experience and notice my mum has gained a lot of enthusiasm for macaron-making too. So give it a go – if we can do it so can you! 🙂
P.S. Here are some extra notes in English and Spanish, prepared to help participants make macarons at home after a workshop here in Barcelona.
Macaron shells extra notes/notas supplementarias – English/Spanish
- 200g ground almonds/almendra molida (or 210g to allow for residue you can’t sift/o 210g si vas a tamizar y quieres compensar por lo que no pasa por el tamiz)
- 200g icing/powdered sugar/azúcar glas
- 75g egg whites (from about 2 medium-large eggs), claras (más o menos 2 huevos)
- 200g granulated sugar/azúcar
- 50g water/agua (mineral)
- 75g egg whites (from about 2 medium-large eggs), claras (más o menos 2 huevos)
- Green food colouring, preferably in powdered form/Colorante alimentario – mejor en polvo
Method and notes:
IMPORTANT
- Egg whites – you can separate the eggs 1 to 5 days before. This is supposed to help make better macarons. The ones we used for the workshop I separated 2 days before. Put the whites in a very clean bowl and cover the bowl tightly with plastic film. Make about 10 small holes in the plastic film with the tip of a knife. And store in the fridge. Las claras – puedes separar los huevos 1 a 5 días antes. Se supone que eso ayuda a hacer mejores macarons. Las claras que usamos para el taller, les separé 2 días antes. Se pone las claras en un bol muy muy limpio y se cubre el bol bien con película adherente. Se hace más o menos 10 agujeritos con la punta de un cuchillo en la película. Y se guarda en la nevera.
NOTE: there was some fluffy white foam on my whites because they’d travelled in my backpack but usually there isn’t any foam. NOTA: mis claras tenían una espuma blanca porqué habían viajado en mi mochila – pero normalmente no hay espuma.
- Italian meringue. Remember to whisk the egg whites and sugar in a very clean bowl and just to soft peak. And after be careful to add the syrup at 118°C immediately and quickly in a constant stream while whisking fast simultaneously. Then whisk about 10 minutes until cold (and the bottom of the bowl feels cold to touch). Meringue Italiana. Acordarse de batir las claras en un bol muy limpio y hasta ‘soft peak’ (que la punta del meringue sea suave – se cae un poco y no es ni rígida ni seca). Y después cuidado con agregar el jarabe a 118°C de inmediato y rapidamente en un filo constante, batiendo rapidamente con la batidadora a mano al mismo tiempo hasta que enfrie y que el bol por abajo parece frio cuando se toca.
Okay, now continue following your notes from the workshop or the recipe above. Good luck! Bueno, ahora seguir con las instrucciones en vuestras notas del taller o en la receta arriba. In bocca al lupo como dicen en Italia – buena suerte! 🙂

Pingback: Slightly savoury raspberry and black pepper cheesecake macarons recipe! Decorated with lunar new year roosters! | lili's cakes
Pingback: Ultra raspberry cloud mousse cake recipe! | lili's cakes
Pingback: Happy new year!!! Top posts in 2017 and baking projects for 2018… And how are healthier and vegan cakes doing? :) | lili's cakes
Pingback: Gluten-free Sicilian sunshine lemon citrus drip cake recipe! Inspired by Escribà! | lili's cakes