
You can use the usual pie dish or tart tin following the instructions below but…
Have you ever tried to persuade a pastry case to come out of an average tart tin and found some has refused and stubbornly stuck to the bottom while shouting ‘I’m not leaving’! Well, here’s a possible solution for you: the French tart ring. Pretty easy to take off the sides, leaving a nice even base which just slides off the greaseproof paper under it, at which point the pastry case yells ‘yipee! I’m off!‘.
 Have a look at the process:

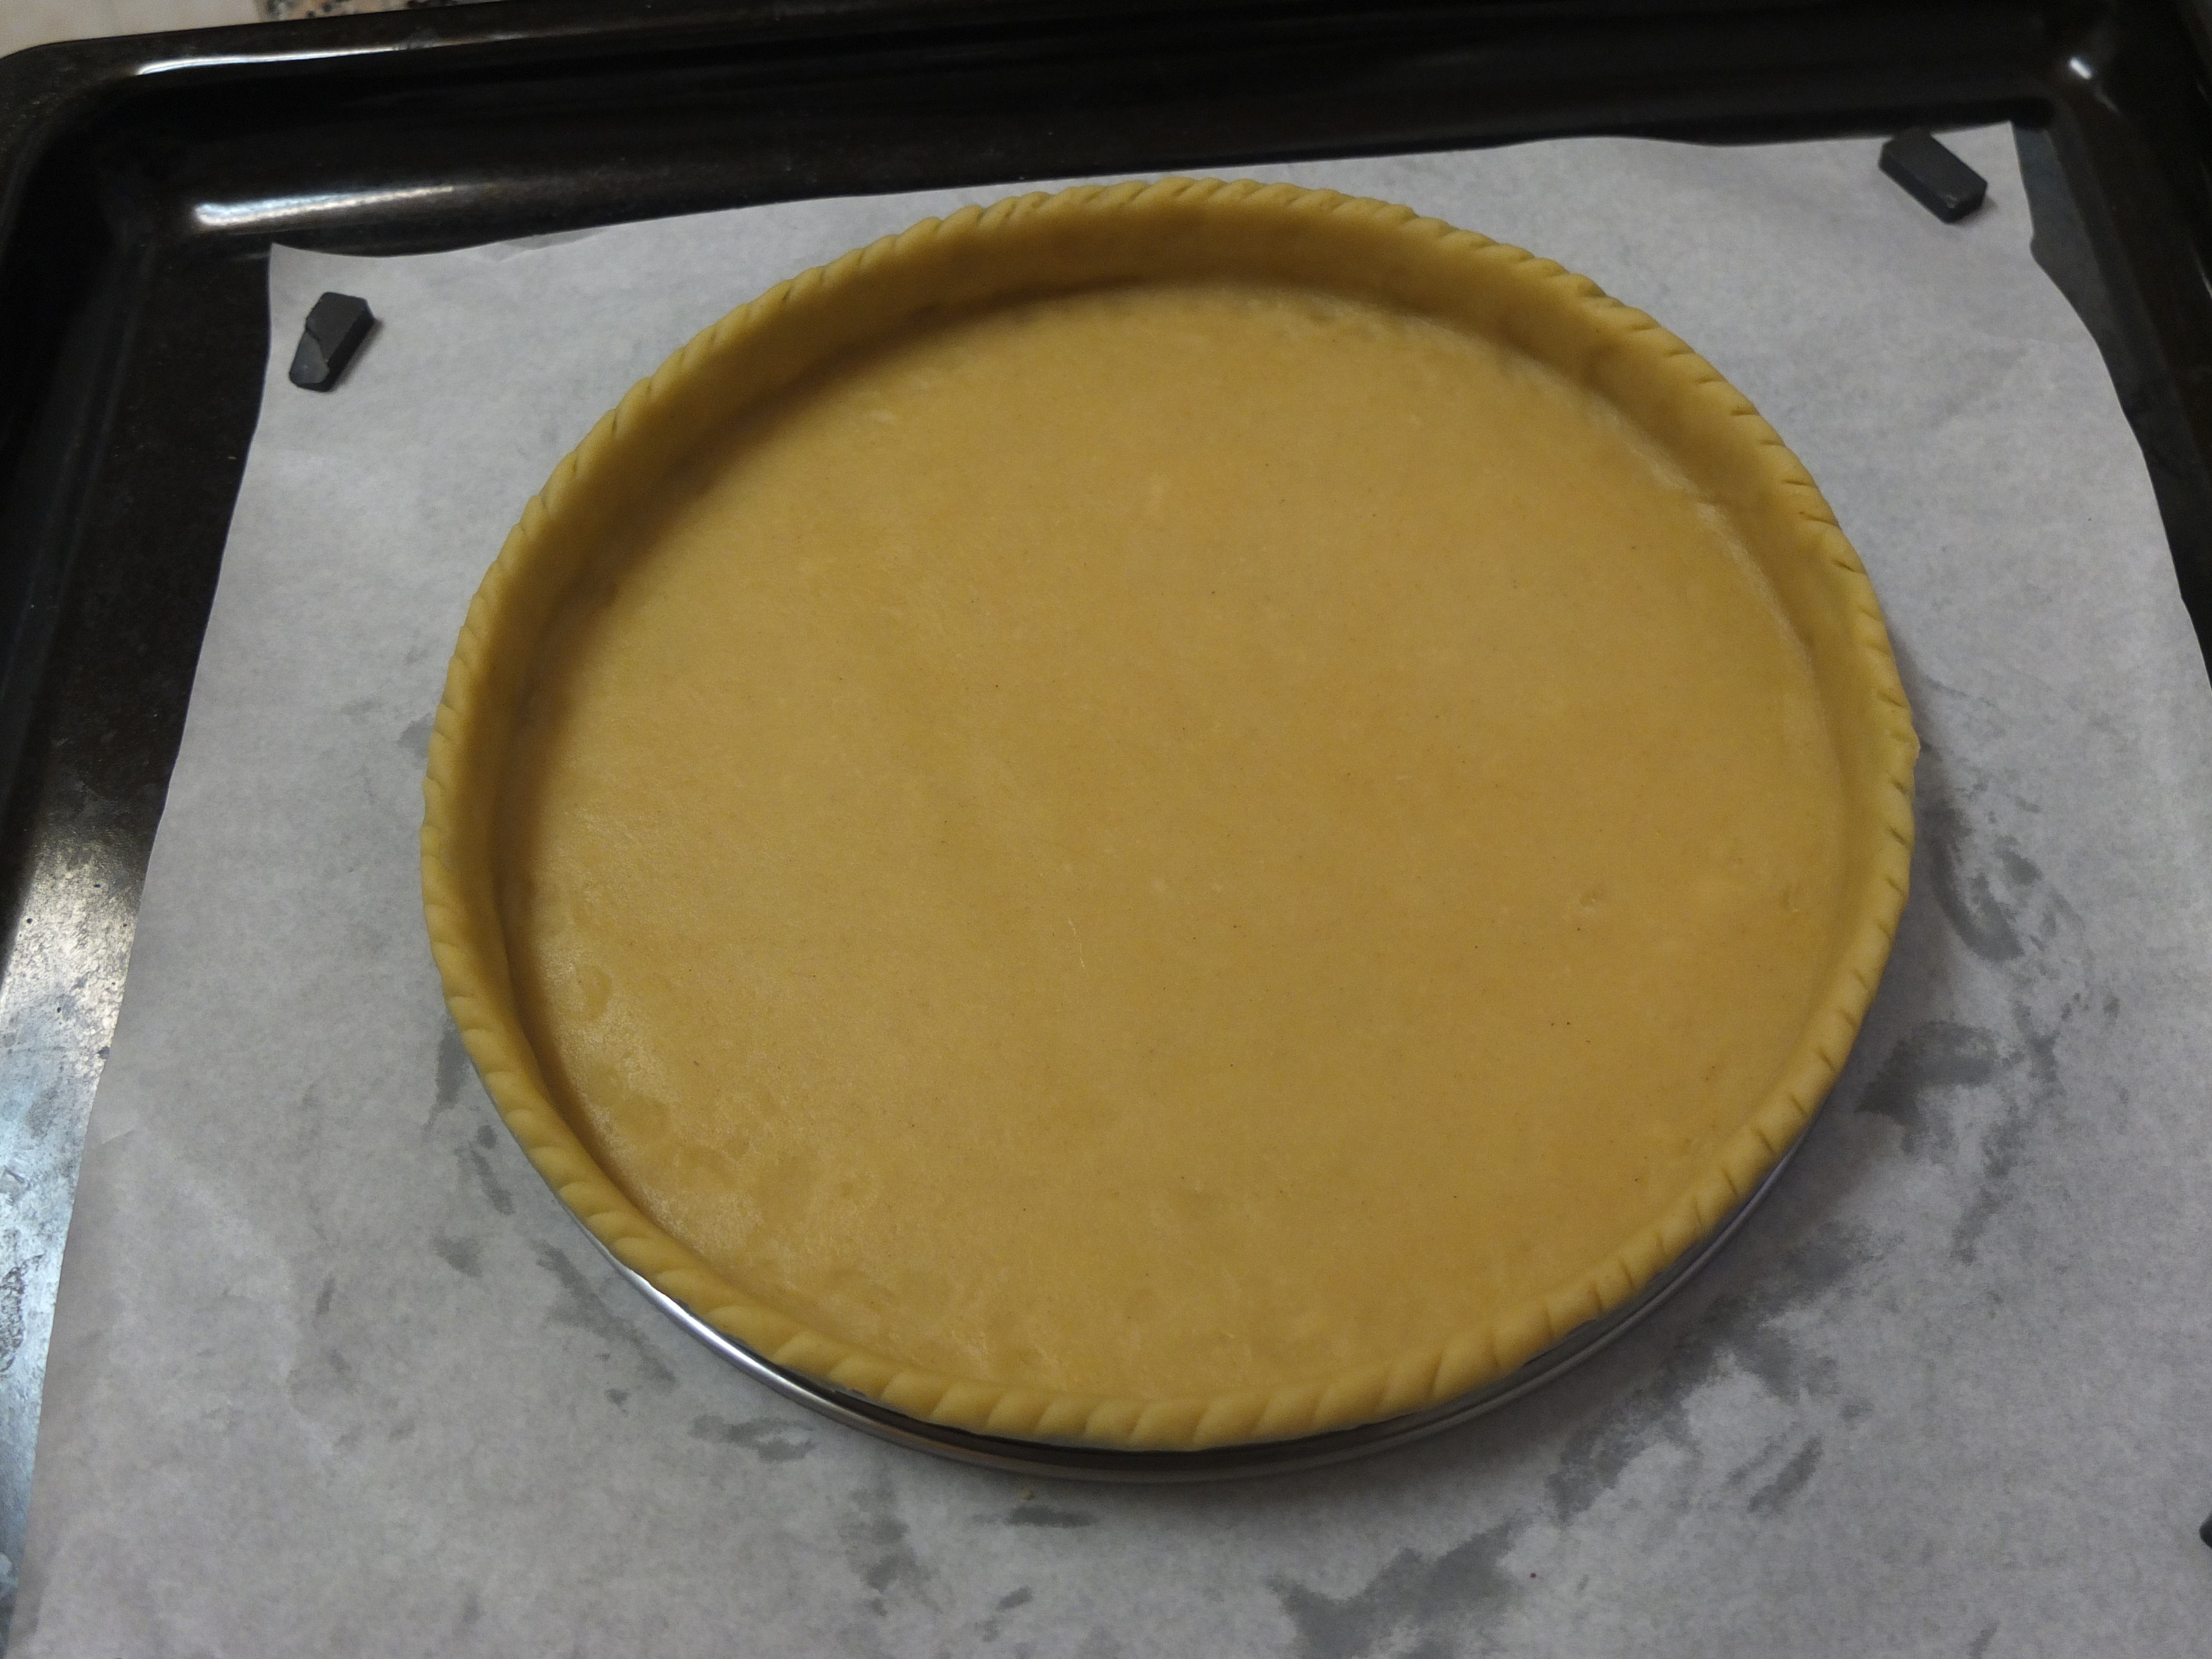
1. Butter the inside of the ring with your fingers and place the ring on greaseproof paper on a baking tray. Use kitchen magnets at the corners if you have them to keep the paper down.
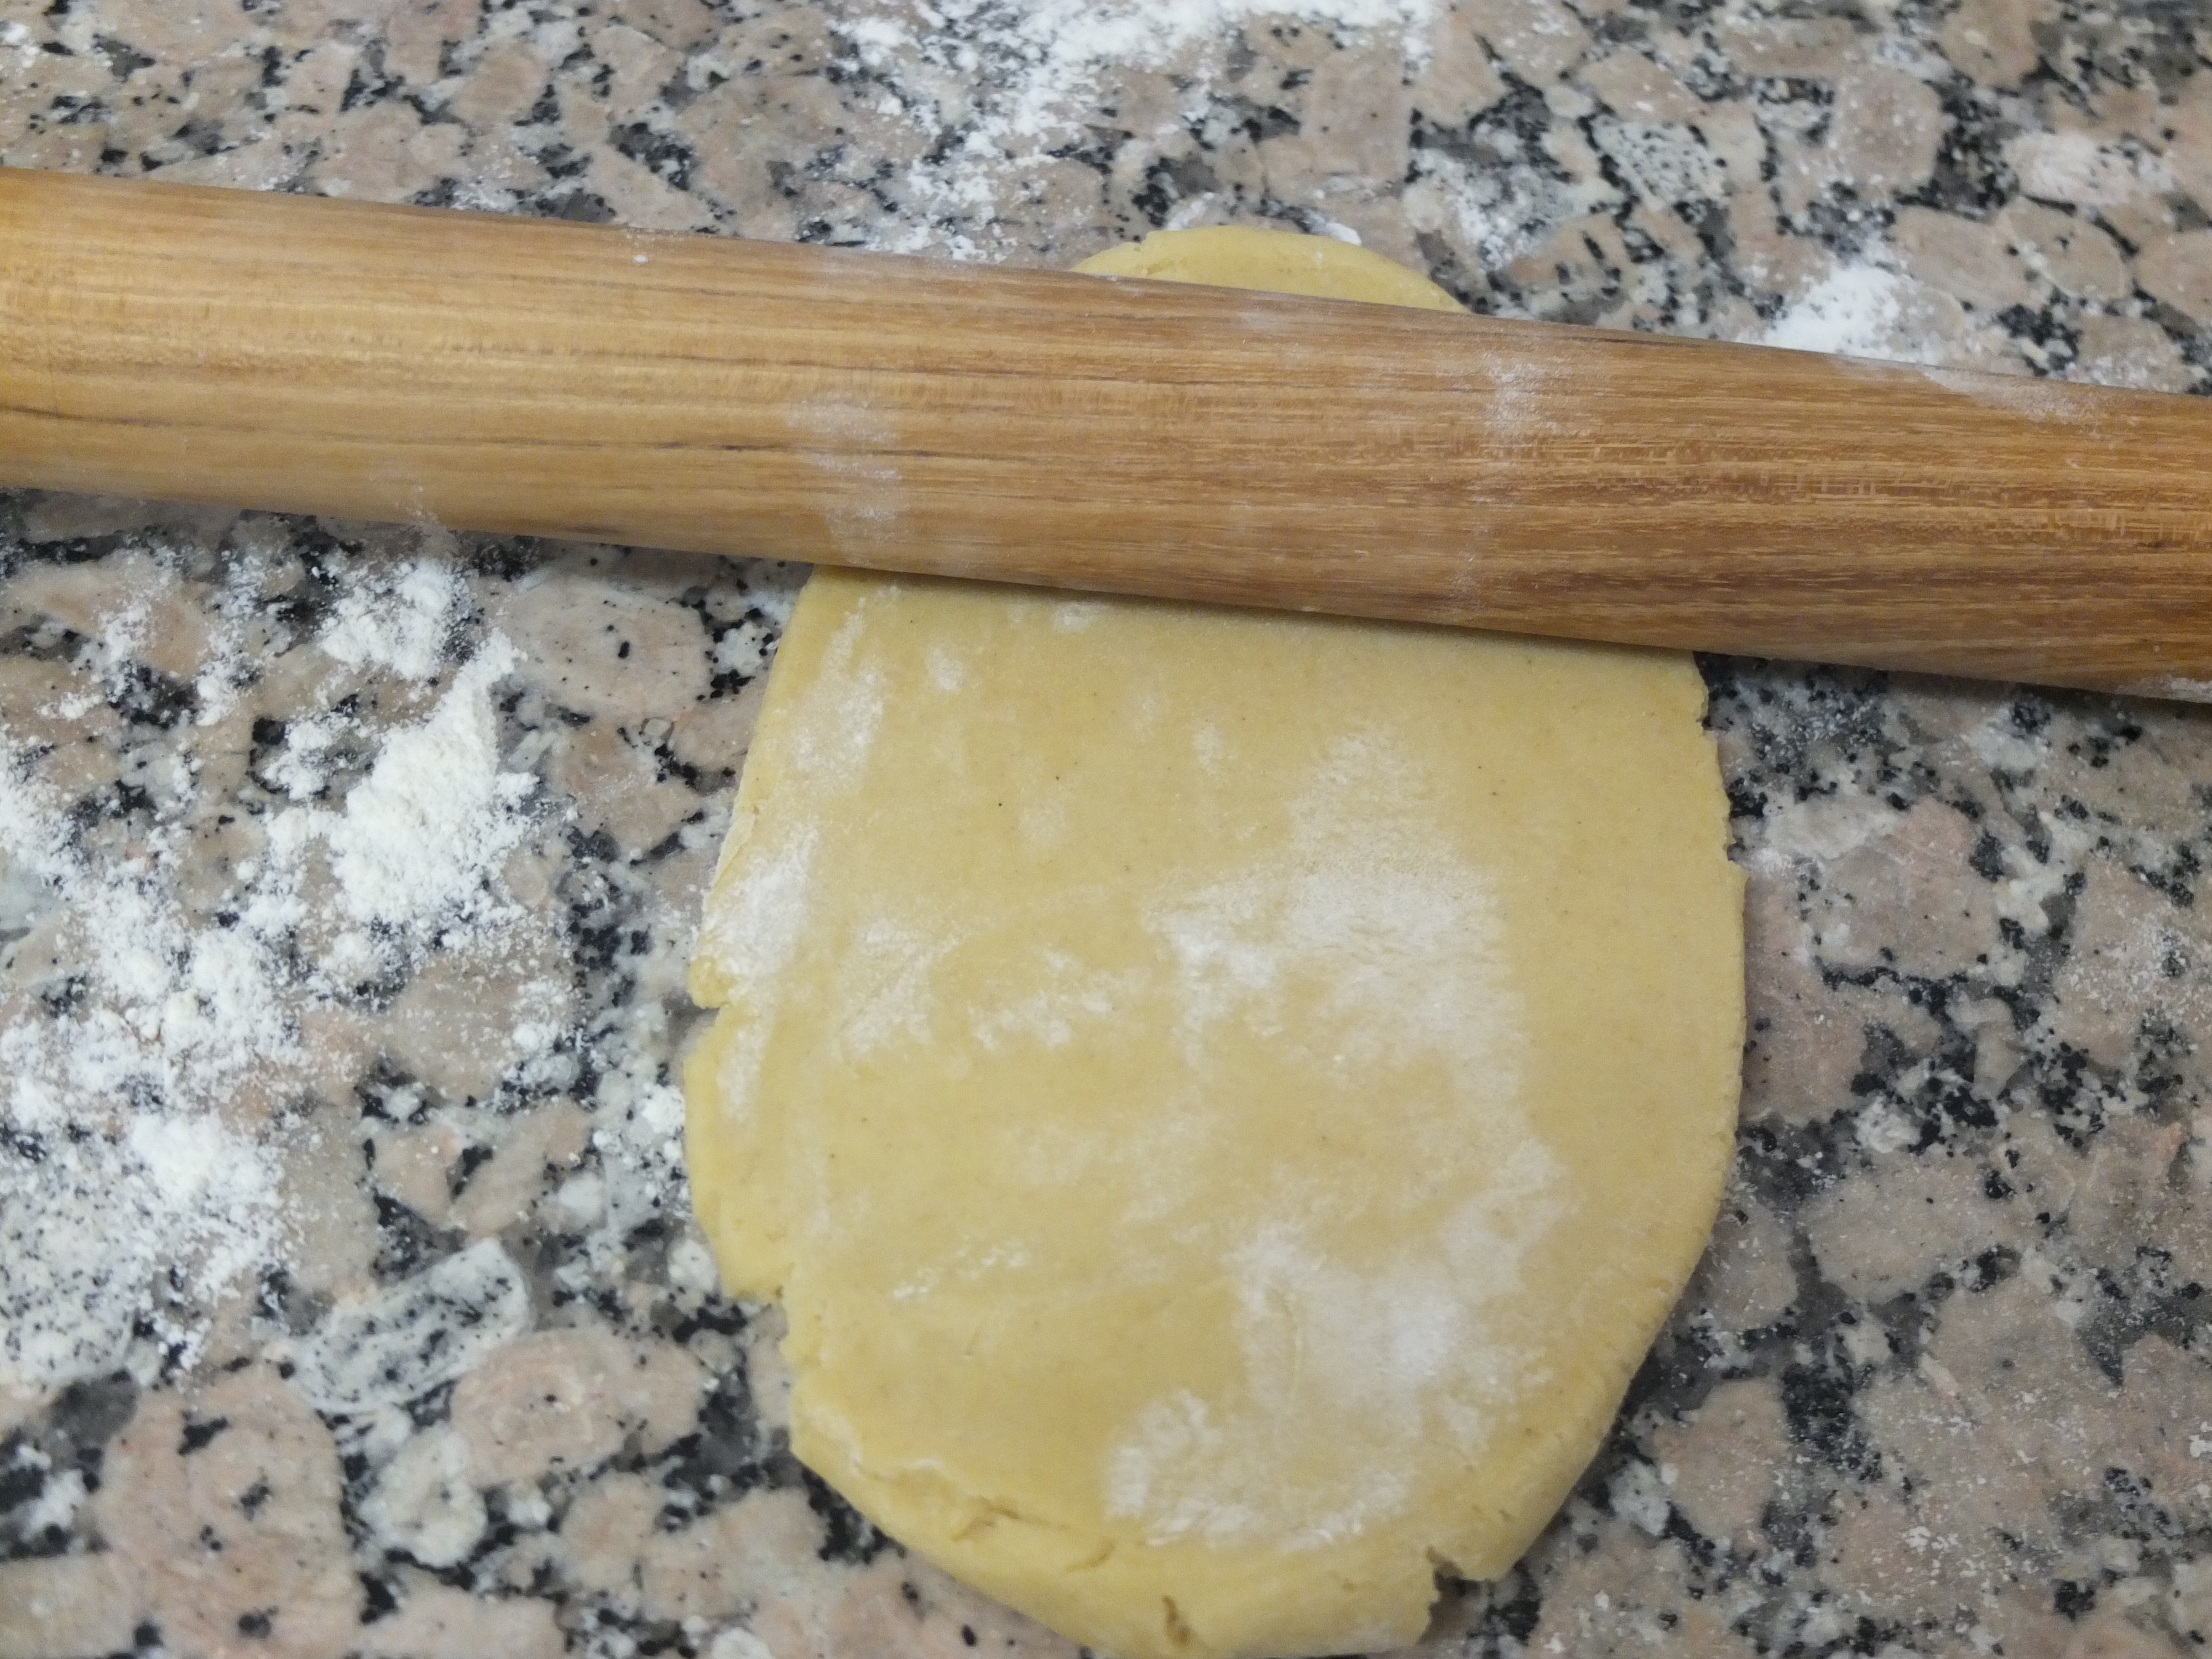
2. Sprinkle a little flour on your worktop and start rolling with short even rolling motions, backwards and fowards. Keep moving the pastry around (turn it if you like) and sprinkle extra flour if necessary between the worktop and pastry, and the rolling pin and pastry, to make sure the pastry doesn’t stick. SEE THE NOTES AT THE BOTTOM OF THE PAGE FOR HOW TO ROLL DELICATE PASTRY.
3. Roll until the pastry is the size of your ring plus 3 to 4 cm bigger all around.
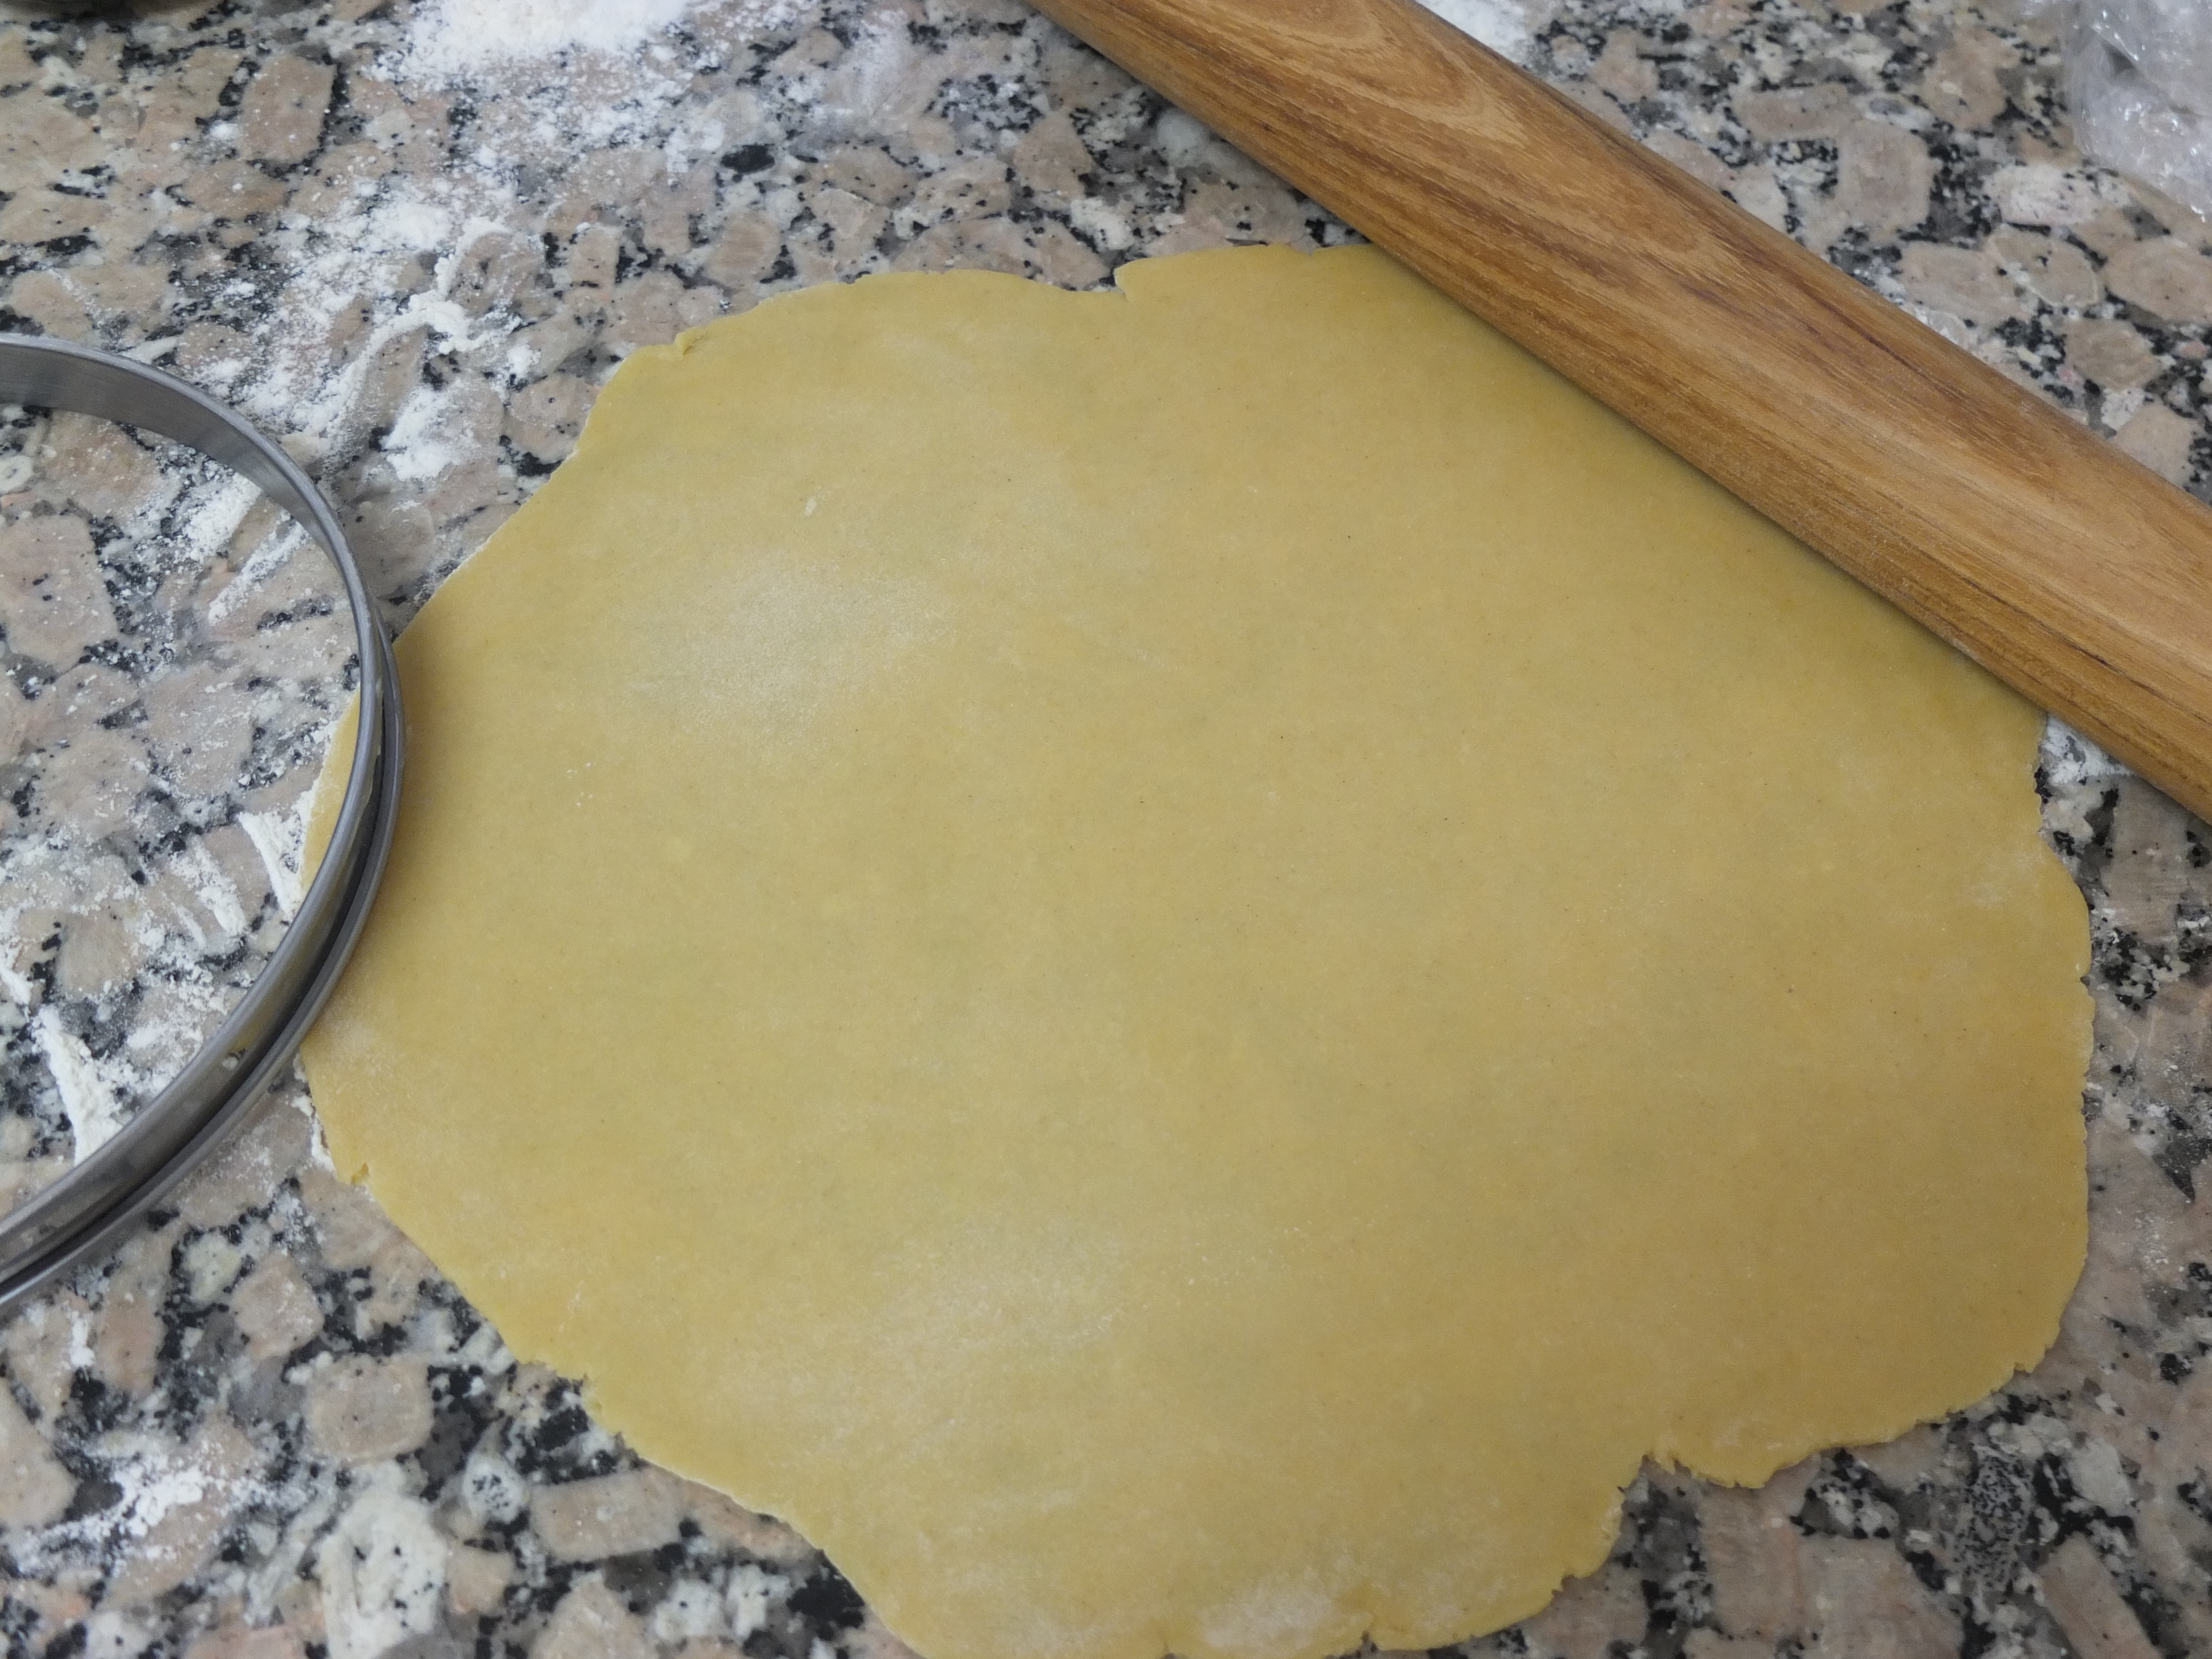
4. Put the ring on the pastry to check the size.
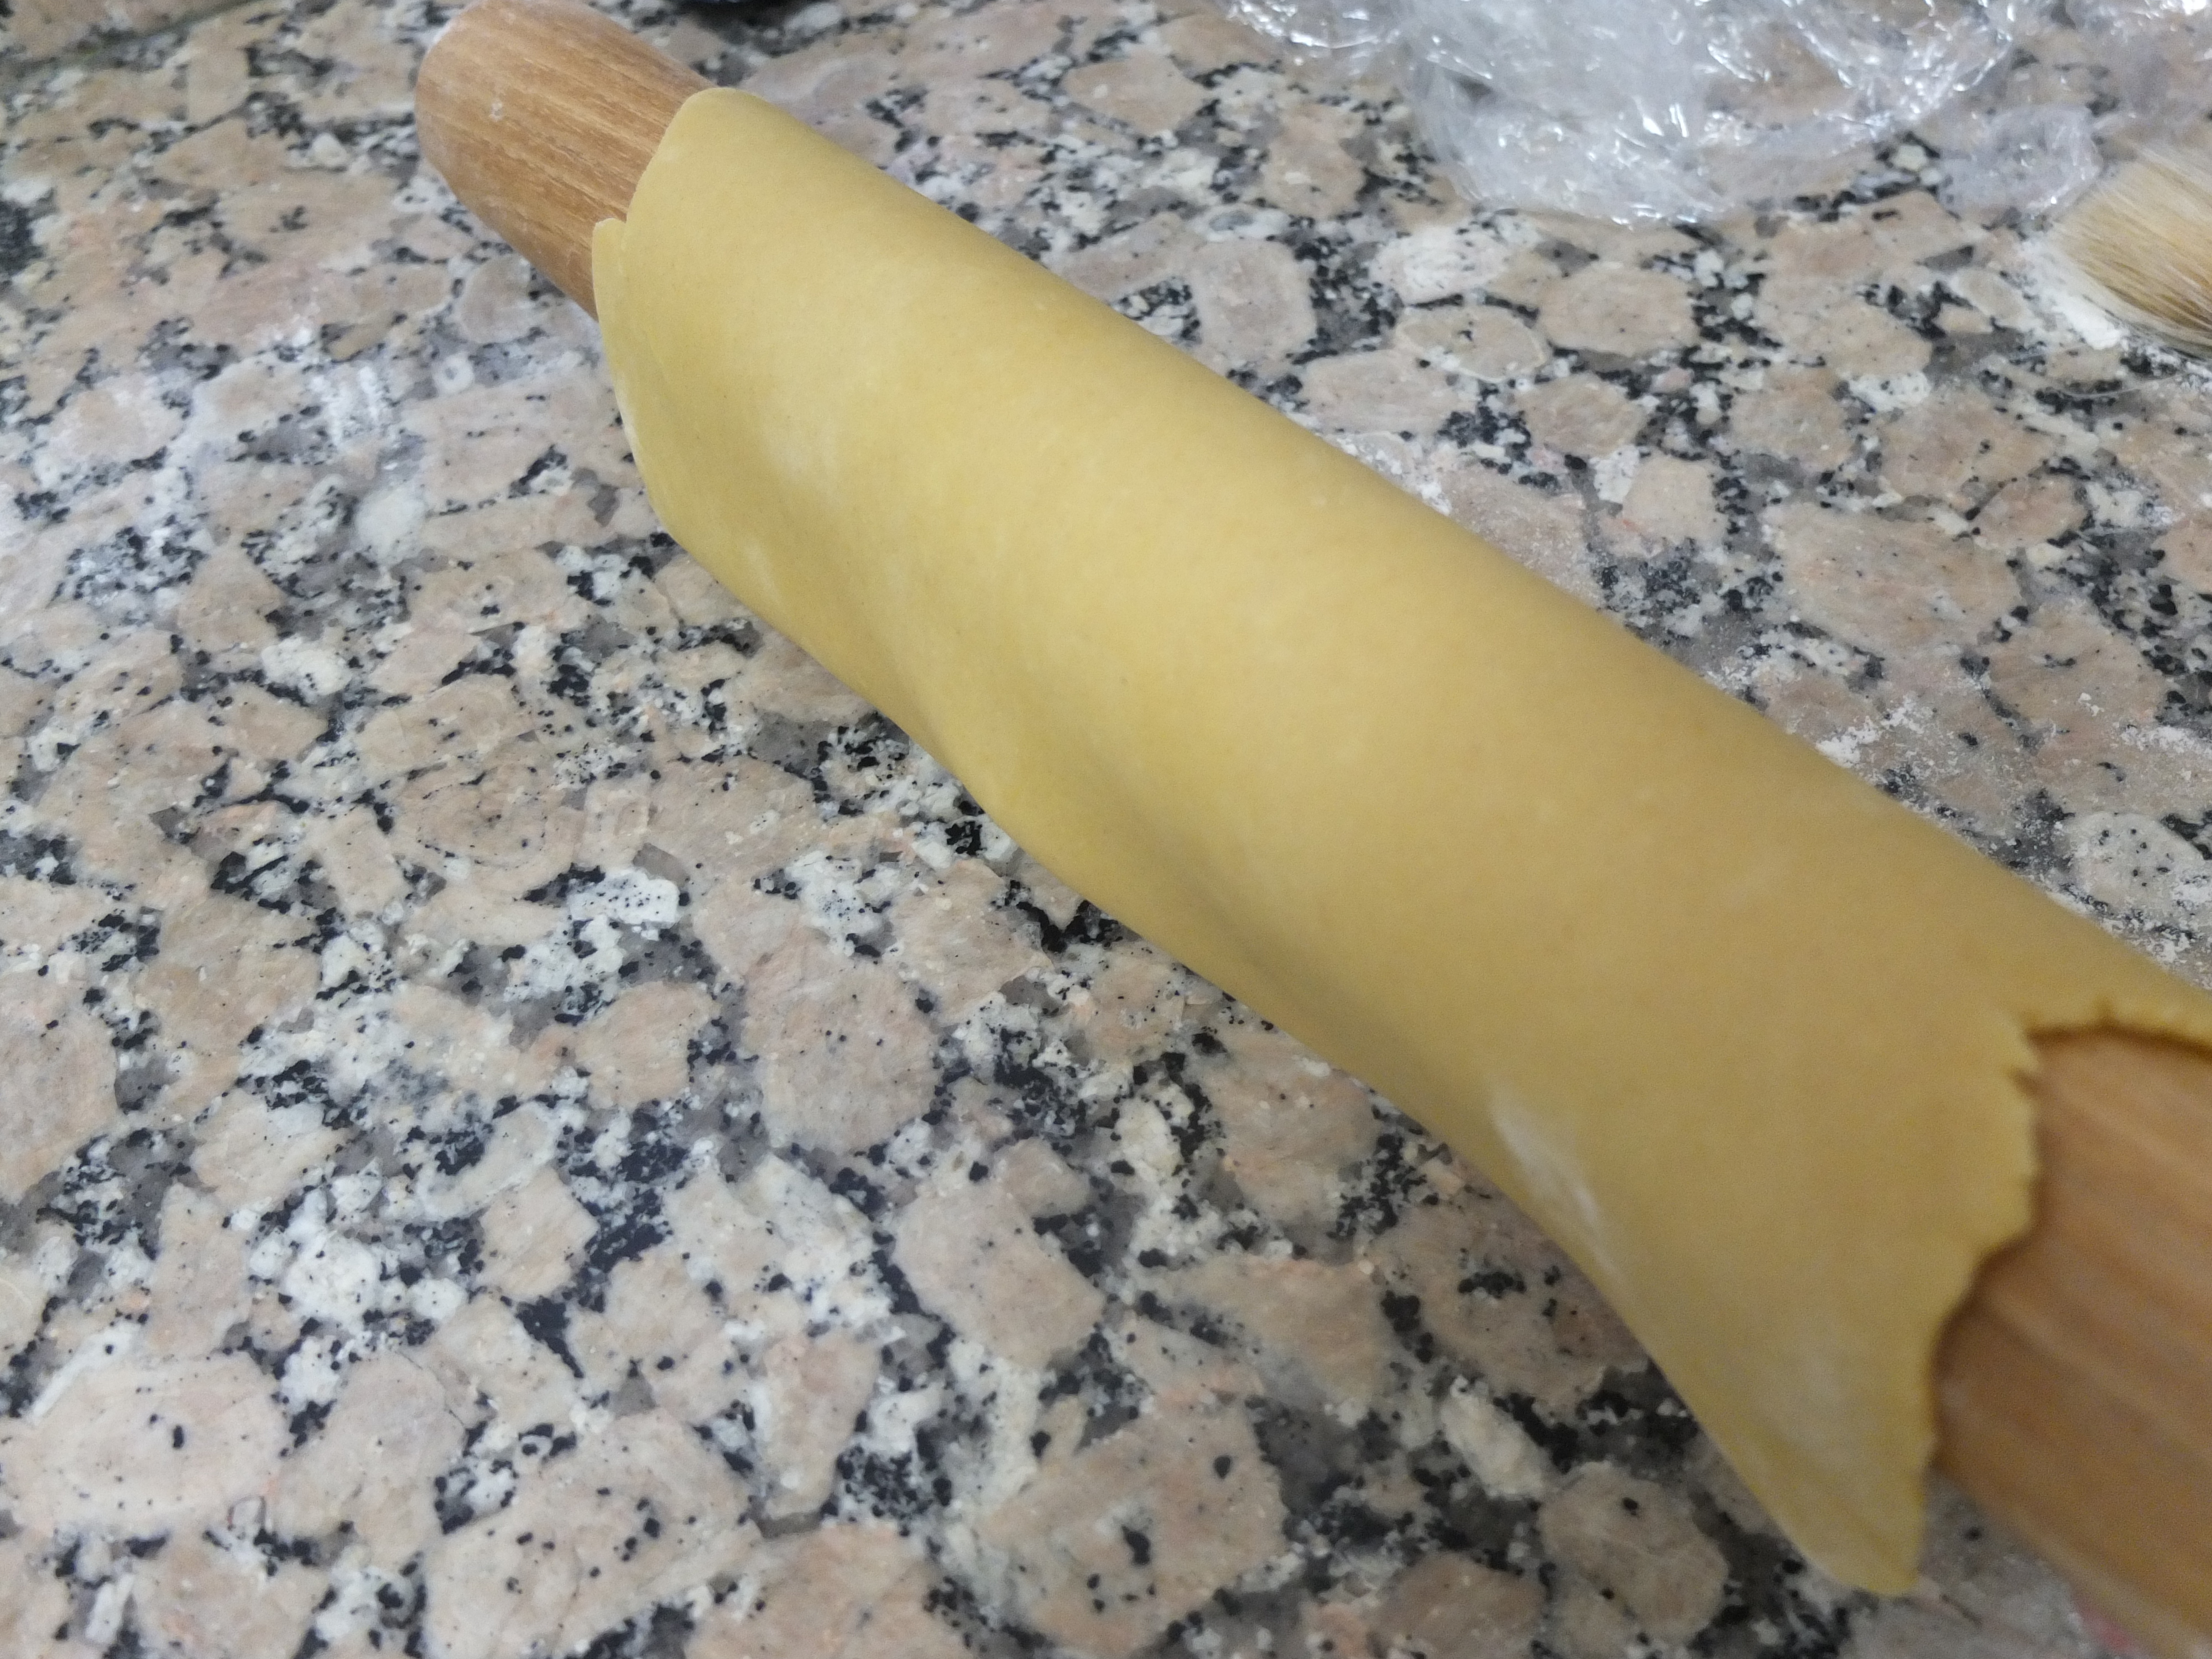
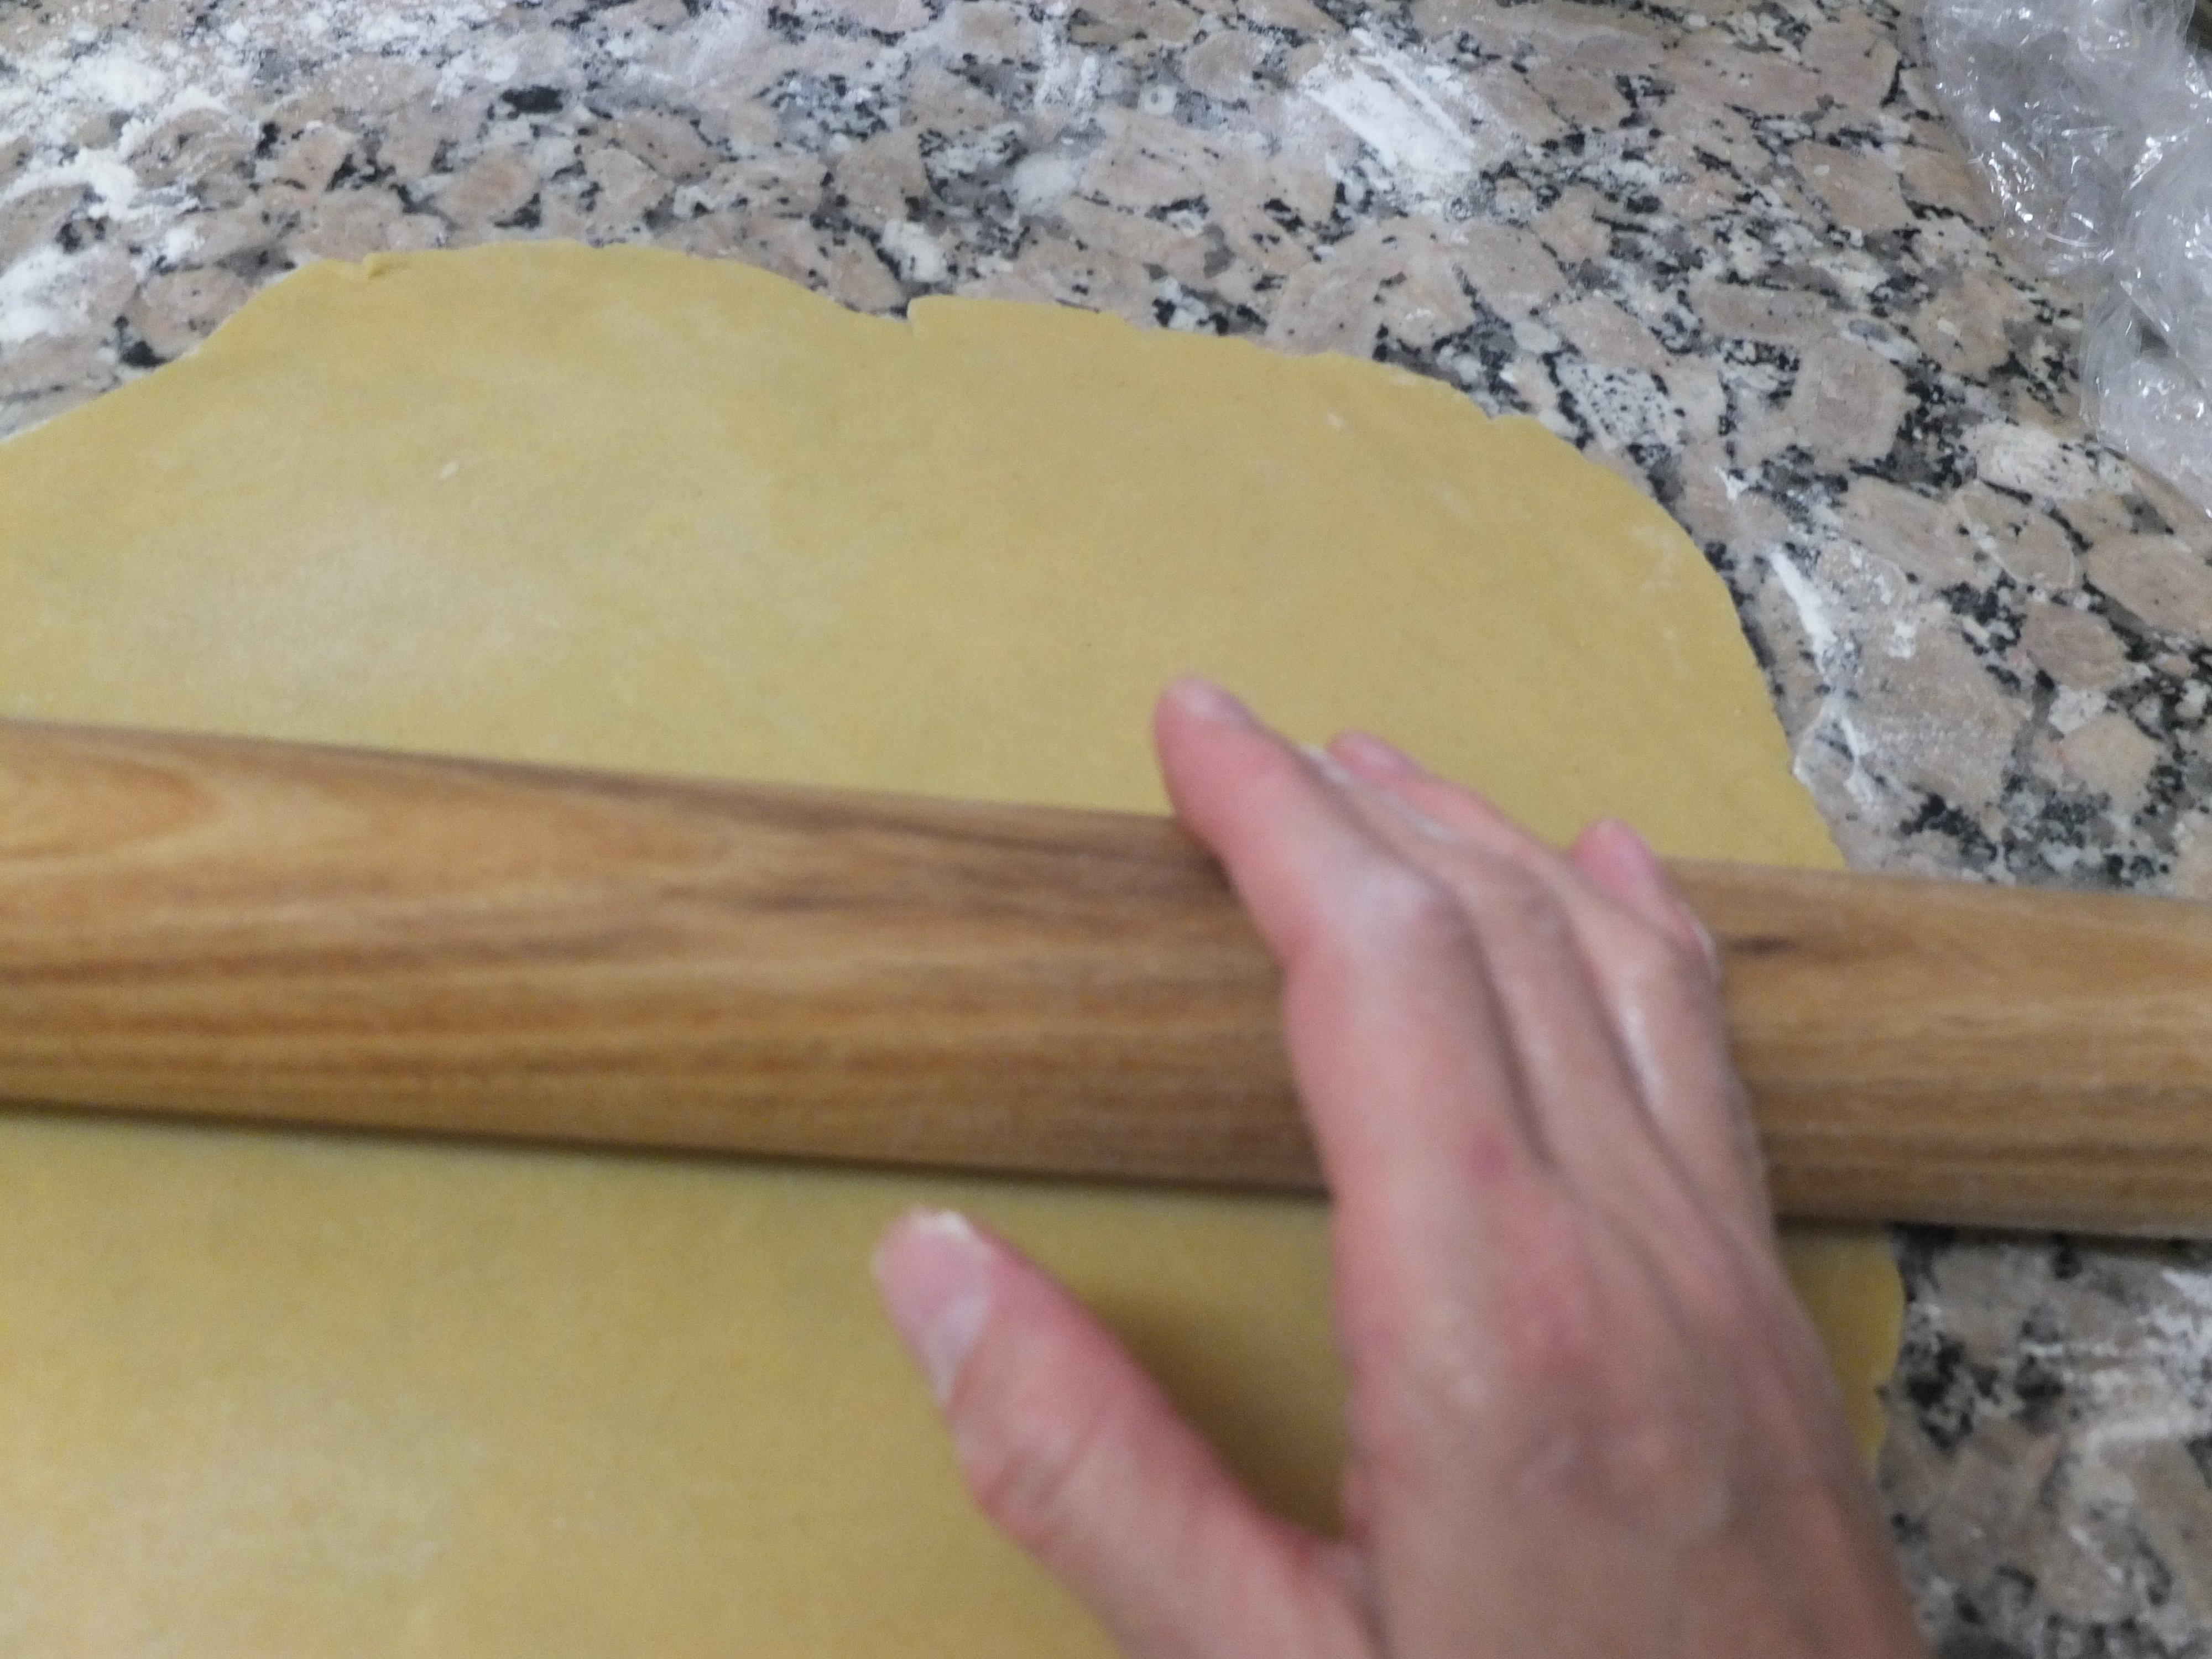
5. Put the tart ring back on the greaseproof paper and baking tray. Very carefully roll the pastry onto the rolling pin so you can unroll it into the tart ring, moving from one side to the other. Don’t worry if things stick or break apart – knead the pastry quickly and lightly together and start again. Sprinkle a little more flour on the worktop and roll to 4mm (a bit thicker) if you want to make your life a bit easier.
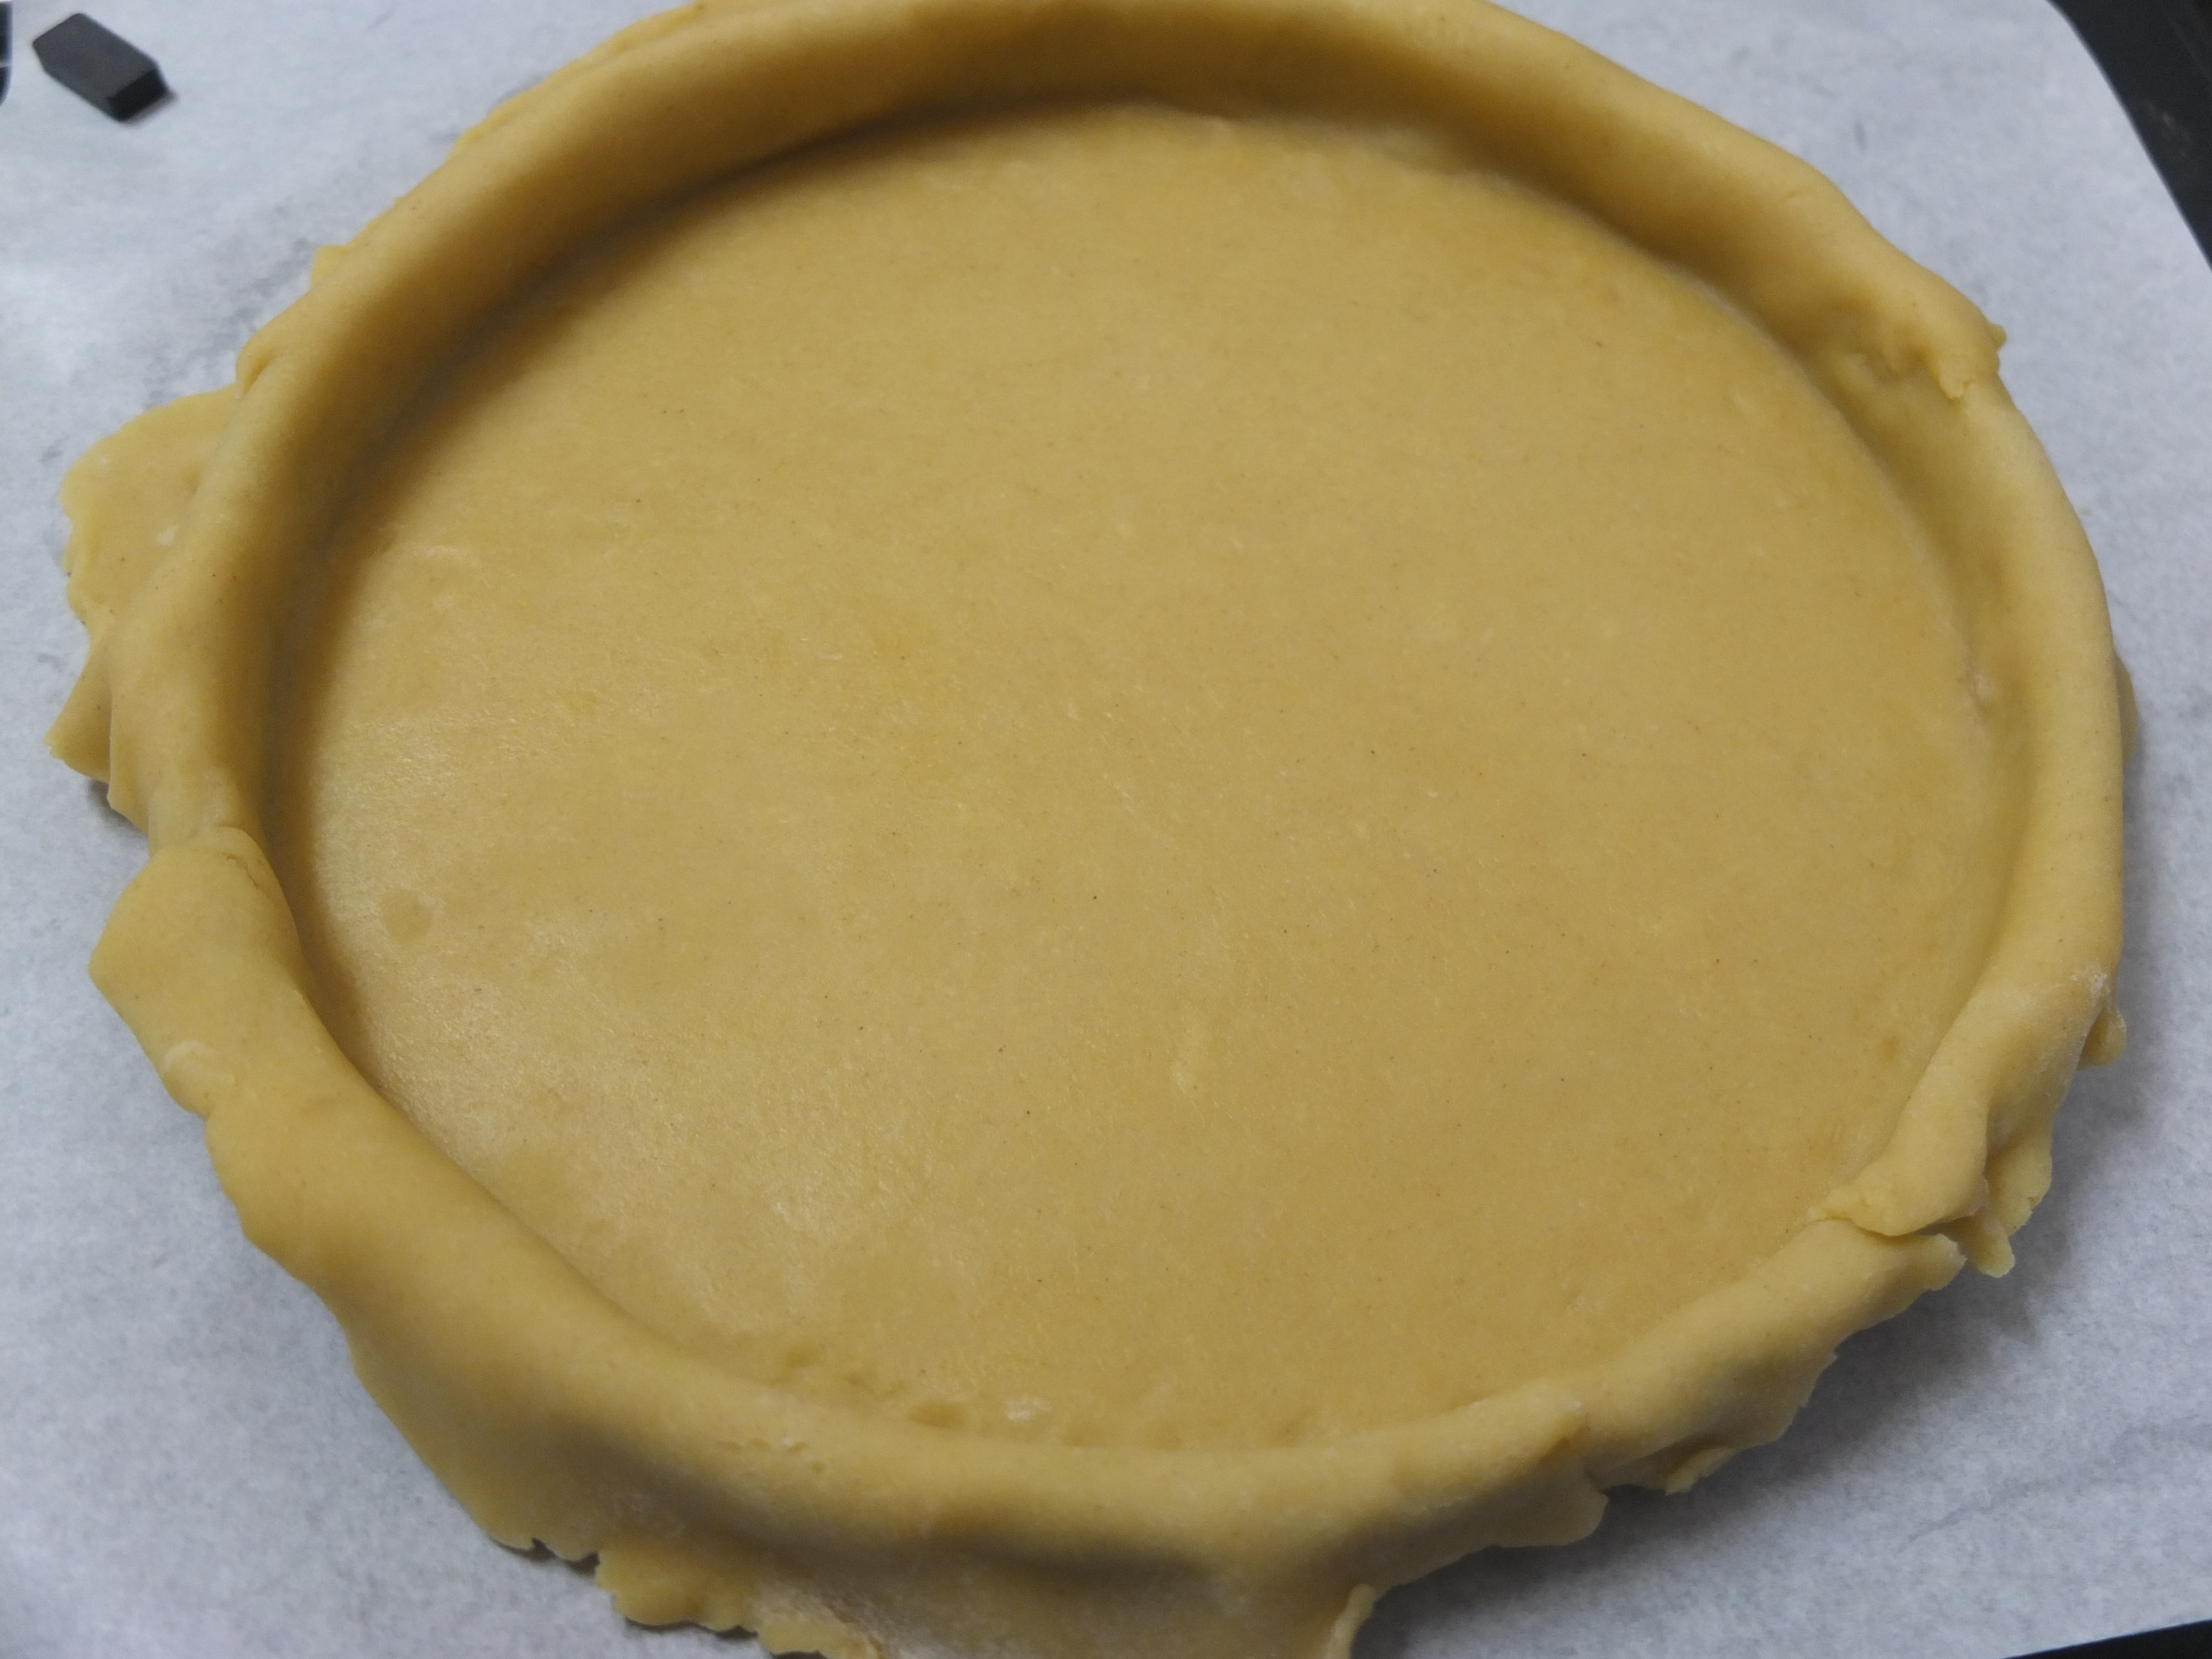
6. Make sure you have enough pastry all around. You can add little bits by sticking them on if there are any holes.
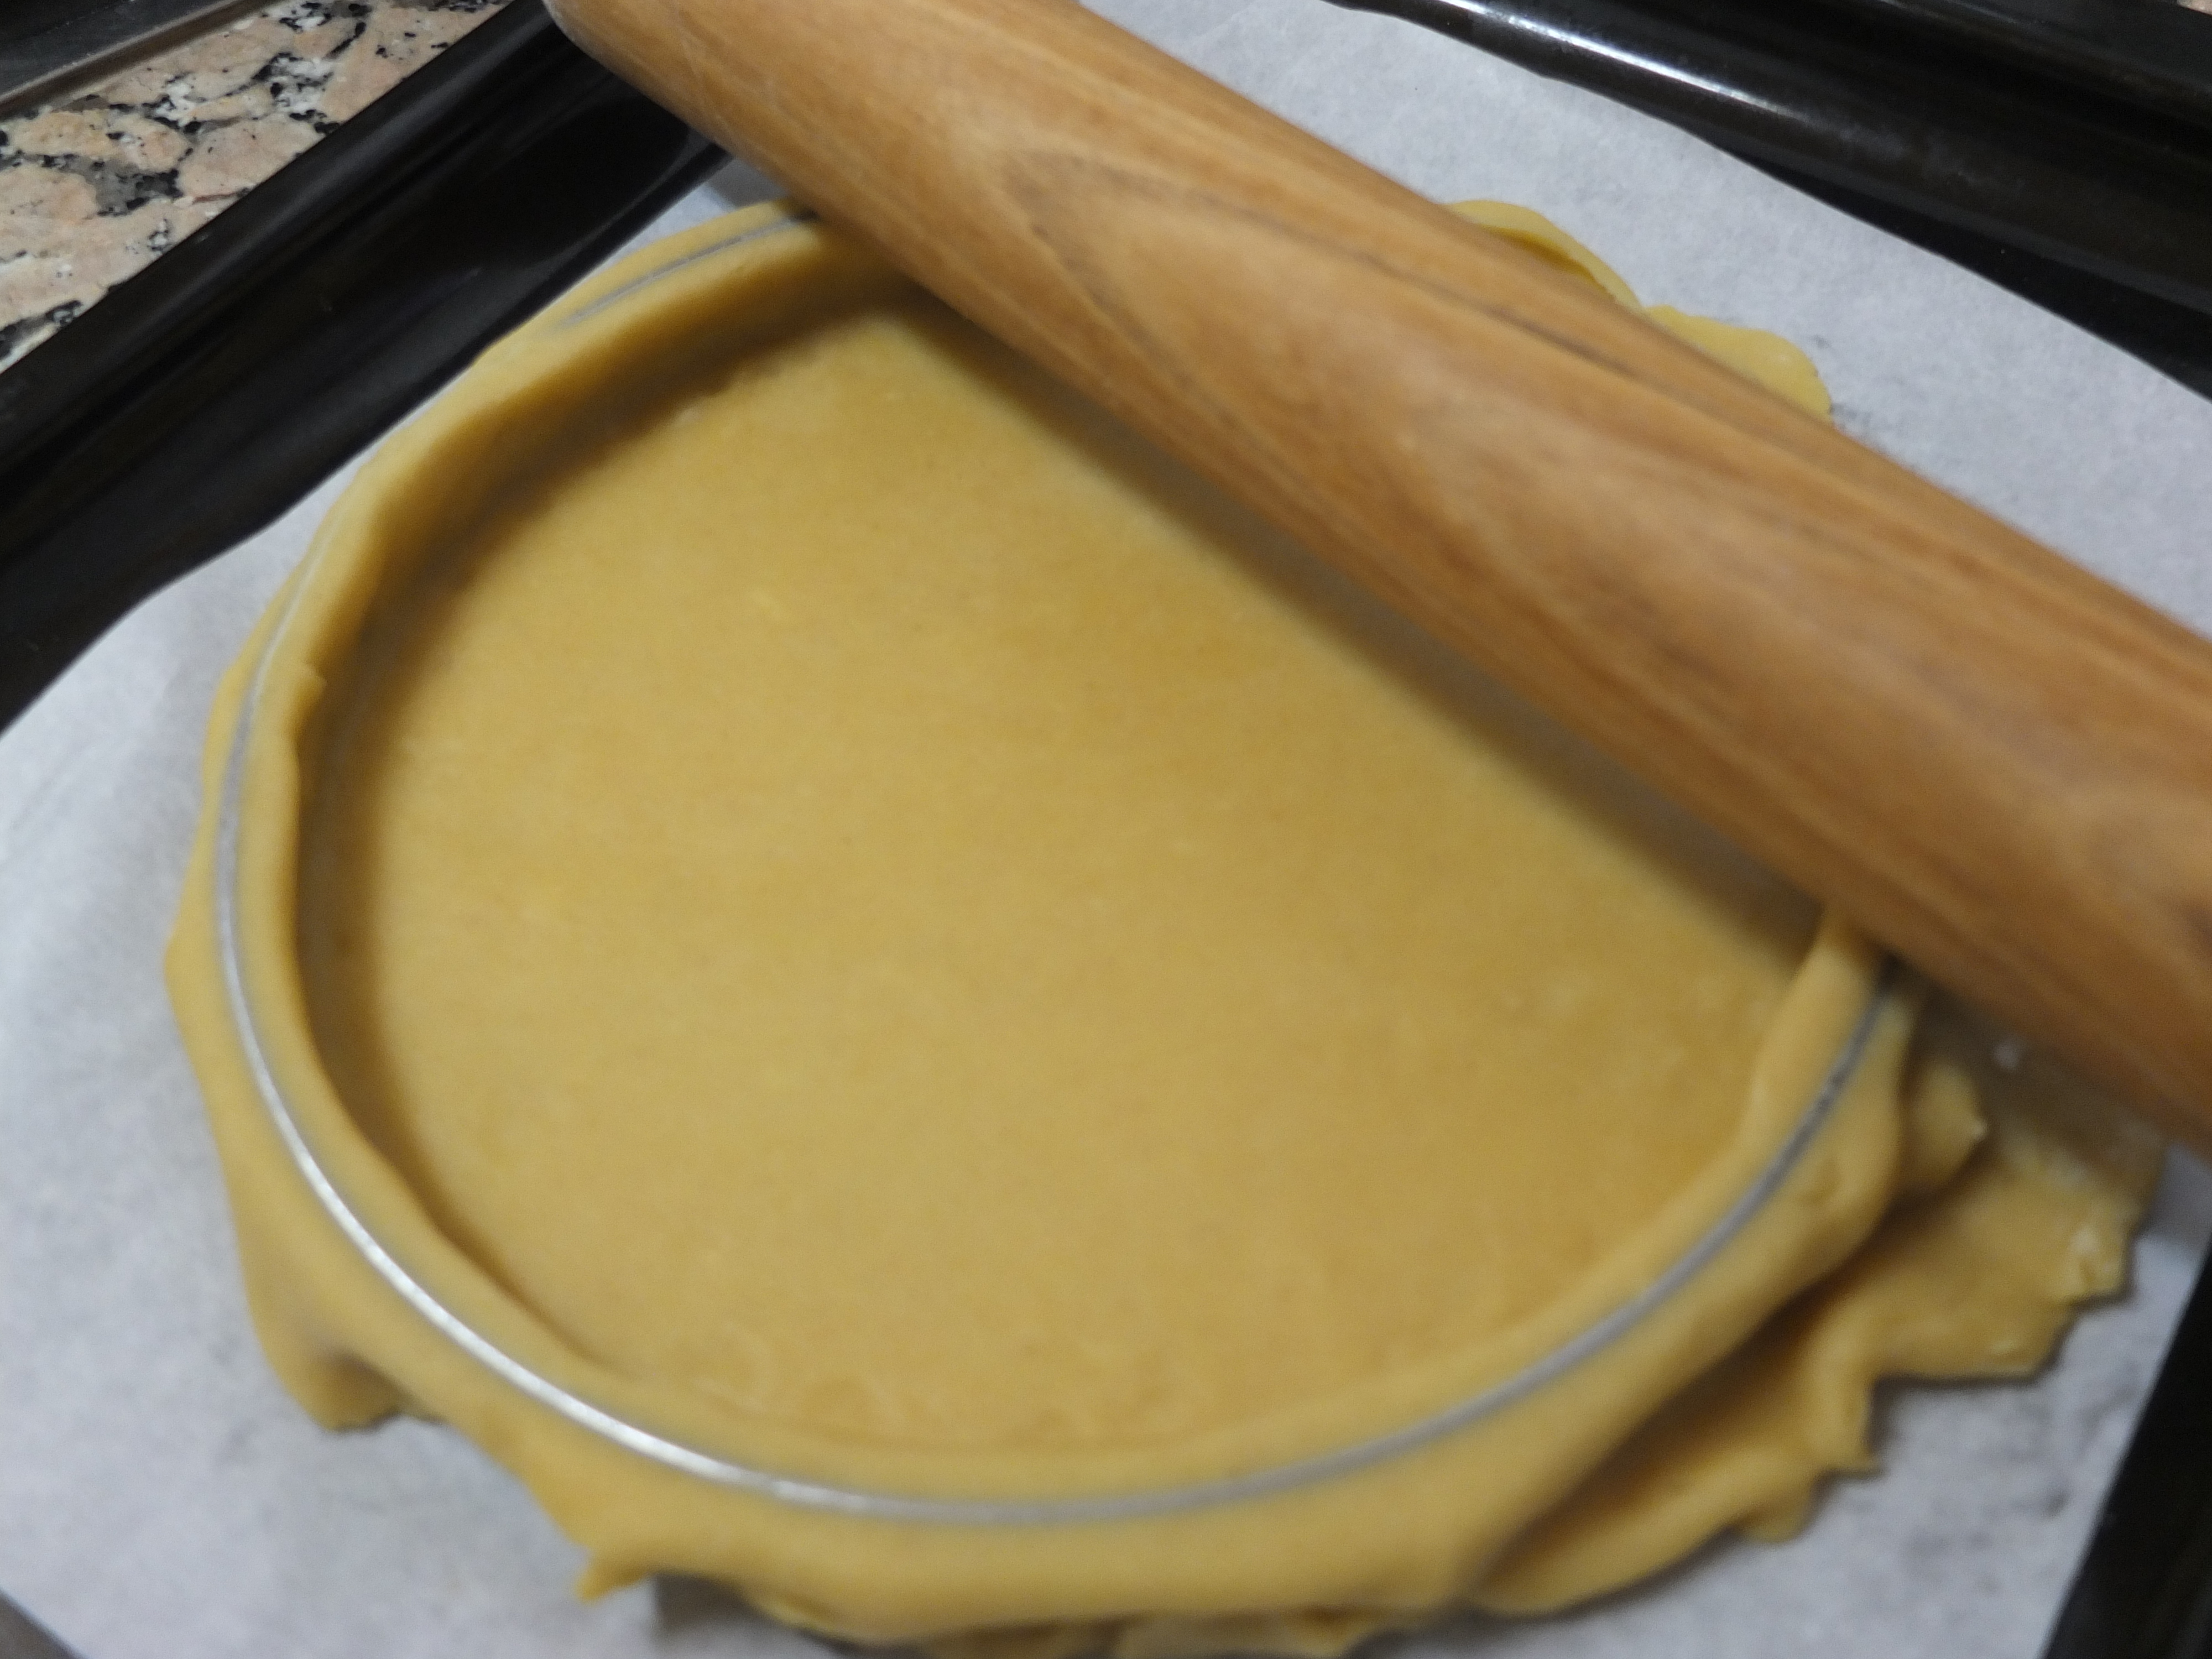
7. Roll the rolling pin over the ring to cut the excess pastry off the sides.
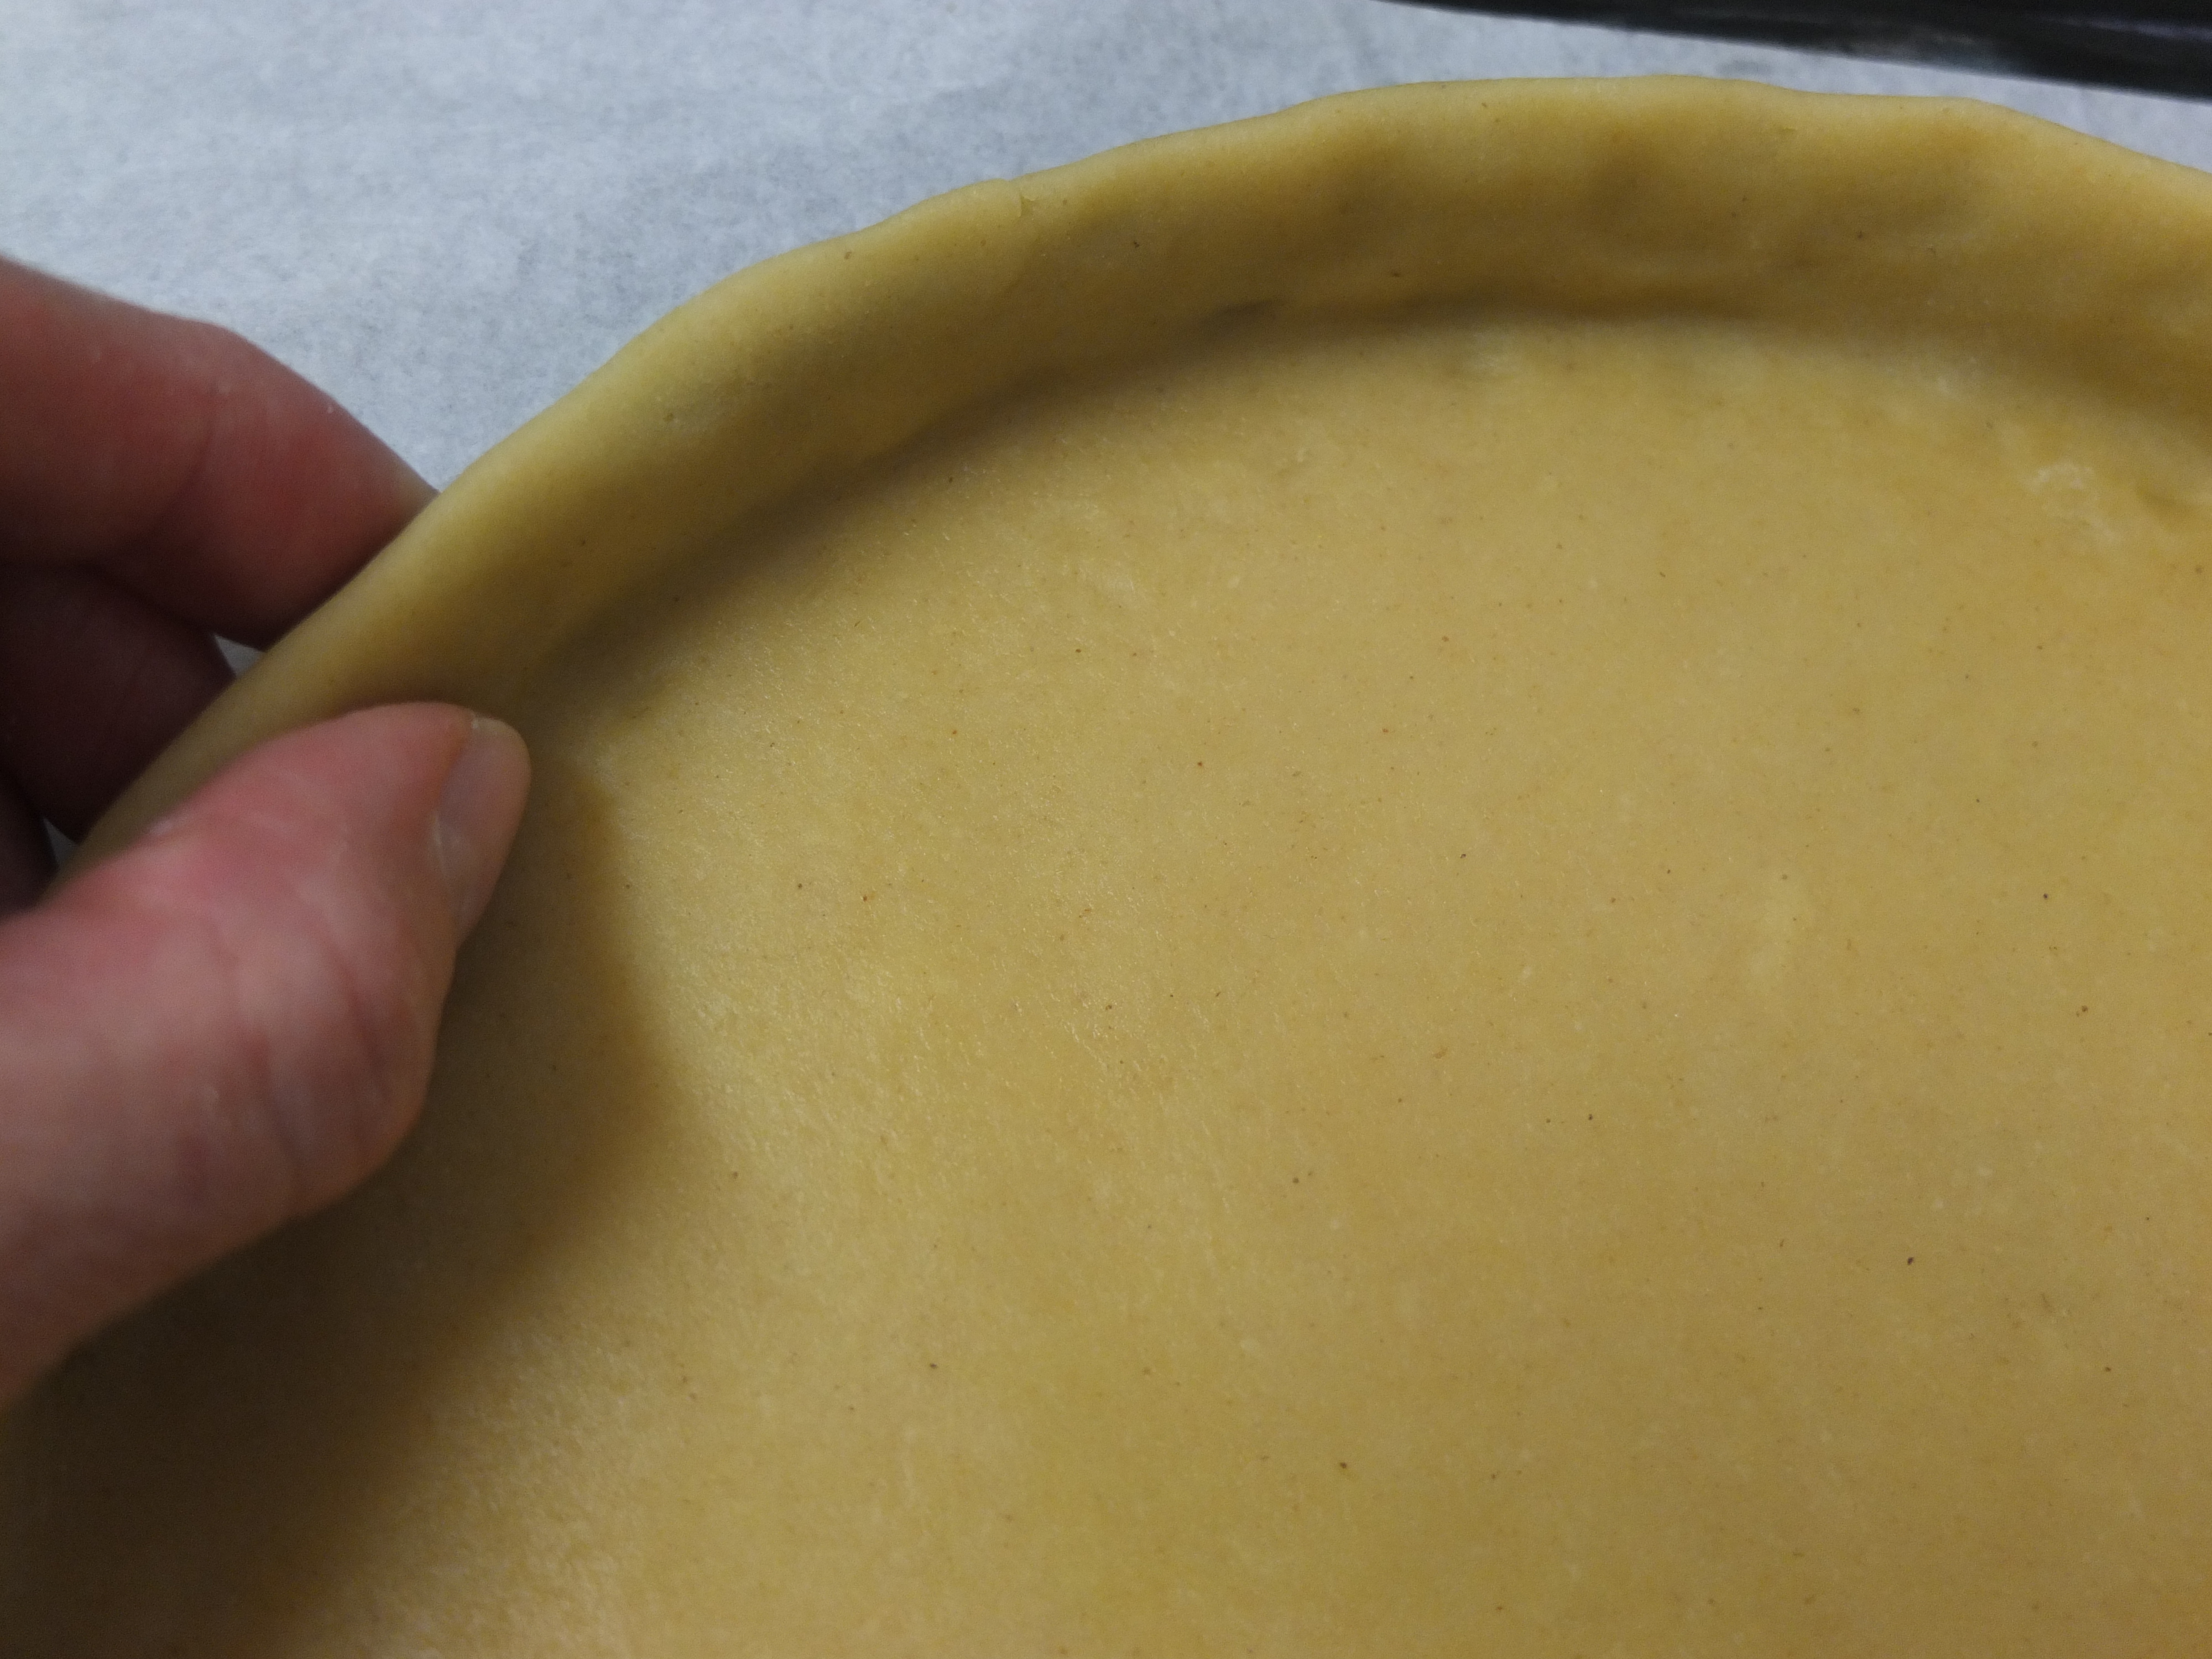
8. Pinch the pastry between your thumb and index finger on the sides to make them even and thin. The pastry will be a little higher than the ring. SEE THE NOTES BELOW ON HOW TO HAVE NEATER EDGES FOLLOWING THIS STAGE.

9. Use the back of a butter knife or a crimper to make regular indents all around the pastry case.
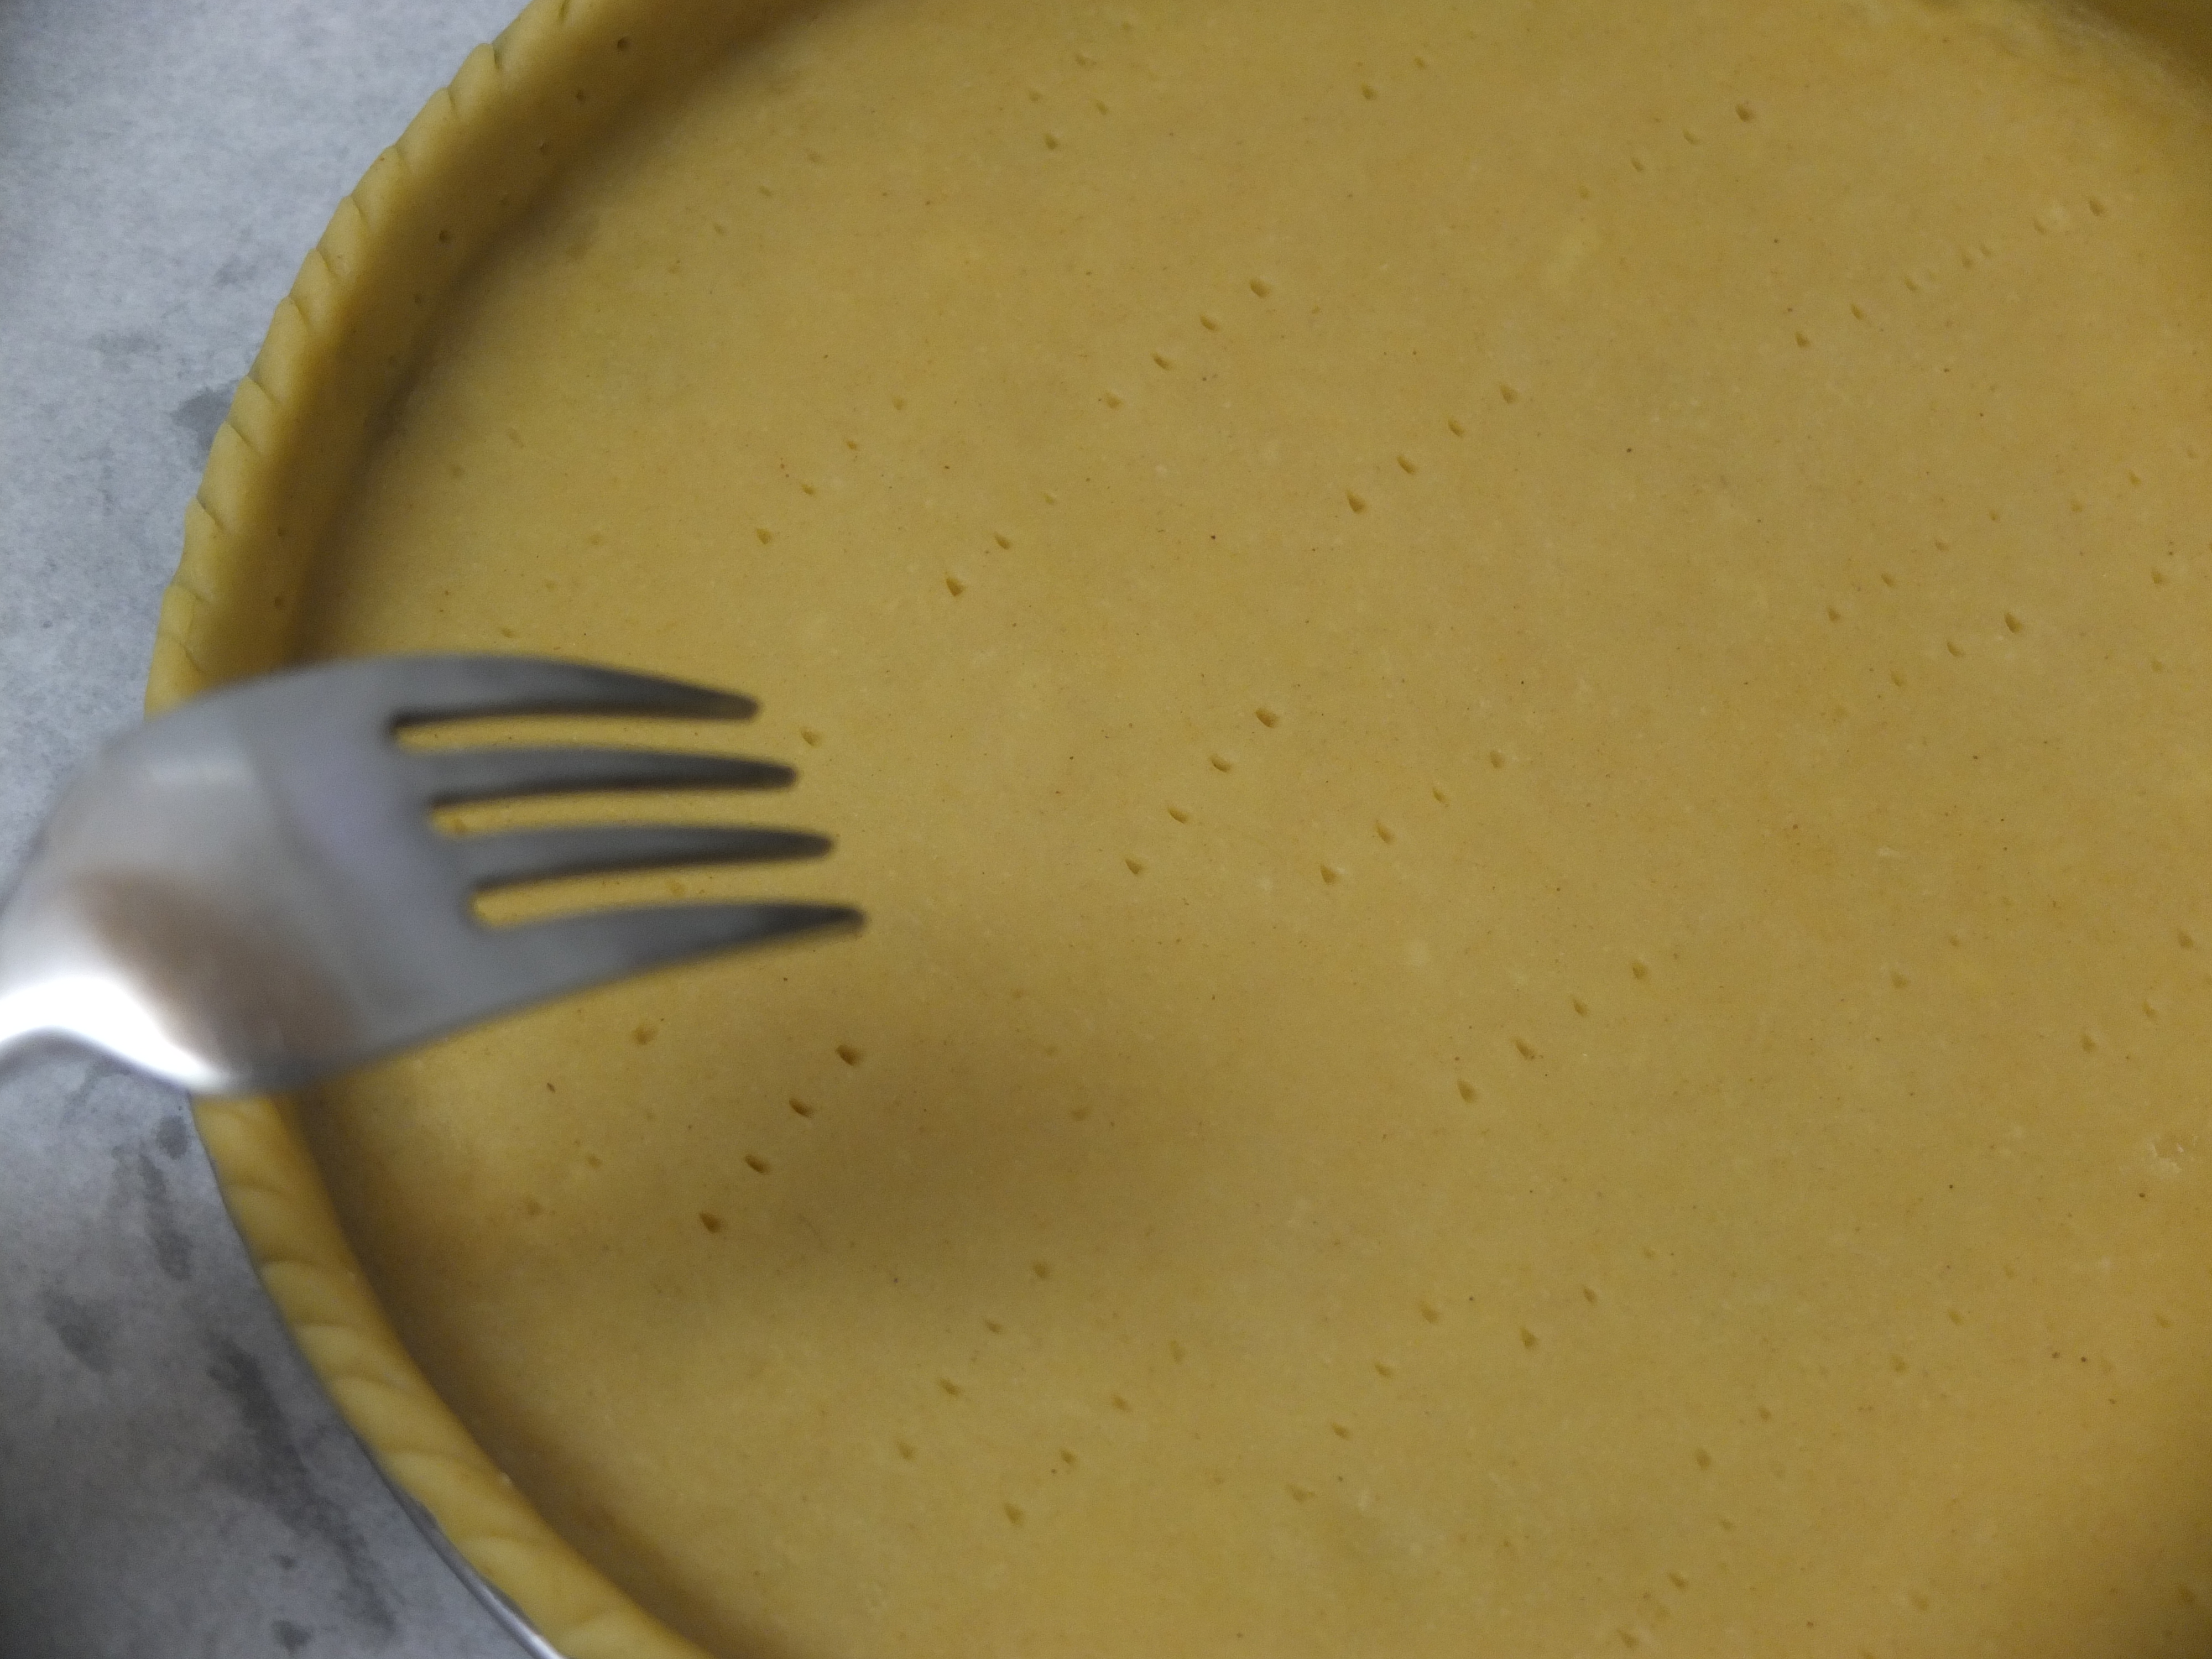
10. With a fork, prick holes in the pastry at the bottom and on the sides. Before baking, chill around 40 – 50 mins in the fridge or if you want to be sure of a stable pastry and neater look, freeze the case for 30 minutes.
30 to 50 minutes later…
Preheat the oven at 190°C (static oven) and 170°C (fan-assisted)
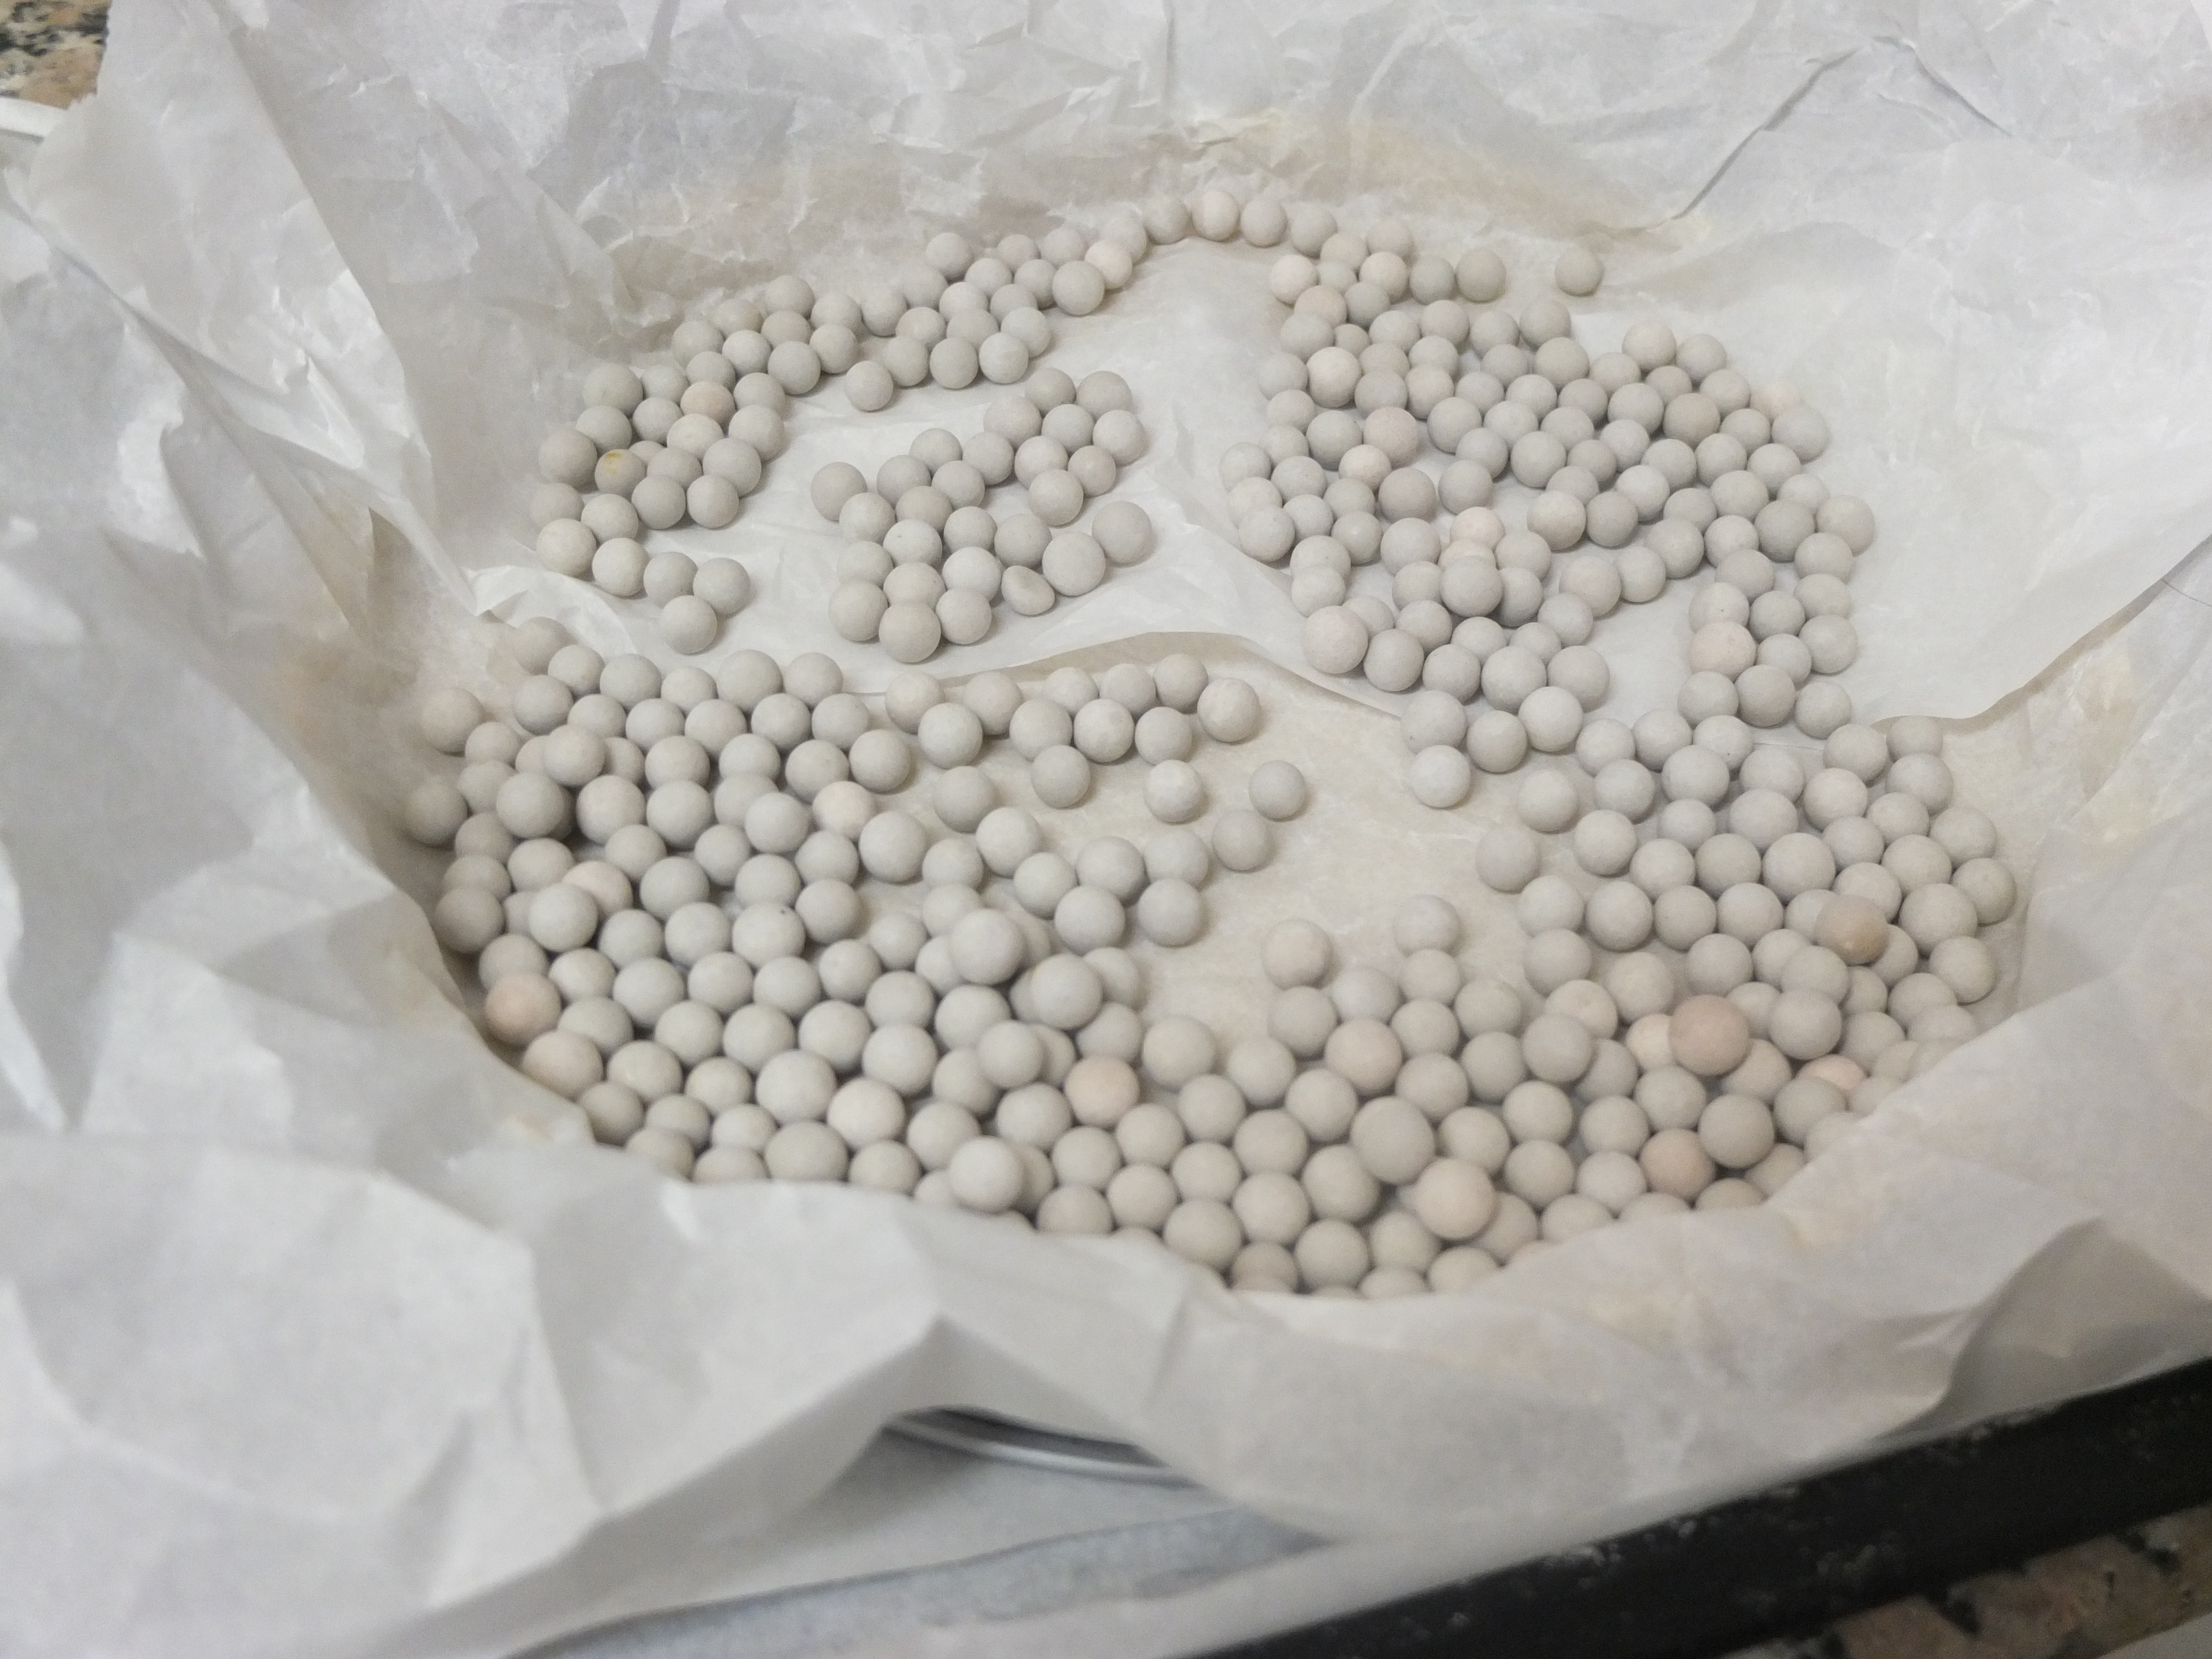
11. Crumple and crinkle some greaseproof paper and put it in the pastry case. Add ceramic baking beans, rice, or dry kidney beans and try to make sure they are evenly spaced and reach the sides. This is to make sure the pastry case stays flat and doesn’t puff up in places. Bake for around 10 minutes till the pastry is firm but NOT completely baked.
12. Take the baking tray out of the oven and reduce the heat to 180°C (static oven) and 160°C (fan assisted). Carefully remove the beans and paper. Put back in the oven to finish baking for 5 to 8 minutes, till the crust is golden brown. Some parts might be darker brown, but this is fine – as long as nothing’s black and bitter with smoke coming out of it.
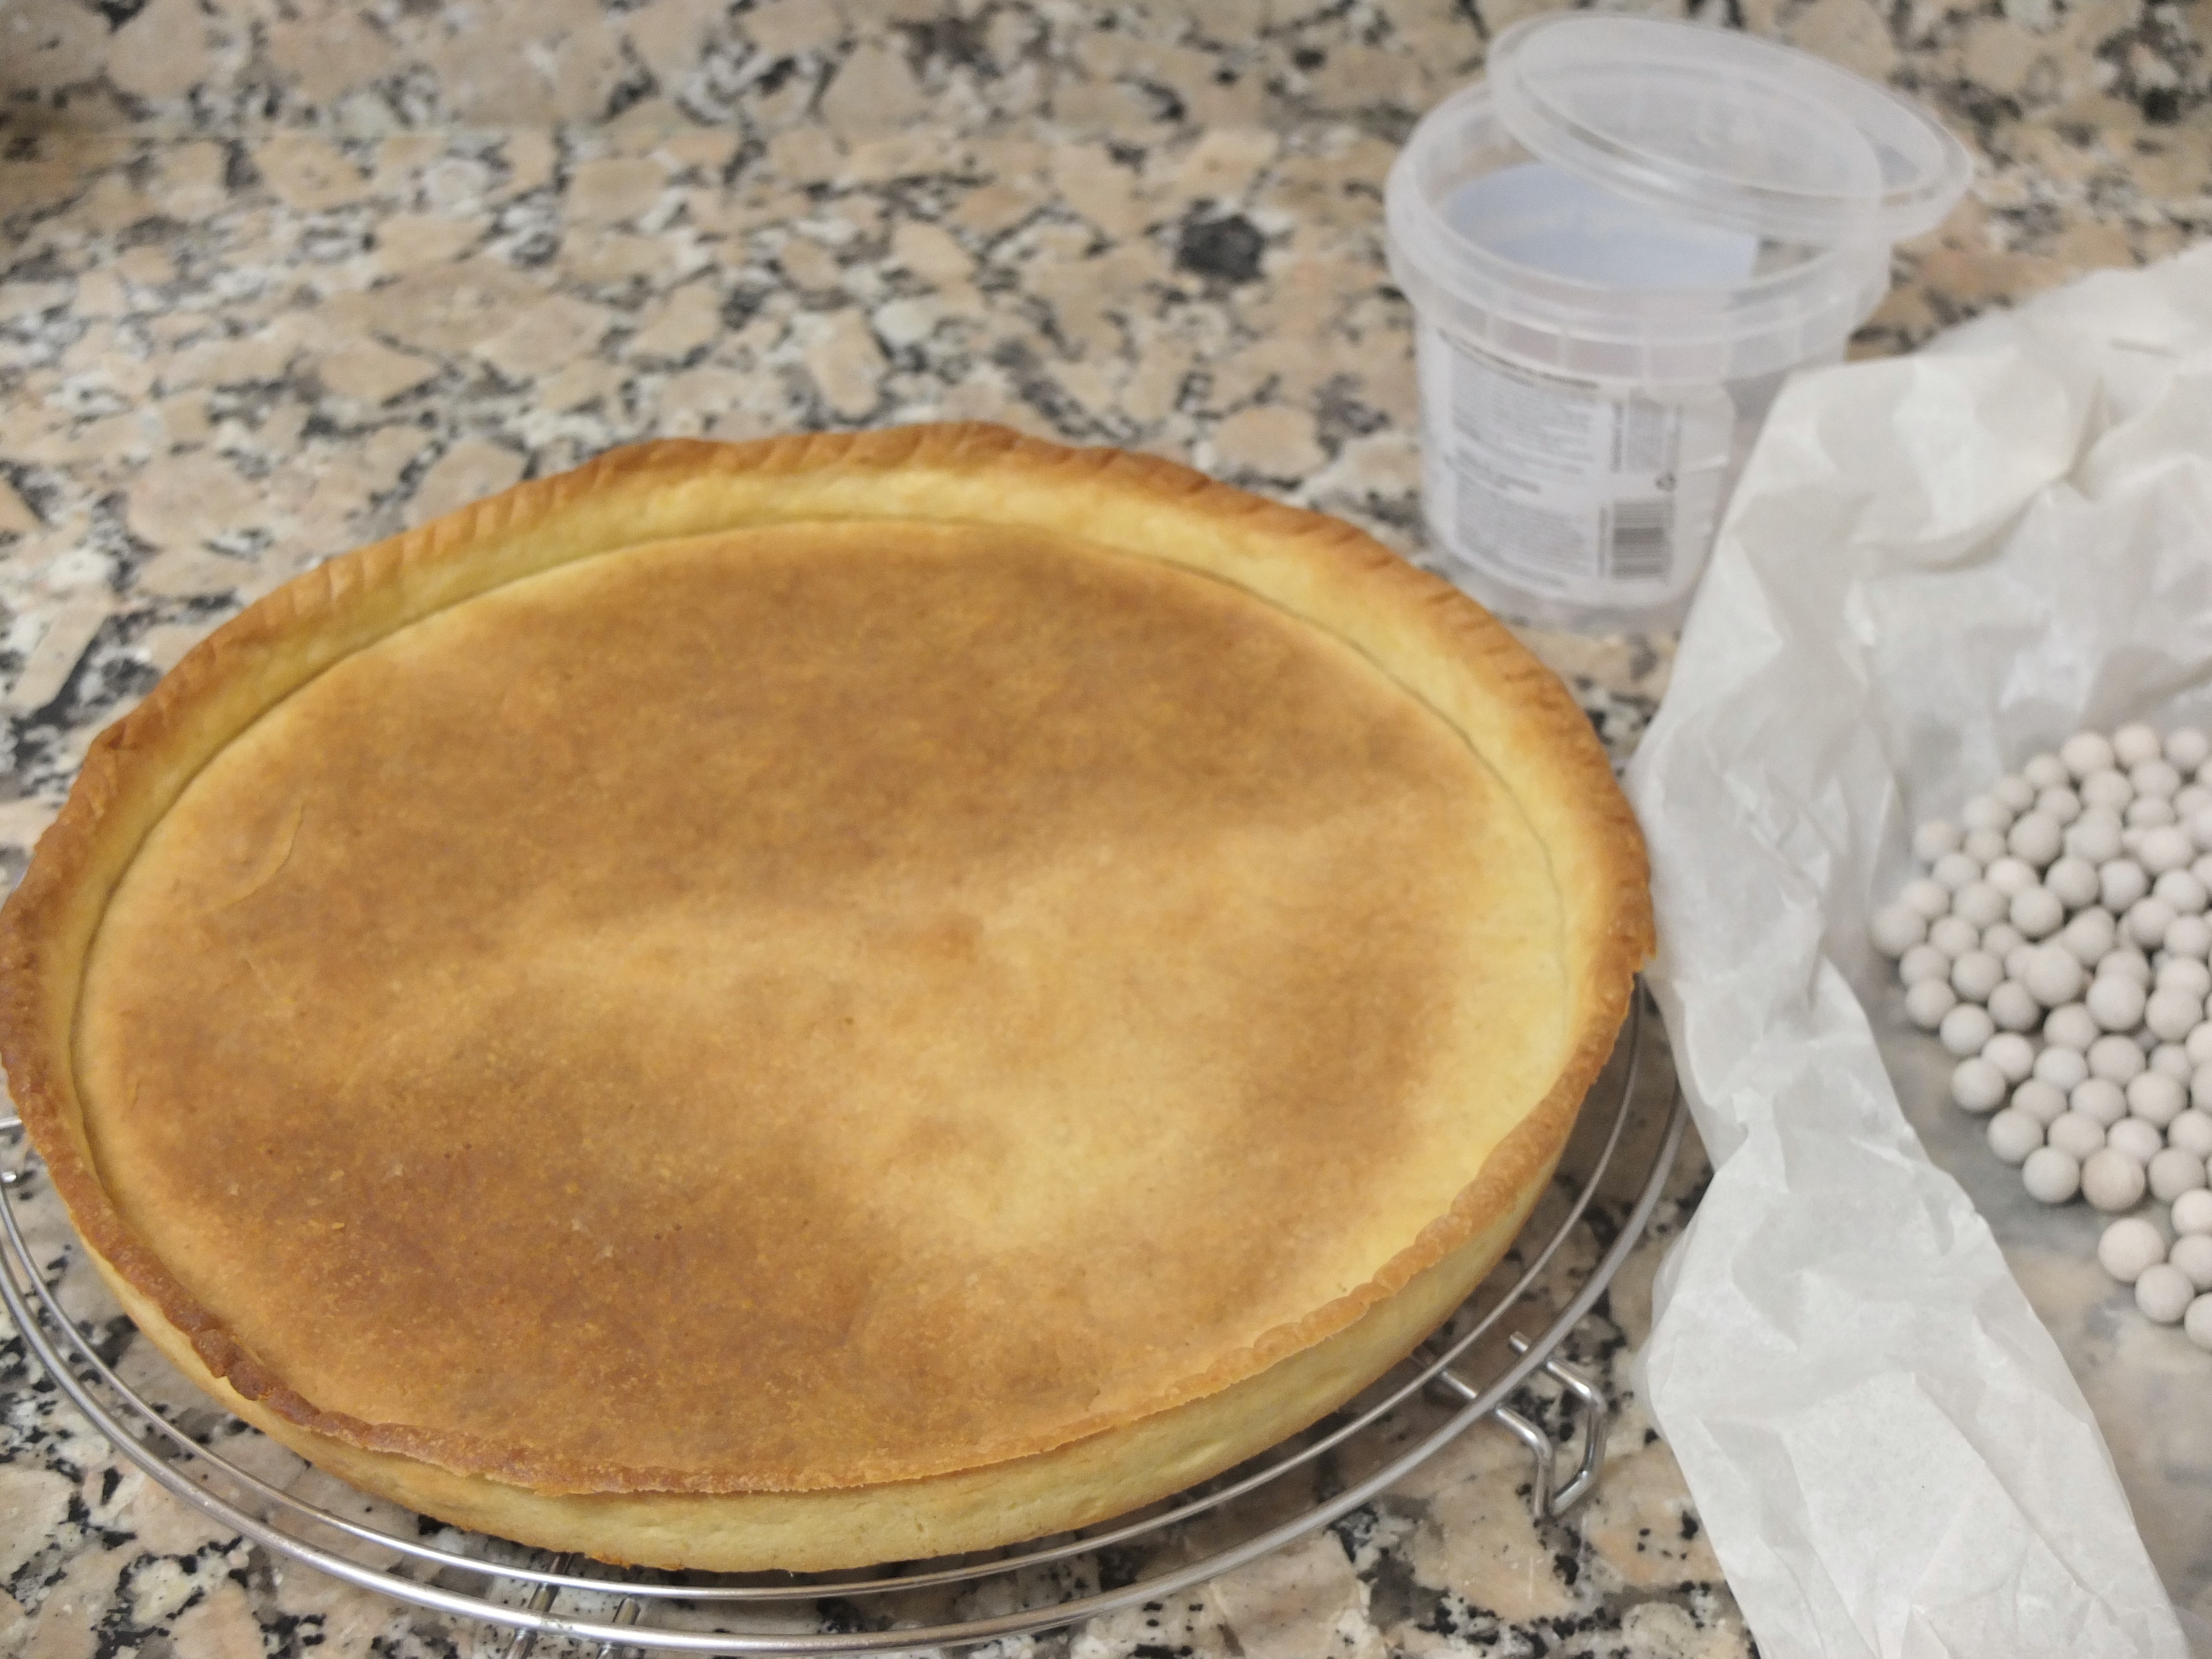
13. Put the pastry case and greaseproof paper on a wire cooling rack. Wait till the pastry cools then remove the ring by lifting carefully from the sides and slip the pastry case off the greaseproof paper too. Cool completely before filling.
Fill with something delicious!
Crème patissière (pastry cream) topped with fresh fruit?
Lime cream and Italian meringue?
Chocolate ganache?
Lemon curd?
The world is your oyster pastry case! 🙂
NOTES:
Delicate pastry
If you’re rolling delicate pastry with a high amount of butter, then roll it out on greaseproof paper (lightly dusted with flour) or between two sheets of greaseproof paper. The paper can also help you place the pastry around the rolling pin.
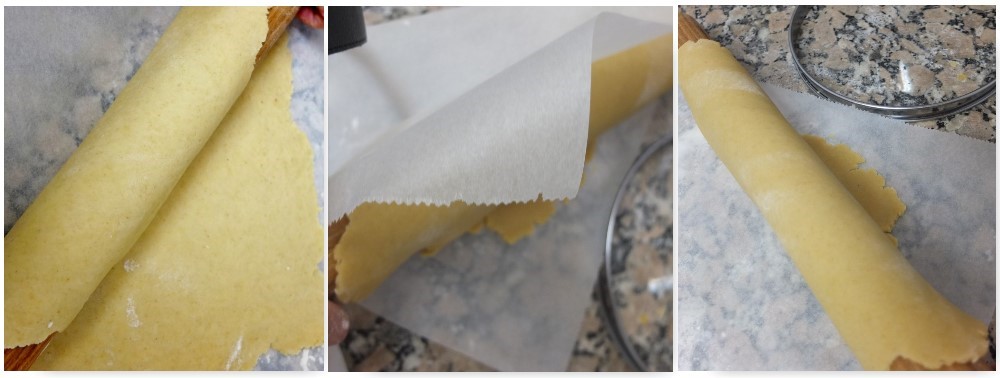
Wrapping pastry over rolling pin
Neater edges on your pastry case
You can use a small knife to trim little by little with an outwards motion. Your pastry case will end up with neater edges but also shorter, so you’ll have less room for filling. So sometimes bakers prefer the more ‘rustic’ look you can see above.

Neater edges on a pastry case

Pingback: Healthier strawberry tart with vegan blackcurrant curd recipe! Gluten-free or not … | lili's cakes
Pingback: Showstopper Fruit Tart – Here's the Dish
The instructions were very informative. Thank you.
evelynandpaul@btinternet.com
LikeLiked by 1 person
You’re so welcome. Thanks for the feedback! 🙂
LikeLike