
Initially I didn’t feel the French macaron method created shells that were as nice as those made with the Italian meringue technique. They’re definitely less stable and I lost half of them (they broke up when I tried lifting them, poor things). But the second tray came out fine and the next day I found I quite liked them! There’s more of a crunch to the outside but they’re still chewy inside.
French macaron shells
Also, the pros are that they’re fast to actually make (except for the 1 hour ‘crusting’ waiting time), there’s less washing up and you don’t need a sugar thermometre! Worth considering. This was the first time I made them with the French method but I think with practice I’ll even manage to make all of them well!
So we’ll be following the recipe from the ‘Pâtisserie’ book by Murielle Valette (lots of photos and step-by-step instructions), with some adaptations and extra tips, some of which I looked up later! 🙂
PREPARATION
Wait until later when the macarons are ‘crusting’ to preheat the oven to 175°C (static, non-convection oven) or 155°C (fan-assisted oven)
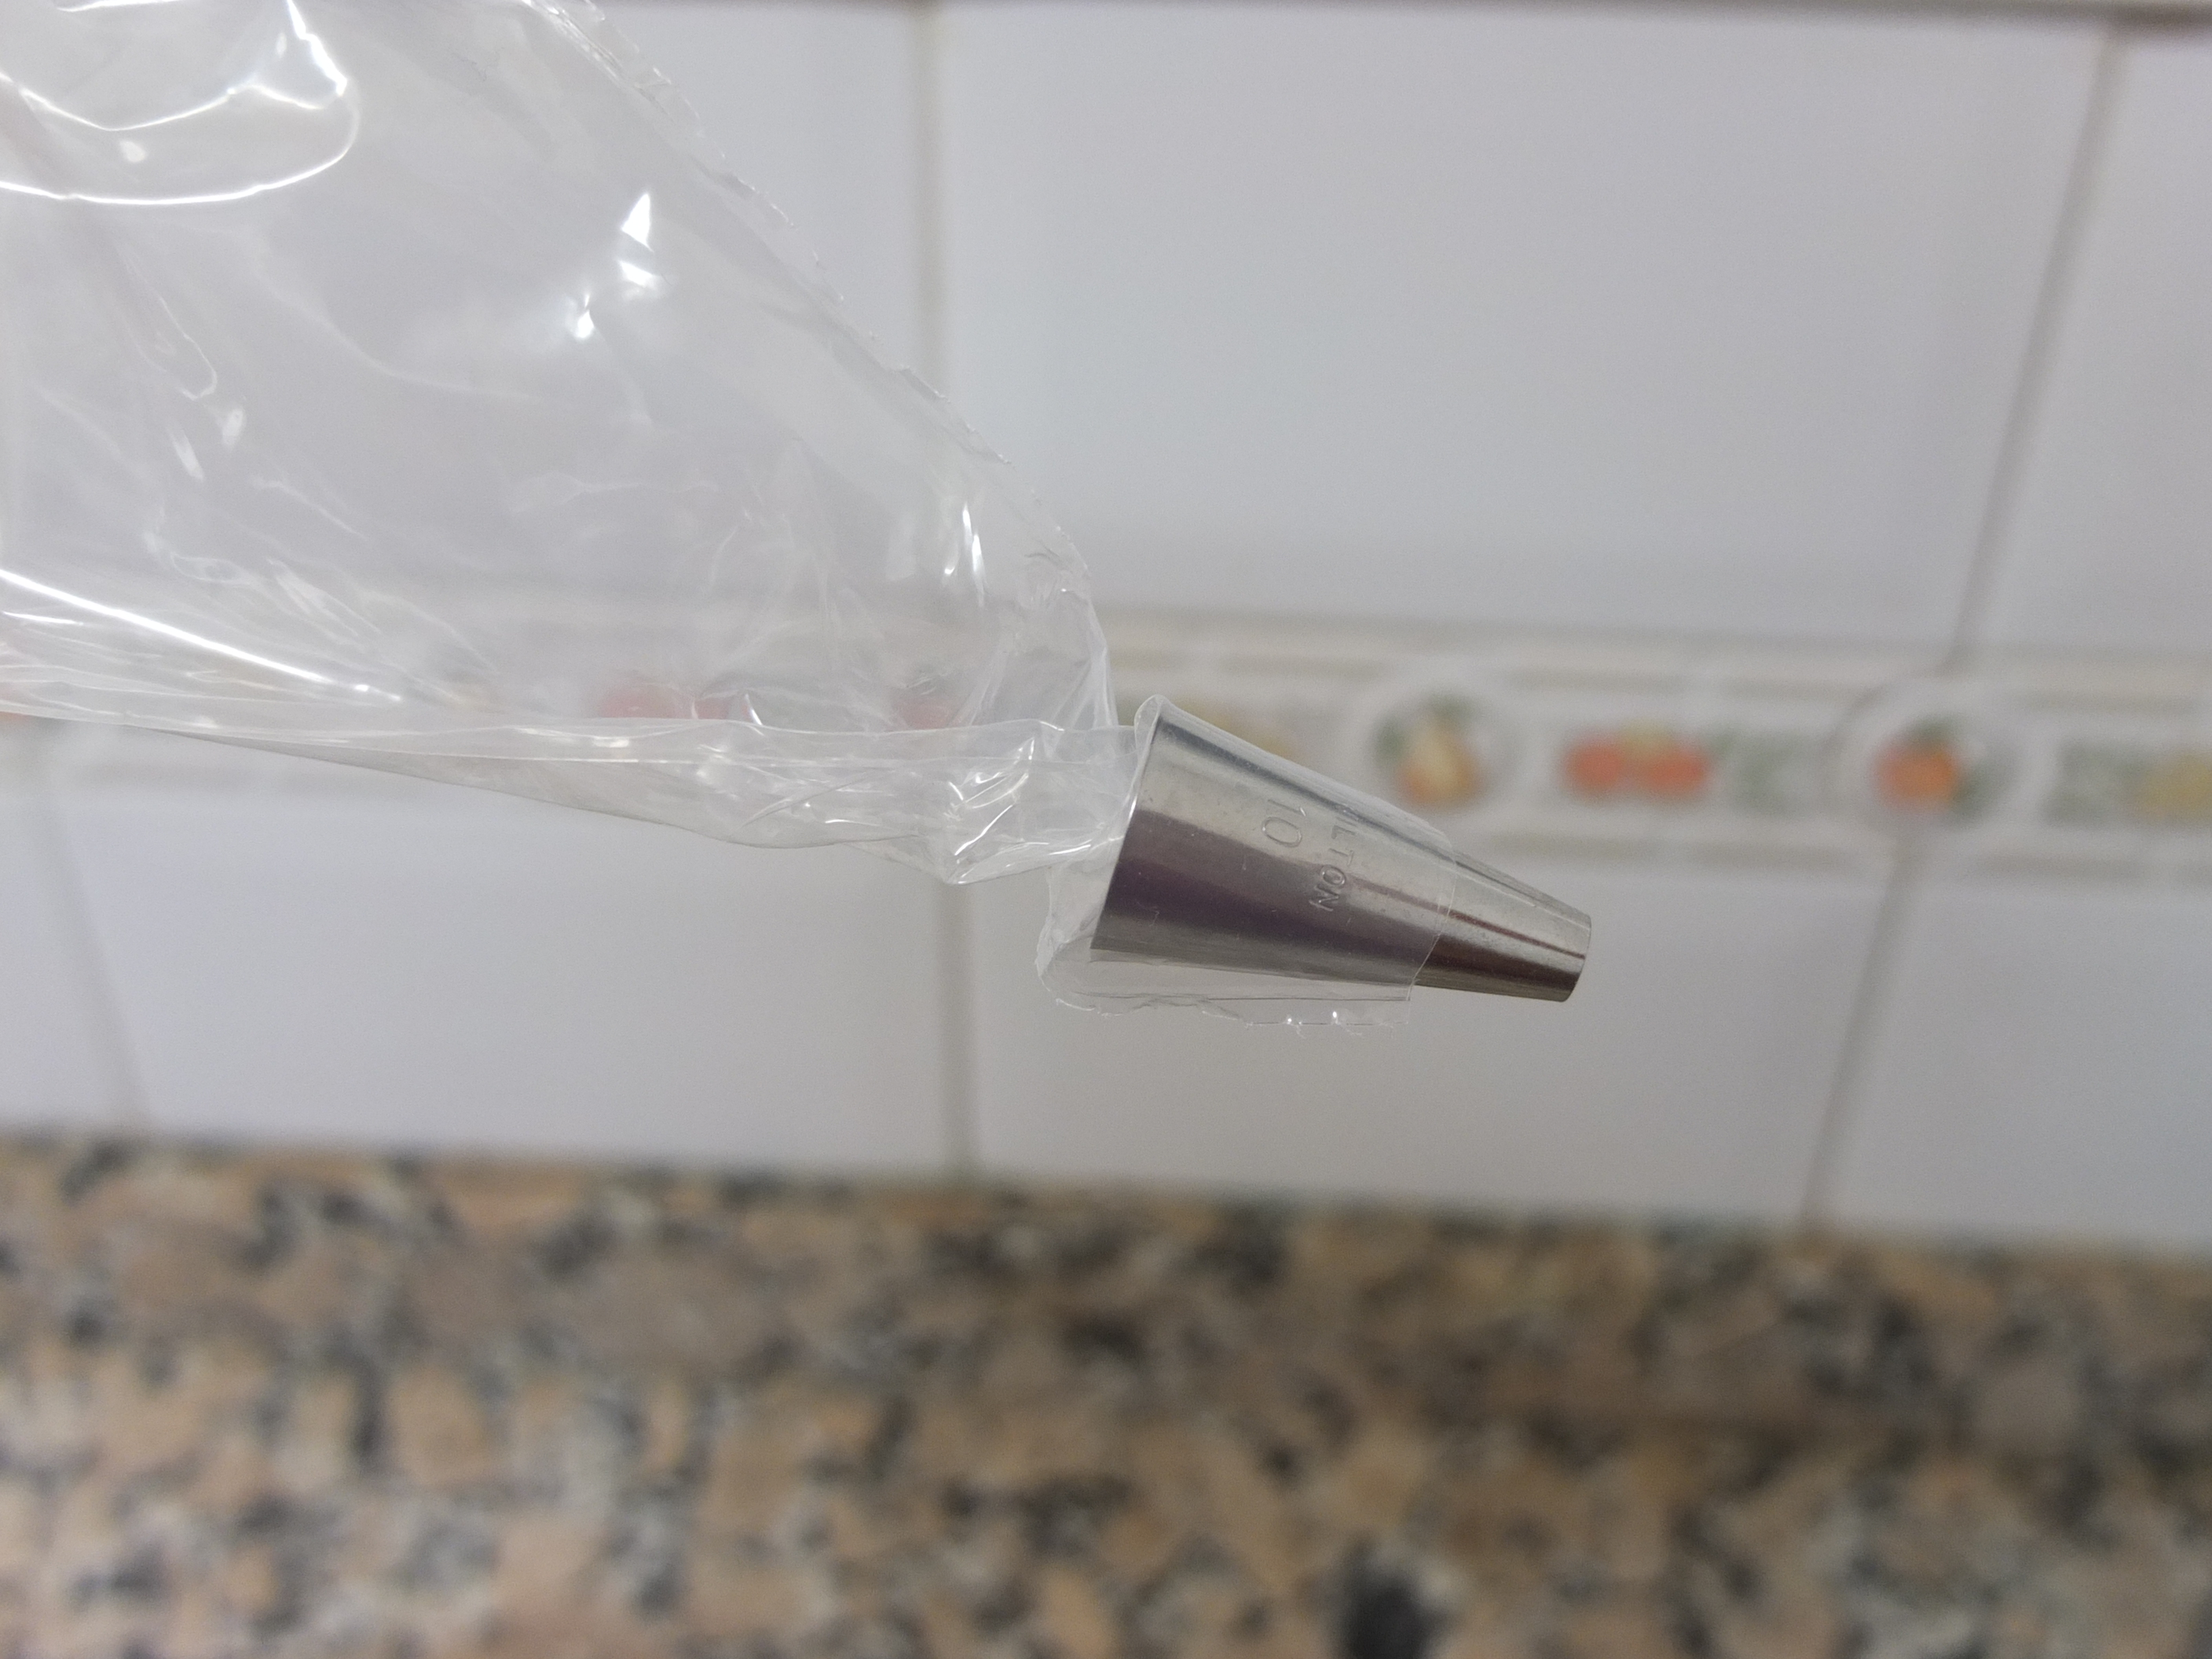
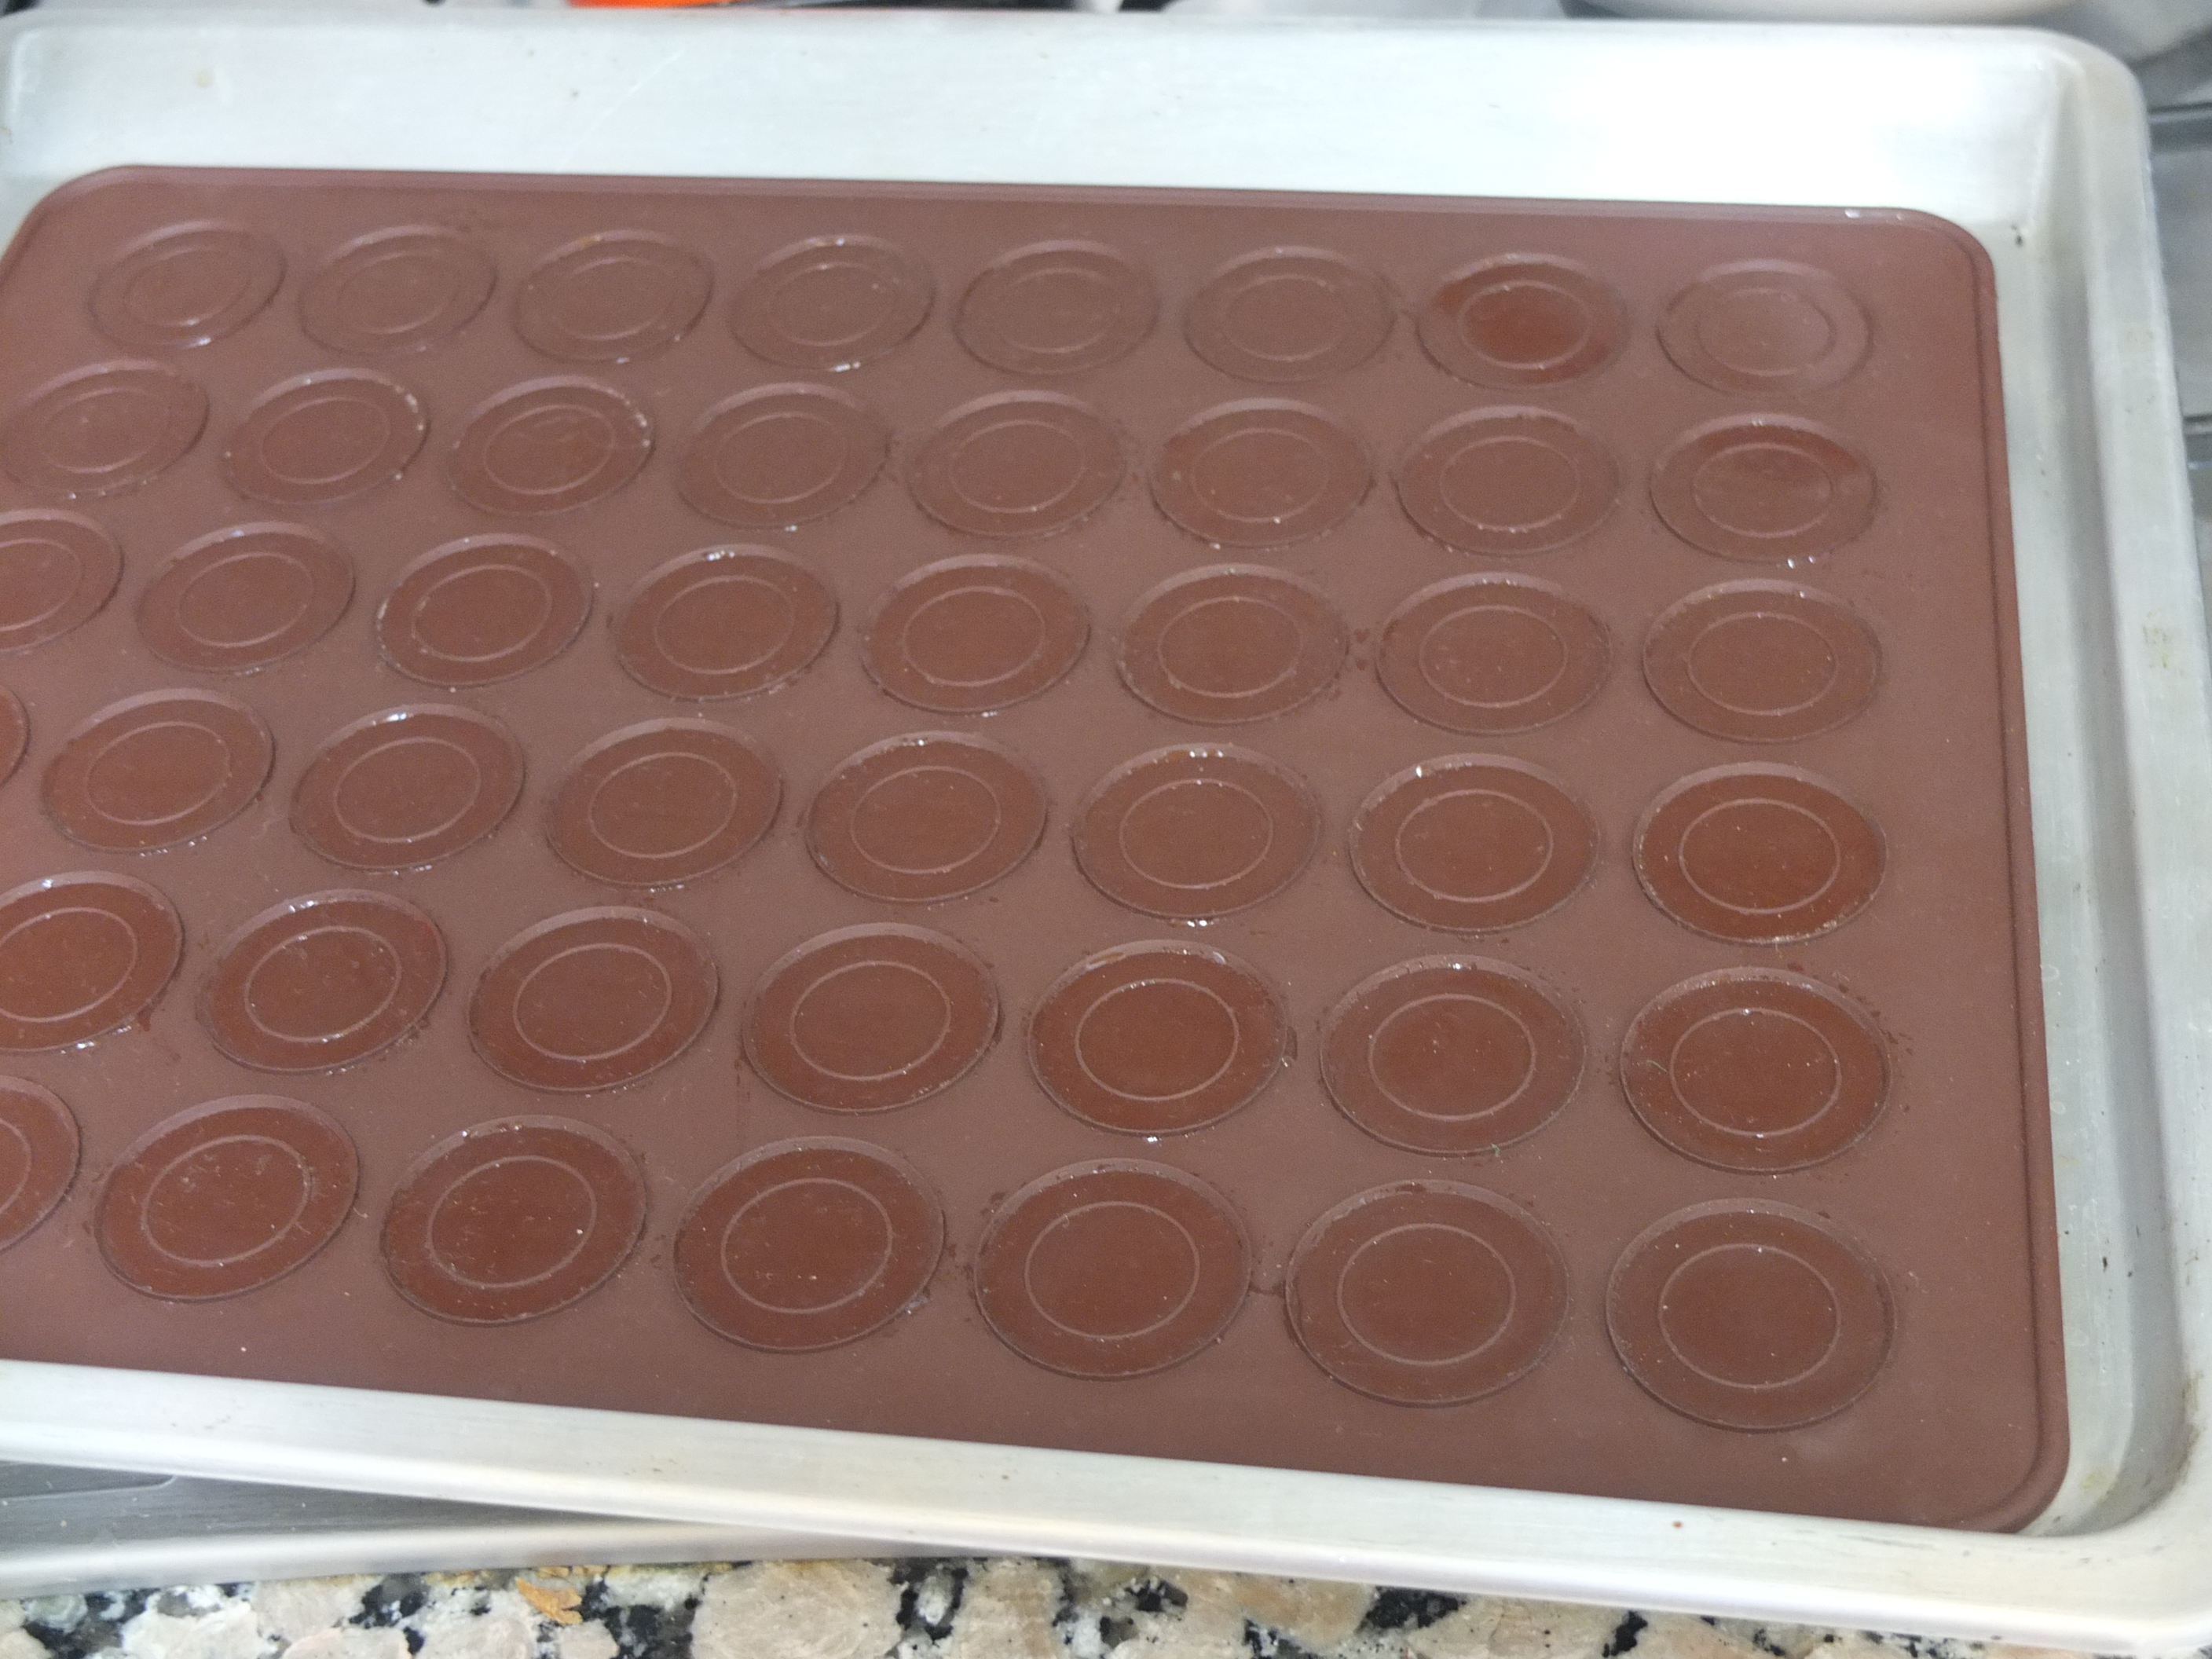
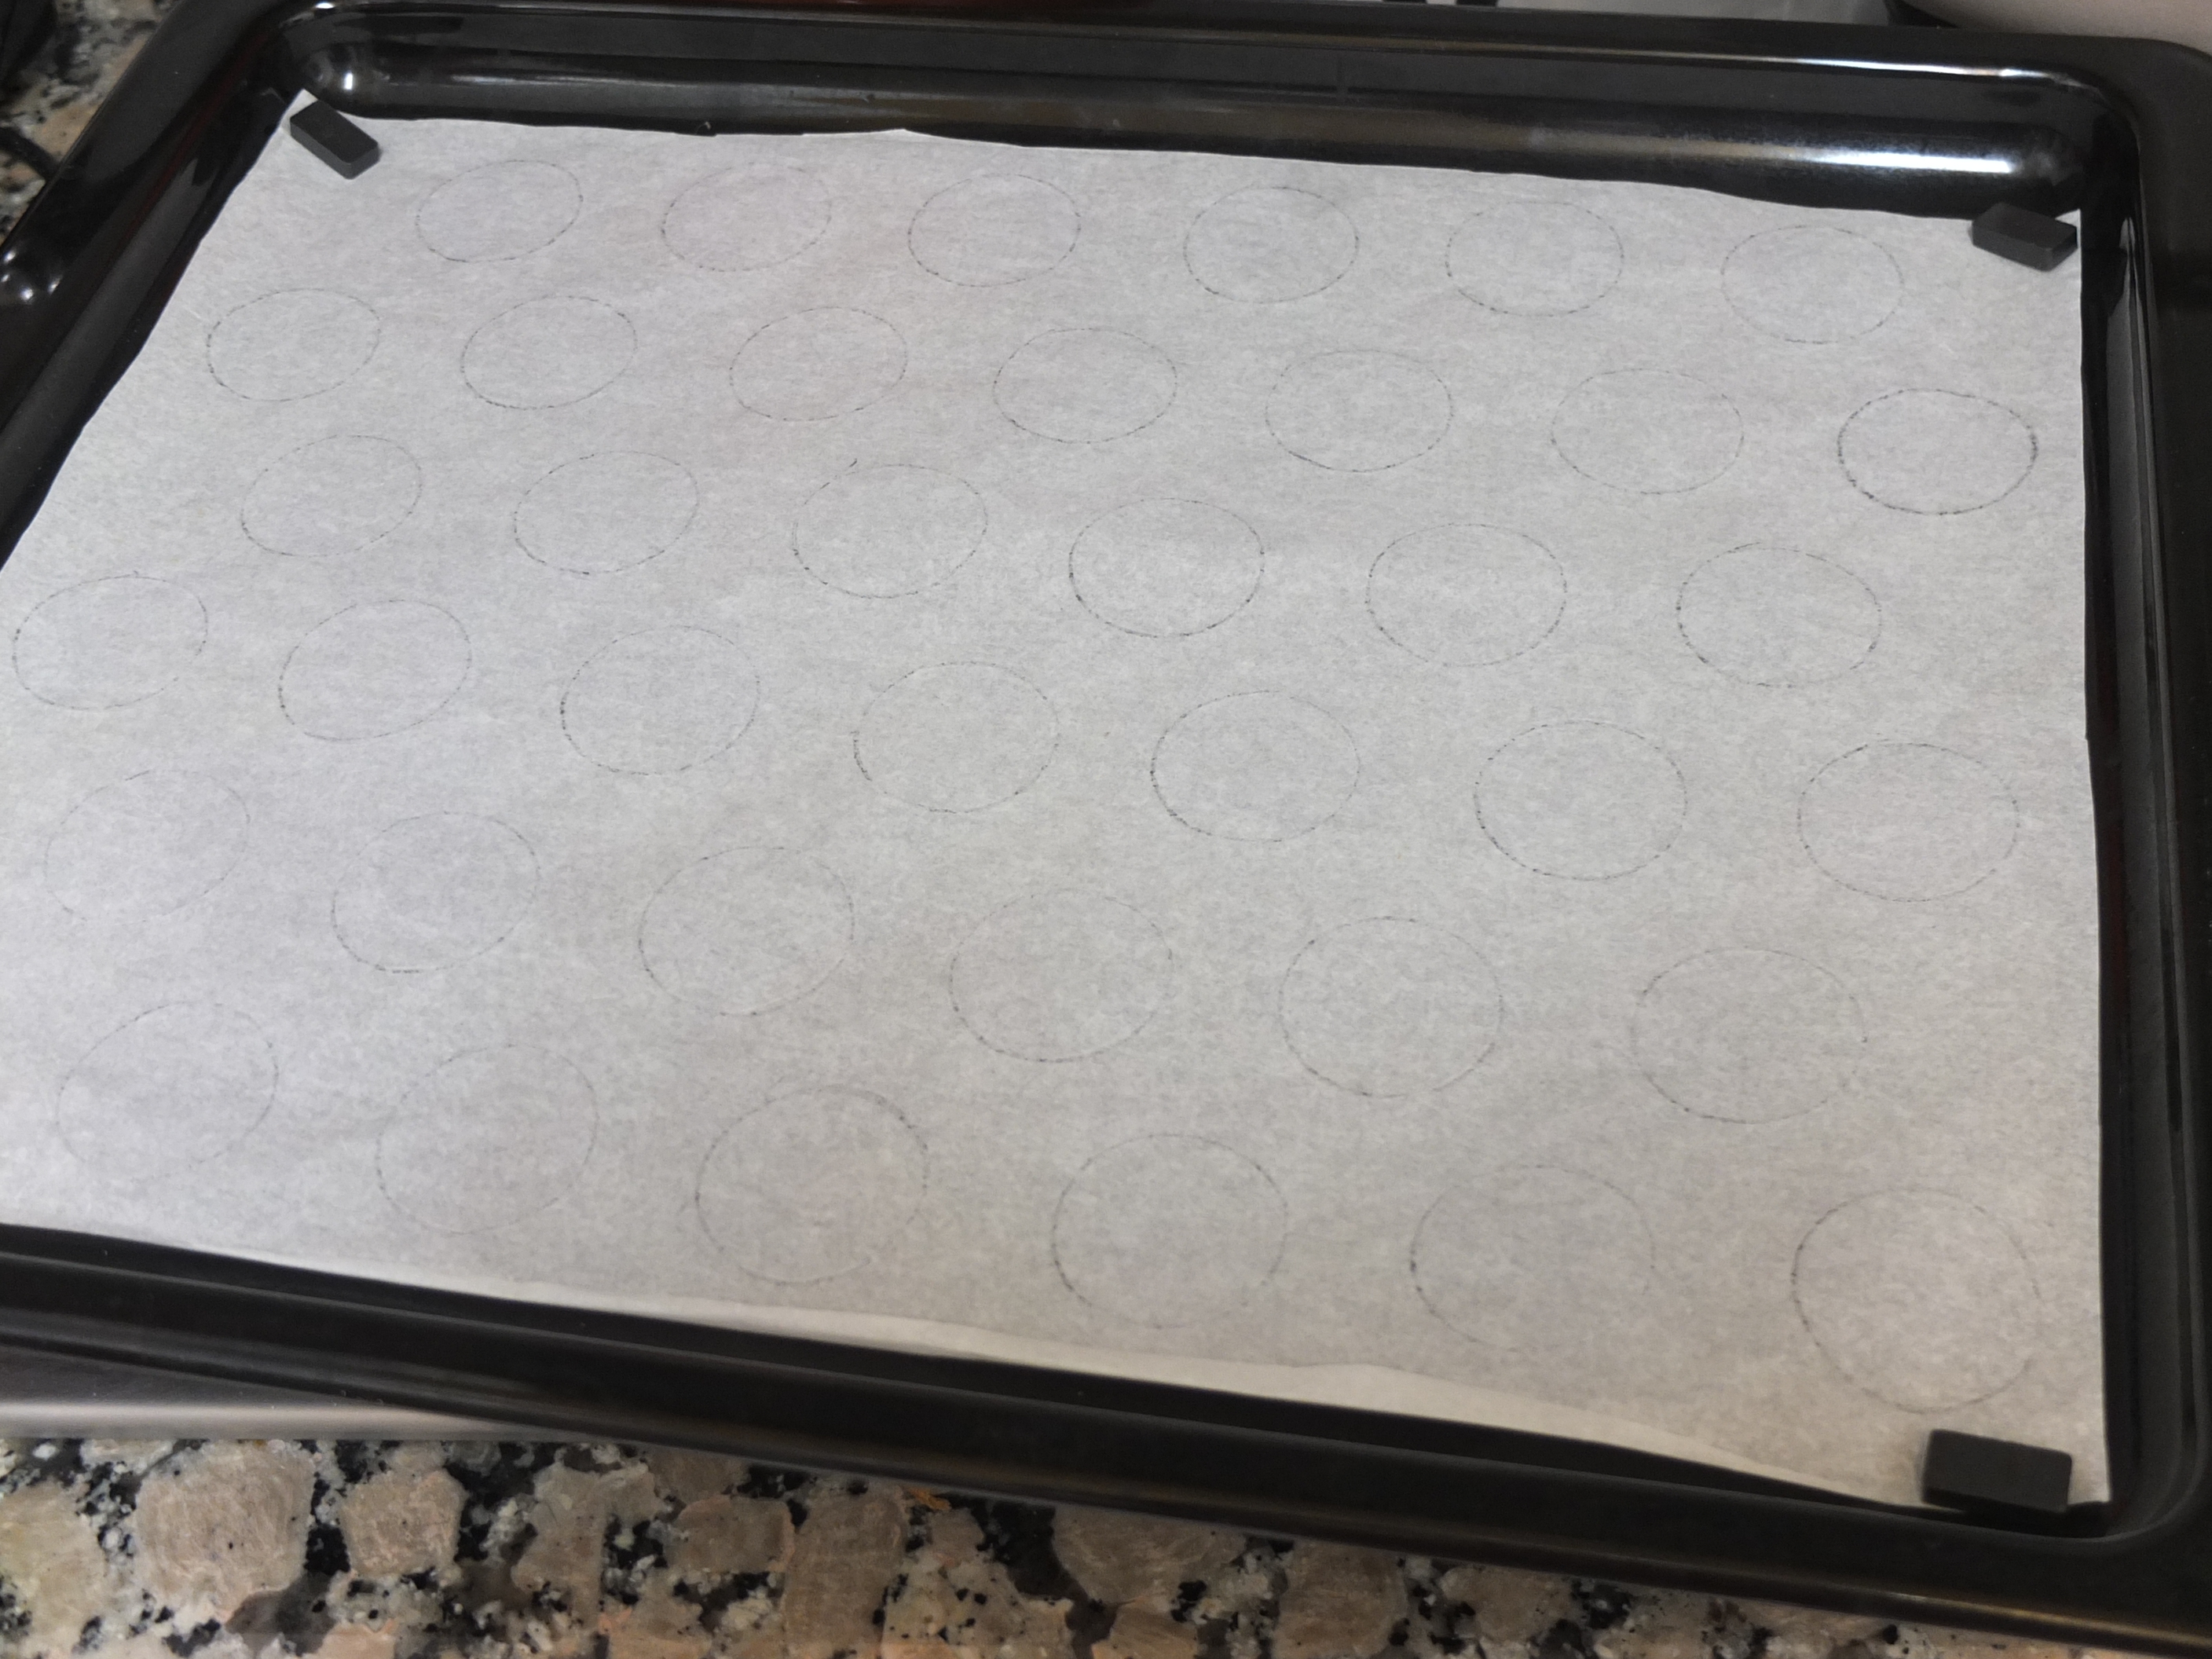
Get your disposable piping bag (medium nozzle – no.8) and baking tray(s) ready – you’ll need two (a 30×40 cm one and a smaller one for these quantities). Use special macaron silicone mats or baking paper/parchment.
INGREDIENTS (makes about 70 shells to produce 35 macarons of approx. diametre 3cm)
- 125g ground almonds
- 225g icing sugar
- 120g free-range egg whites (about 3 or 4 eggs) – you can separate the day before (up to 4 days before even!) and leave in the fridge covered in clingfilm with holes pierced in it, but this step is not necessary.
- 20g caster sugar
- yellow food colouring (in powder form is best)
METHOD
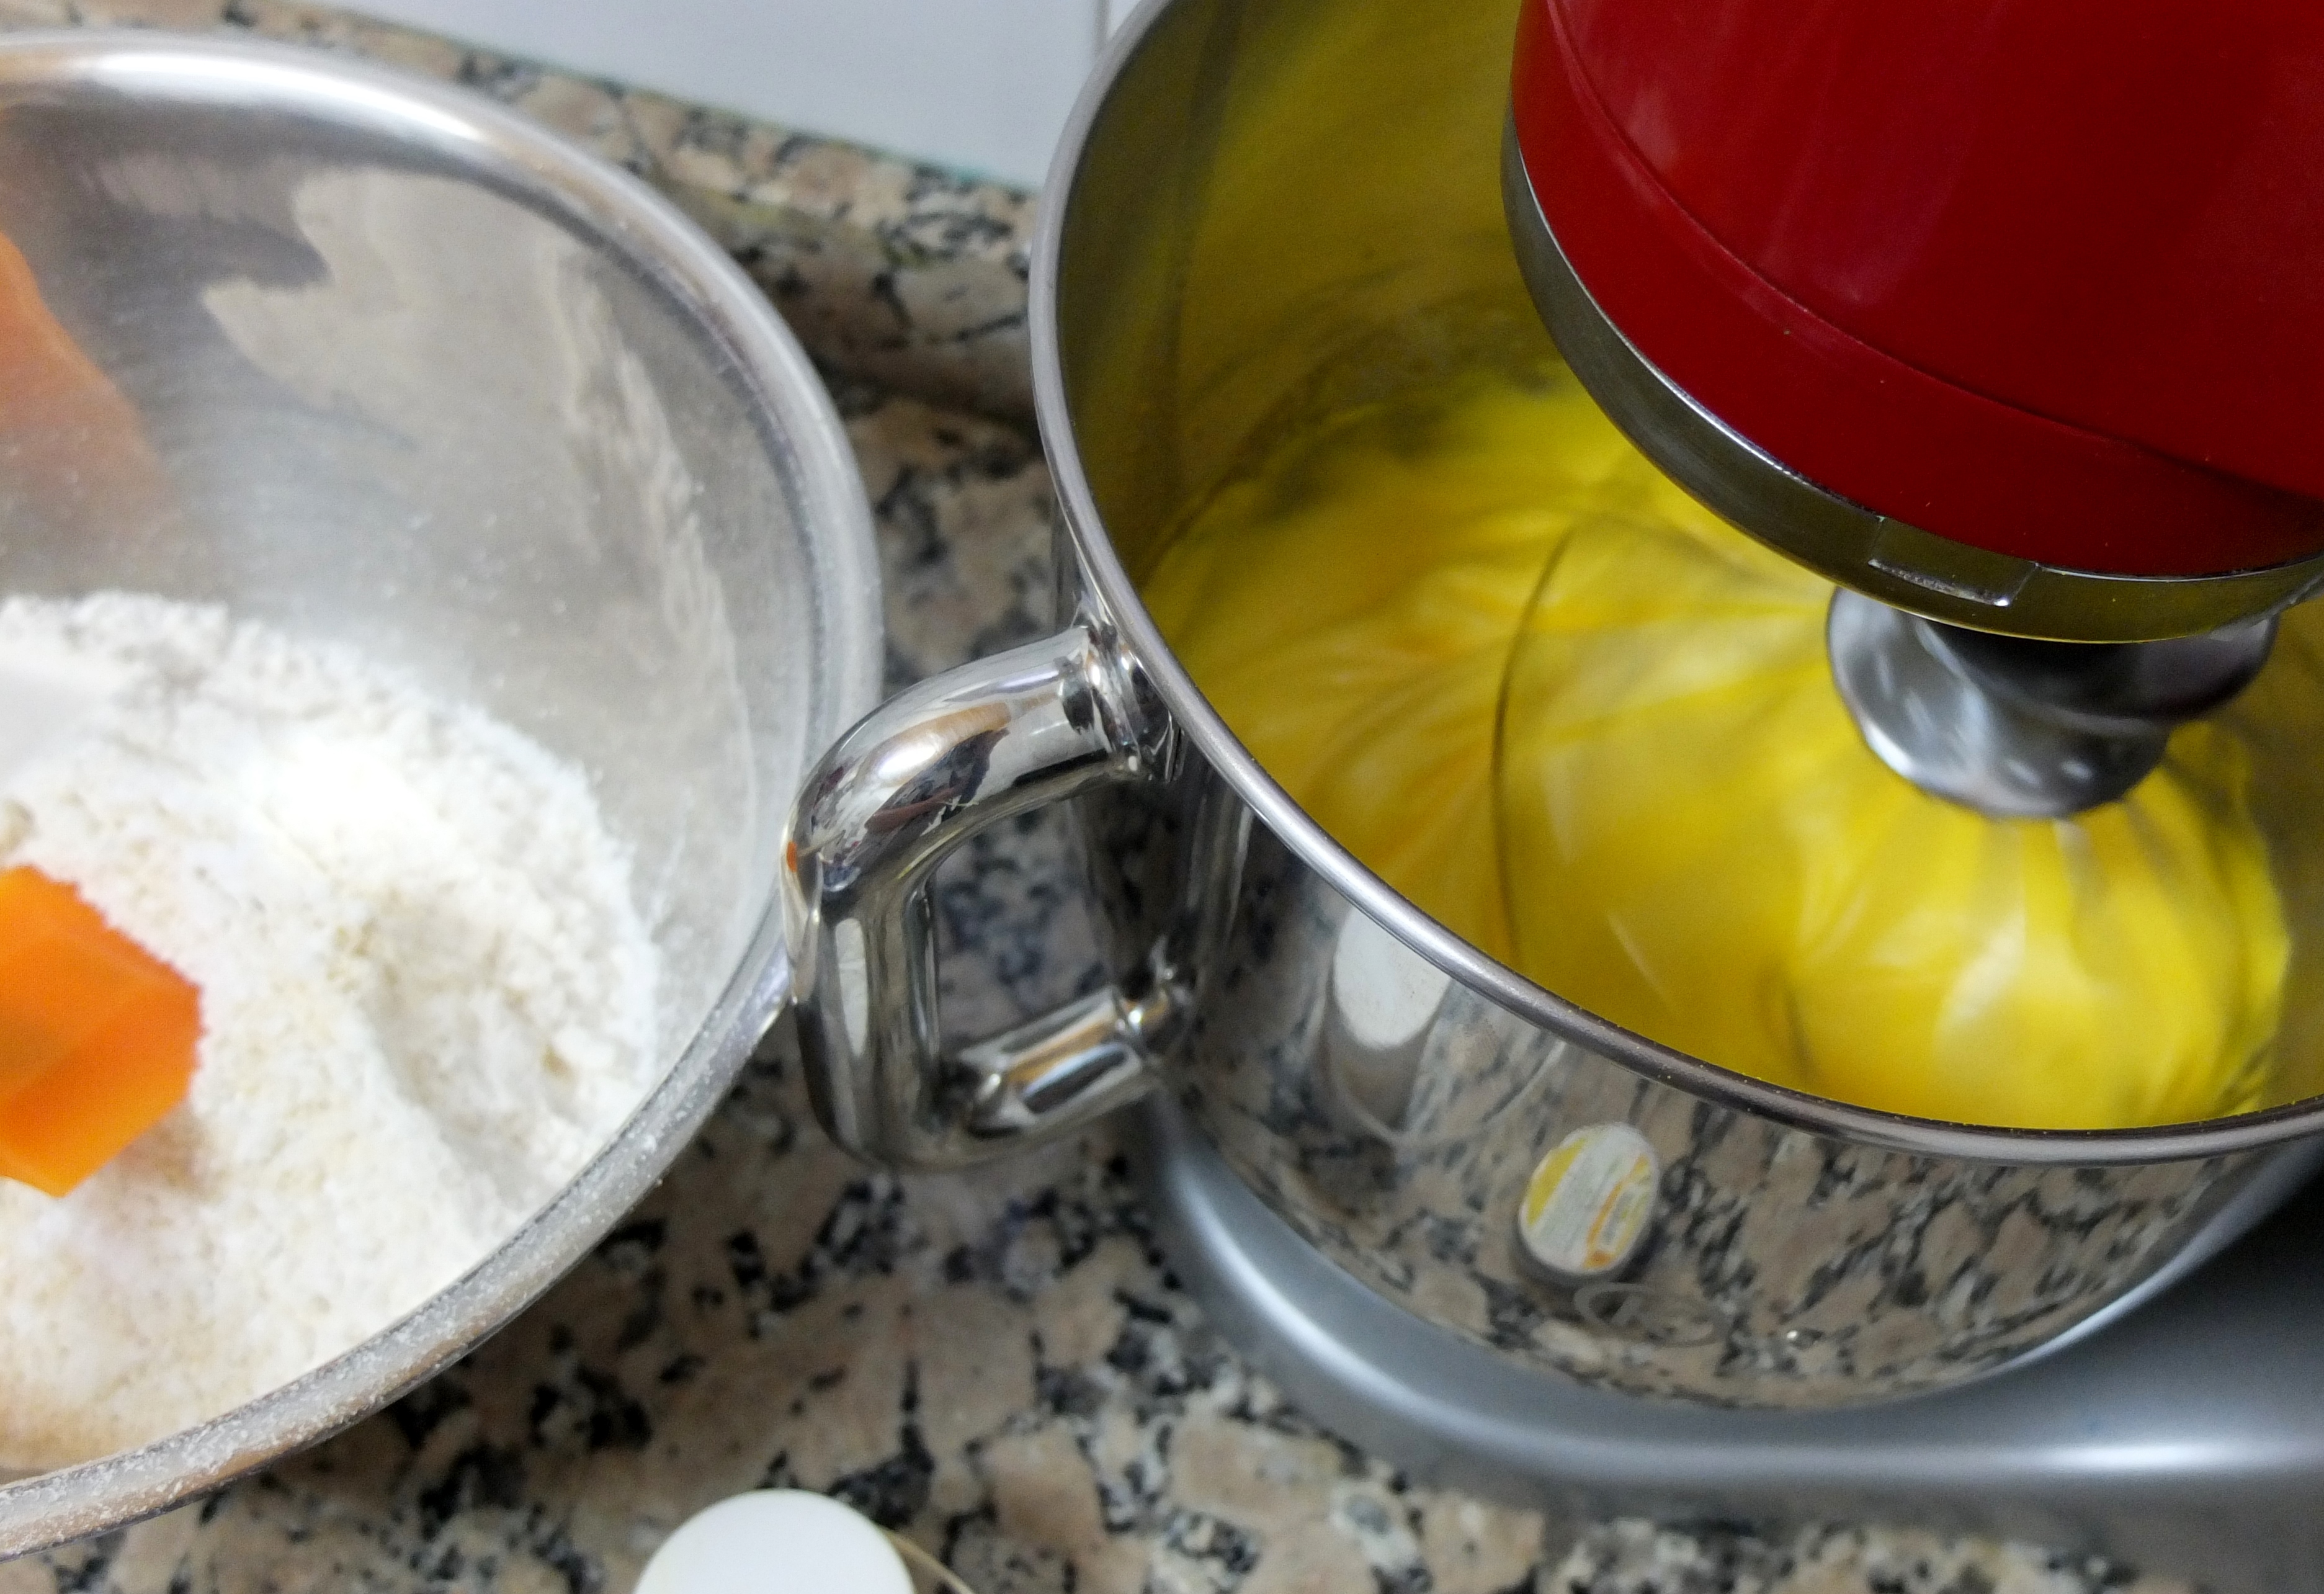
- Blitz the ground almonds and icing sugar in a food processor for a few seconds then pass through a sieve into a big bowl. If you get tired of sieving, then you can just accept slightly less smooth macarons and fling the last stubbornly unsievable 100g or so straight in – that’s what I do! 🙂 You can also skip the whole food processor step if you can live without the extra smoothness.
- Whisk the egg till foamy then add the caster sugar and food colouring.
 Whisk till you get stiff peaks (but not too dry or separating out). Apparently (and I read this on the internet), if you accidentally whisk till too dry you should add a fresh liquid egg white (taking out the weight of this egg white from your beaten mix) and beat again. Kind of makes sense.
- Now the egg whites should not fall out of an upside-down bowl.

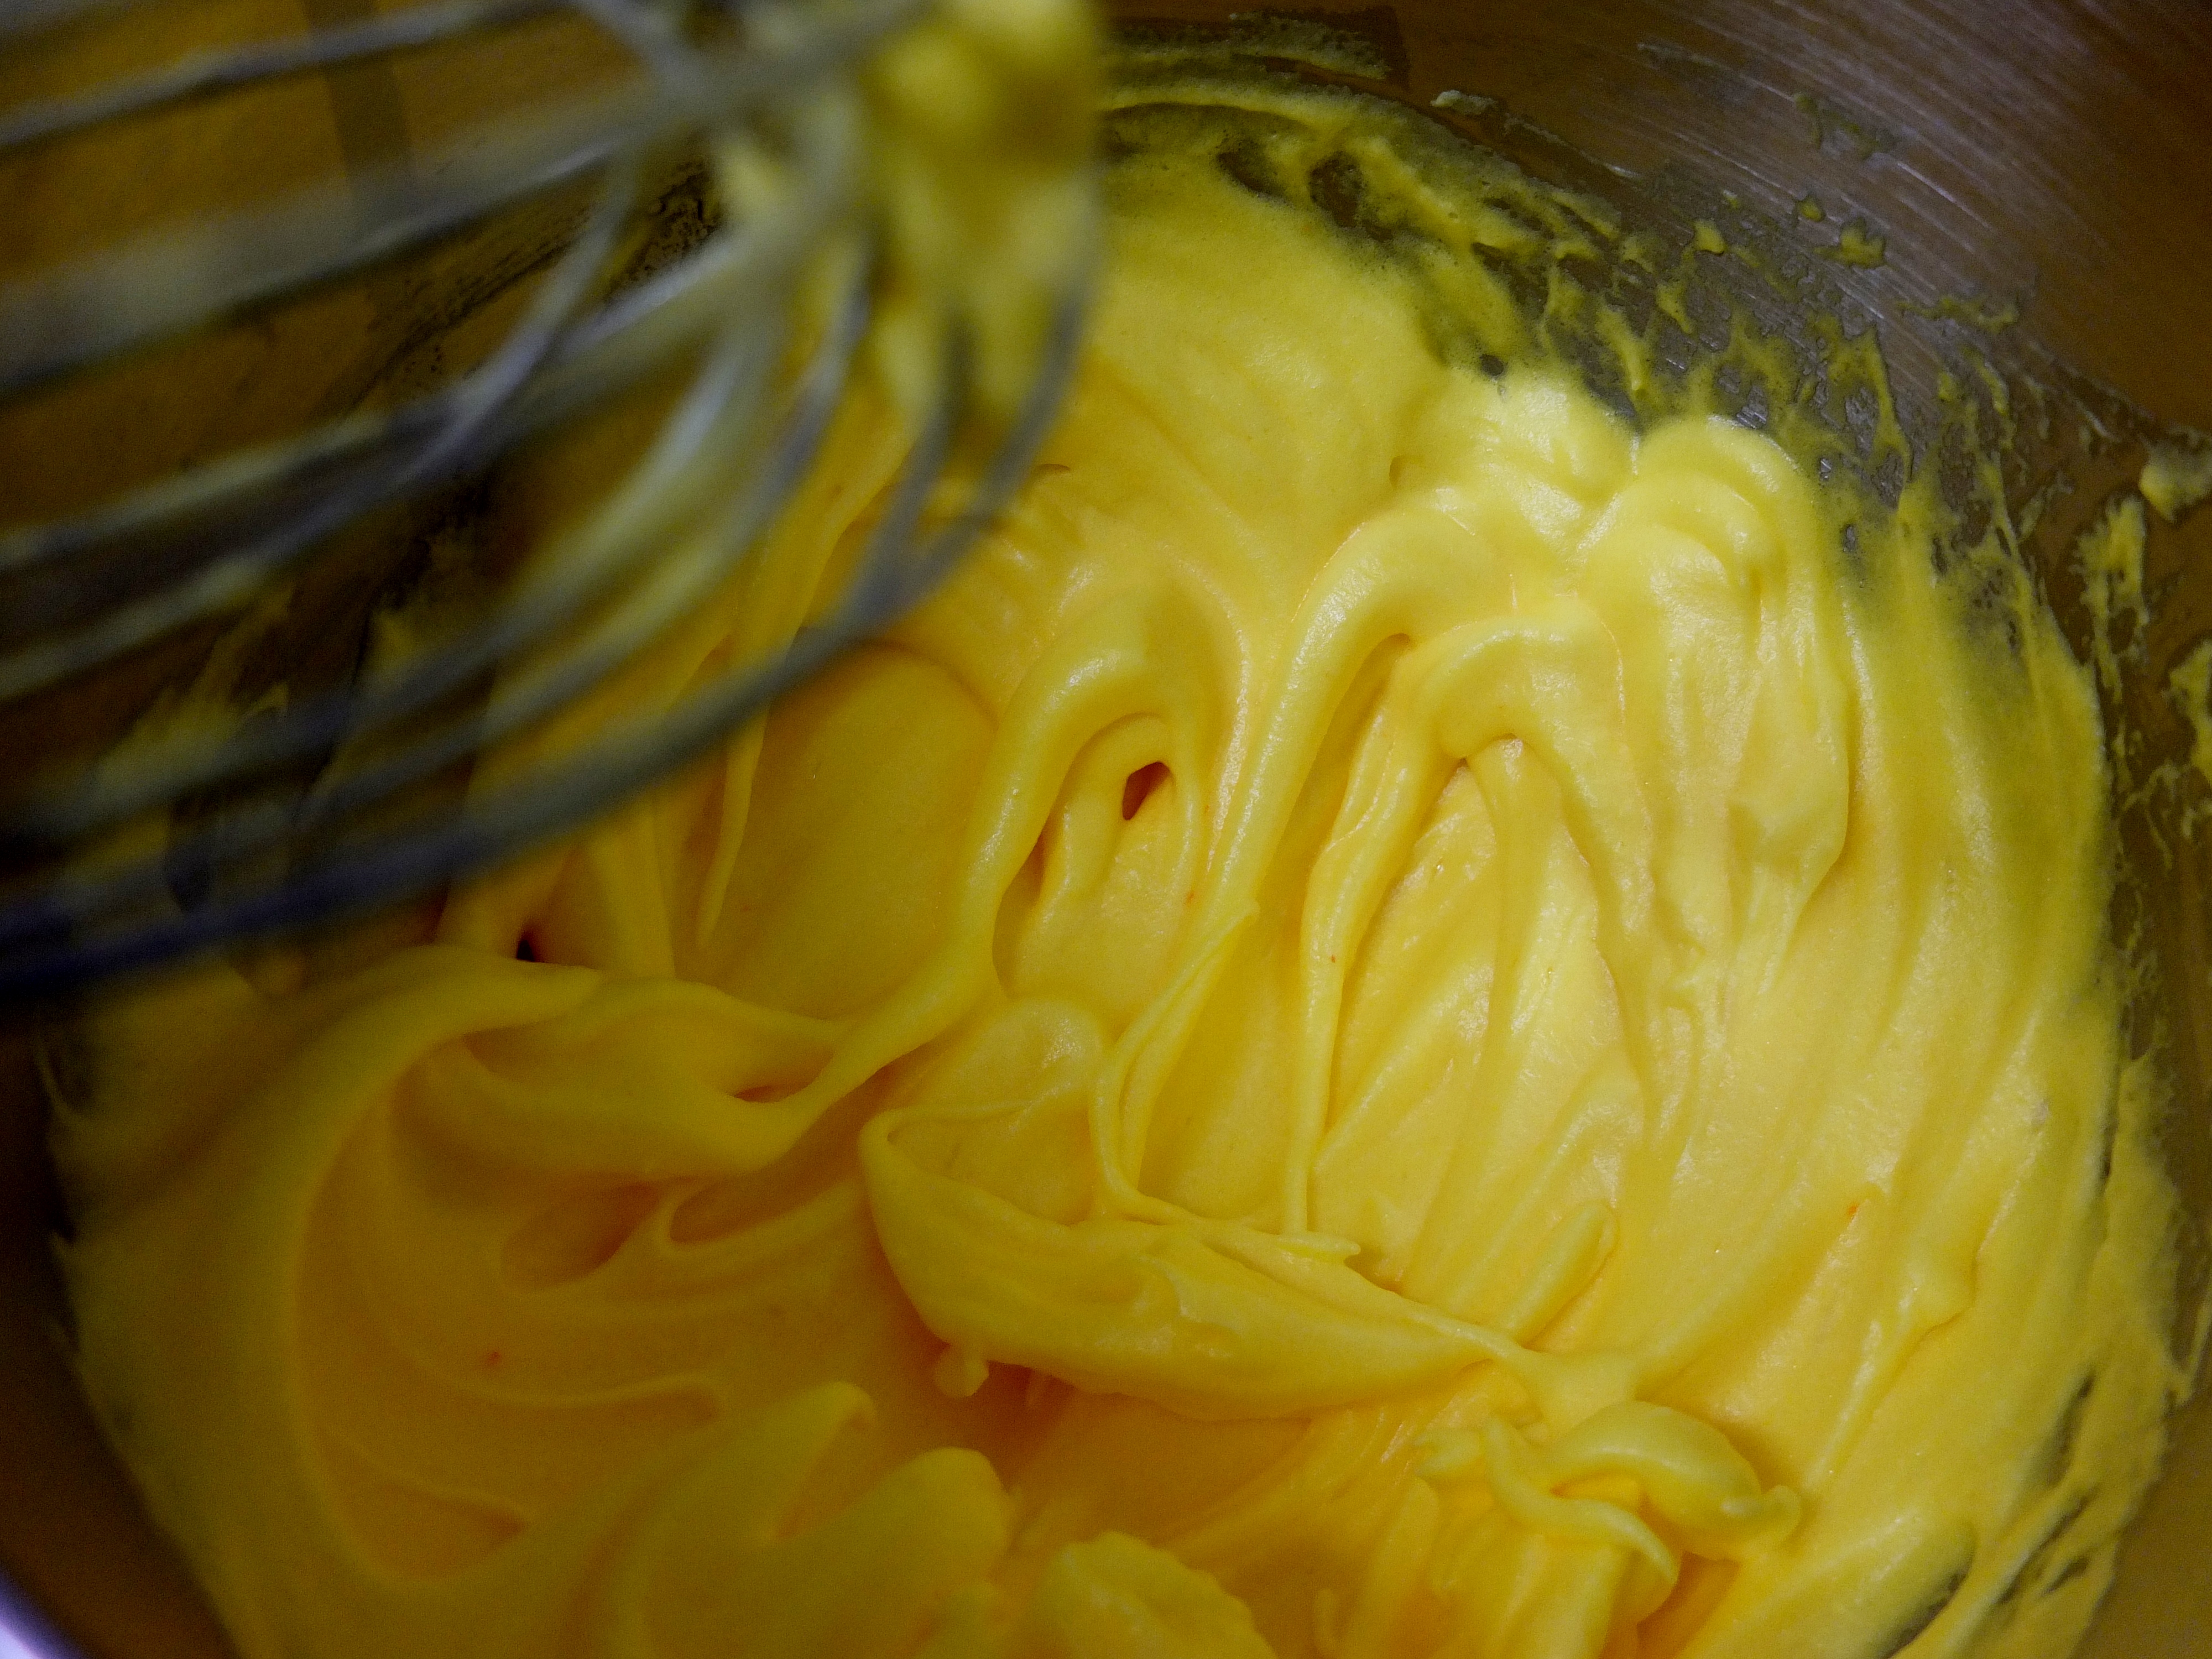
- Pour the egg whites over the almonds and sugar in the big bowl and fold gently with a rubber spatula or metal spoon with holes.
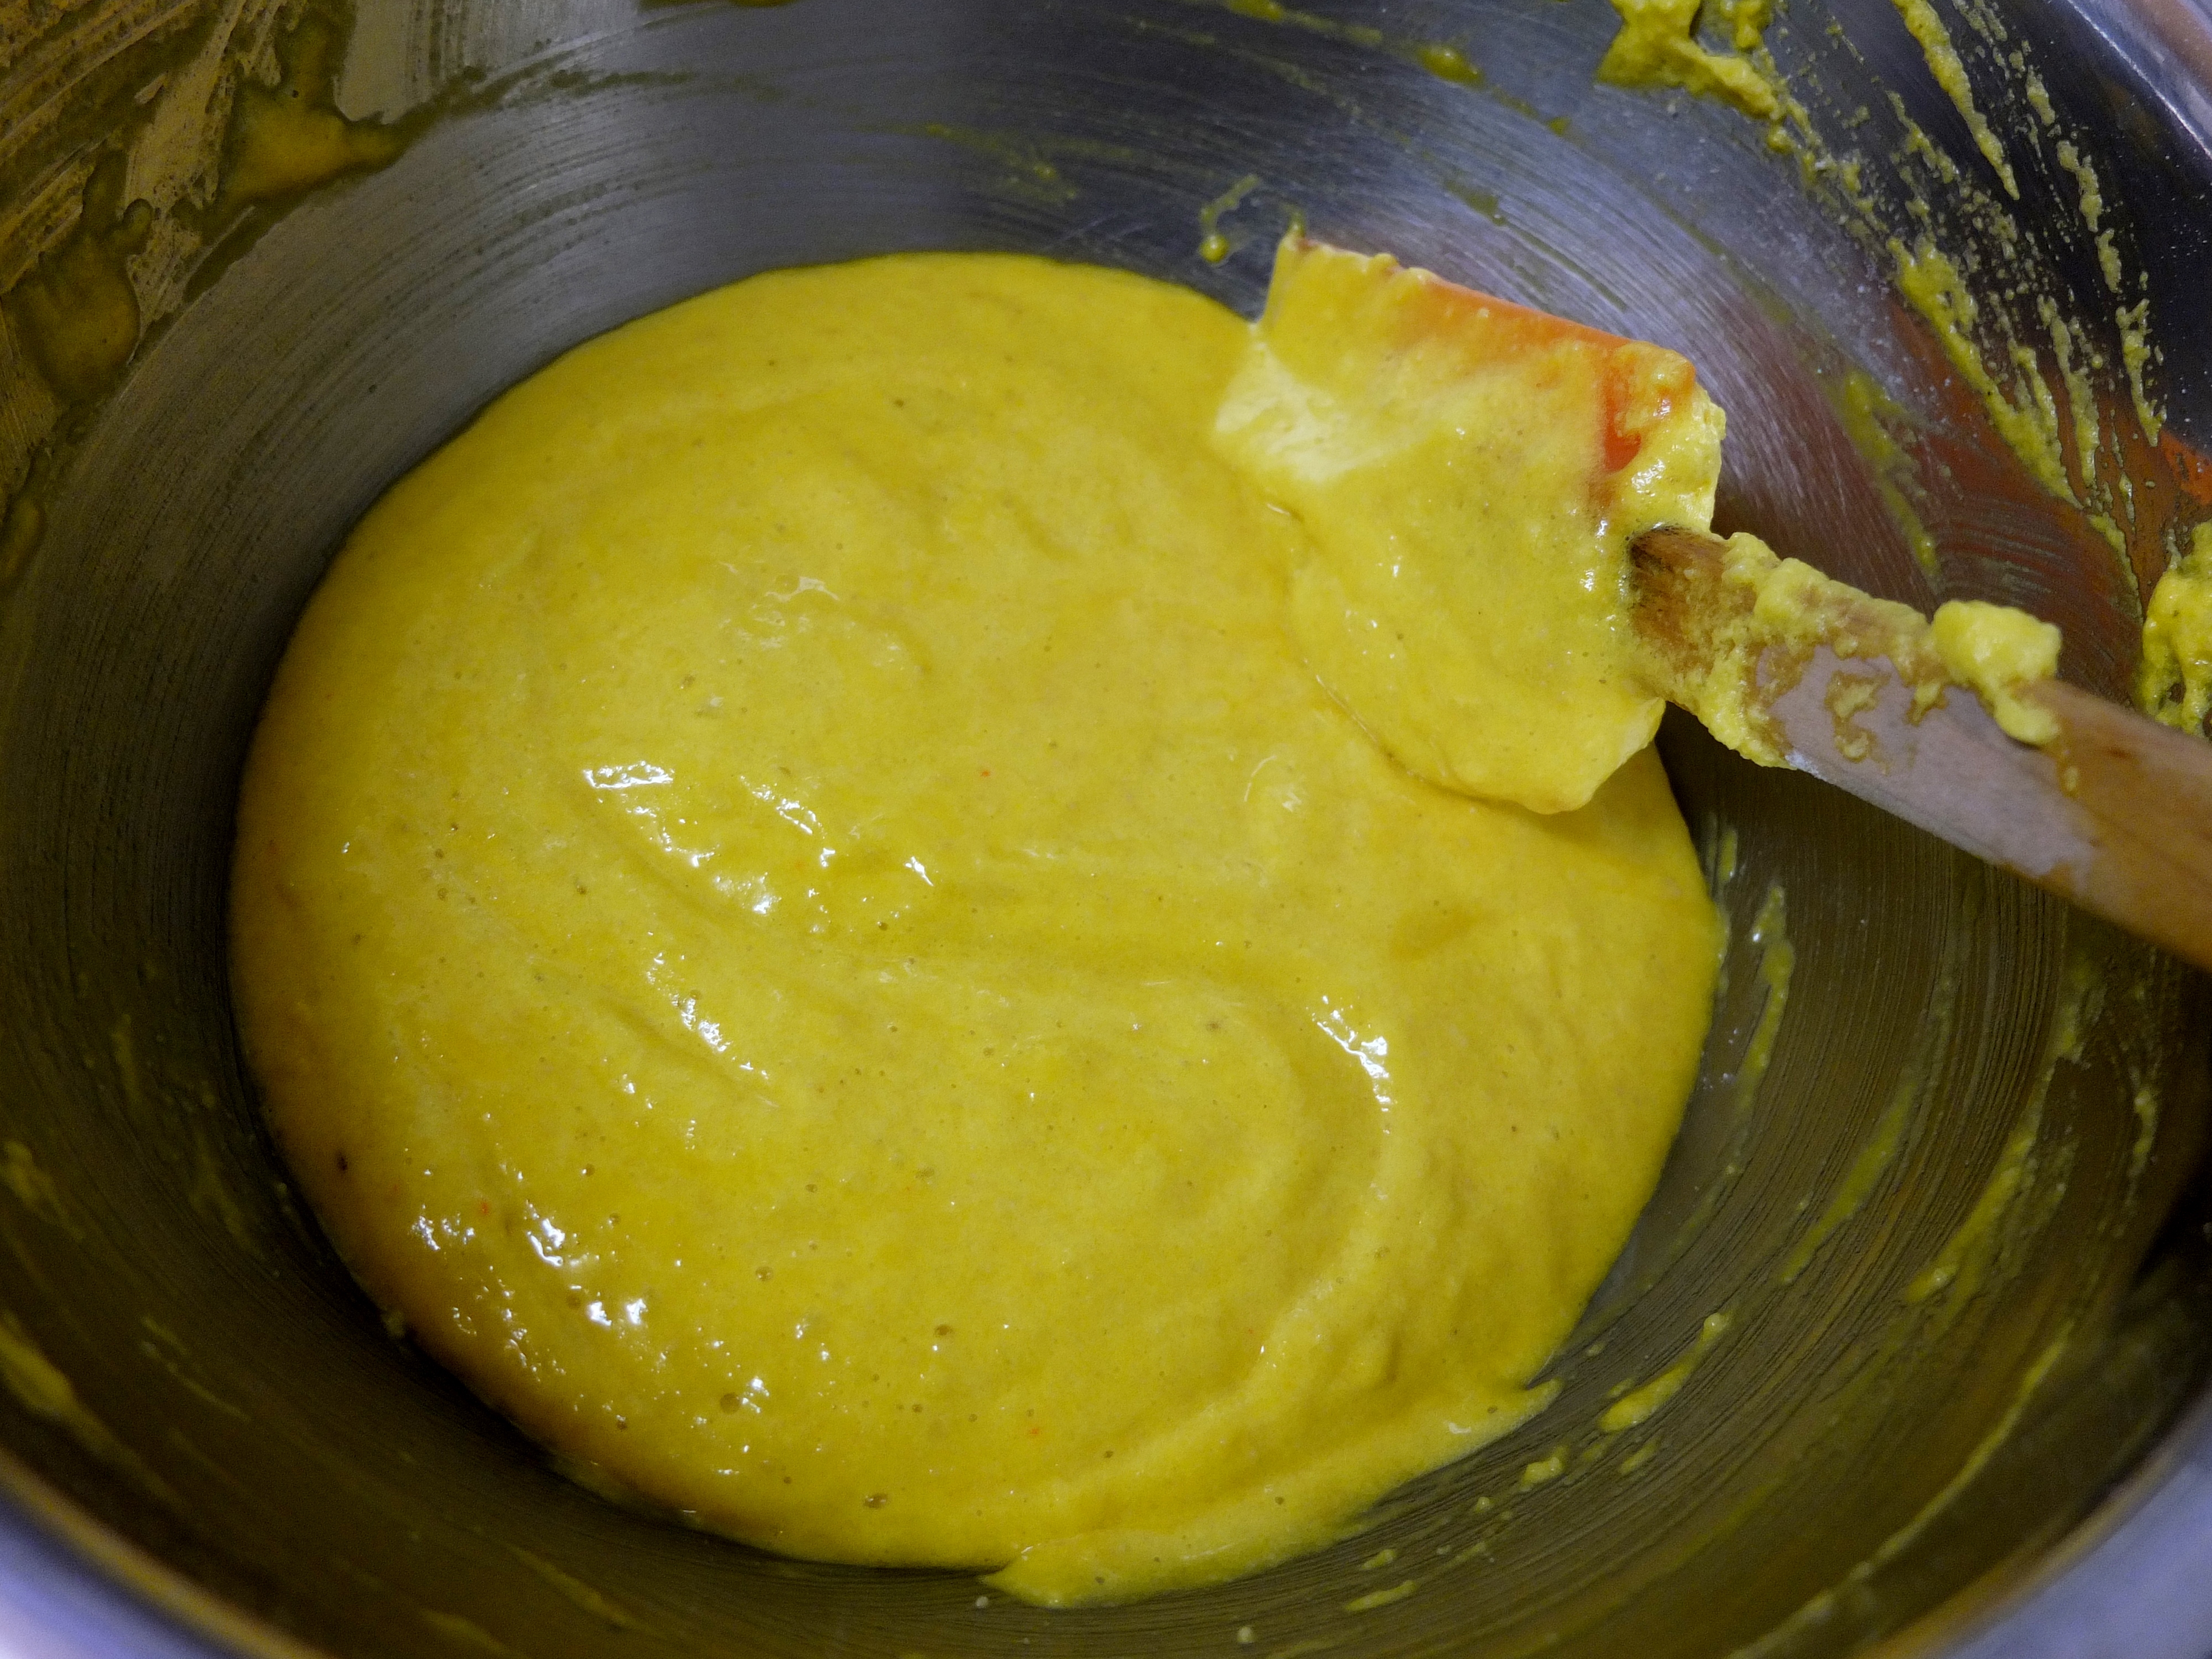
- Do nice and gentle smooth figure of eight motions till your mixture is shiny and flattens out a little when you let it rest (within 30 seconds). It should not be too runny so if it flattens out immediately you’ve overworked it (sorry!). So be careful and make sure that the mixture keeps some body.

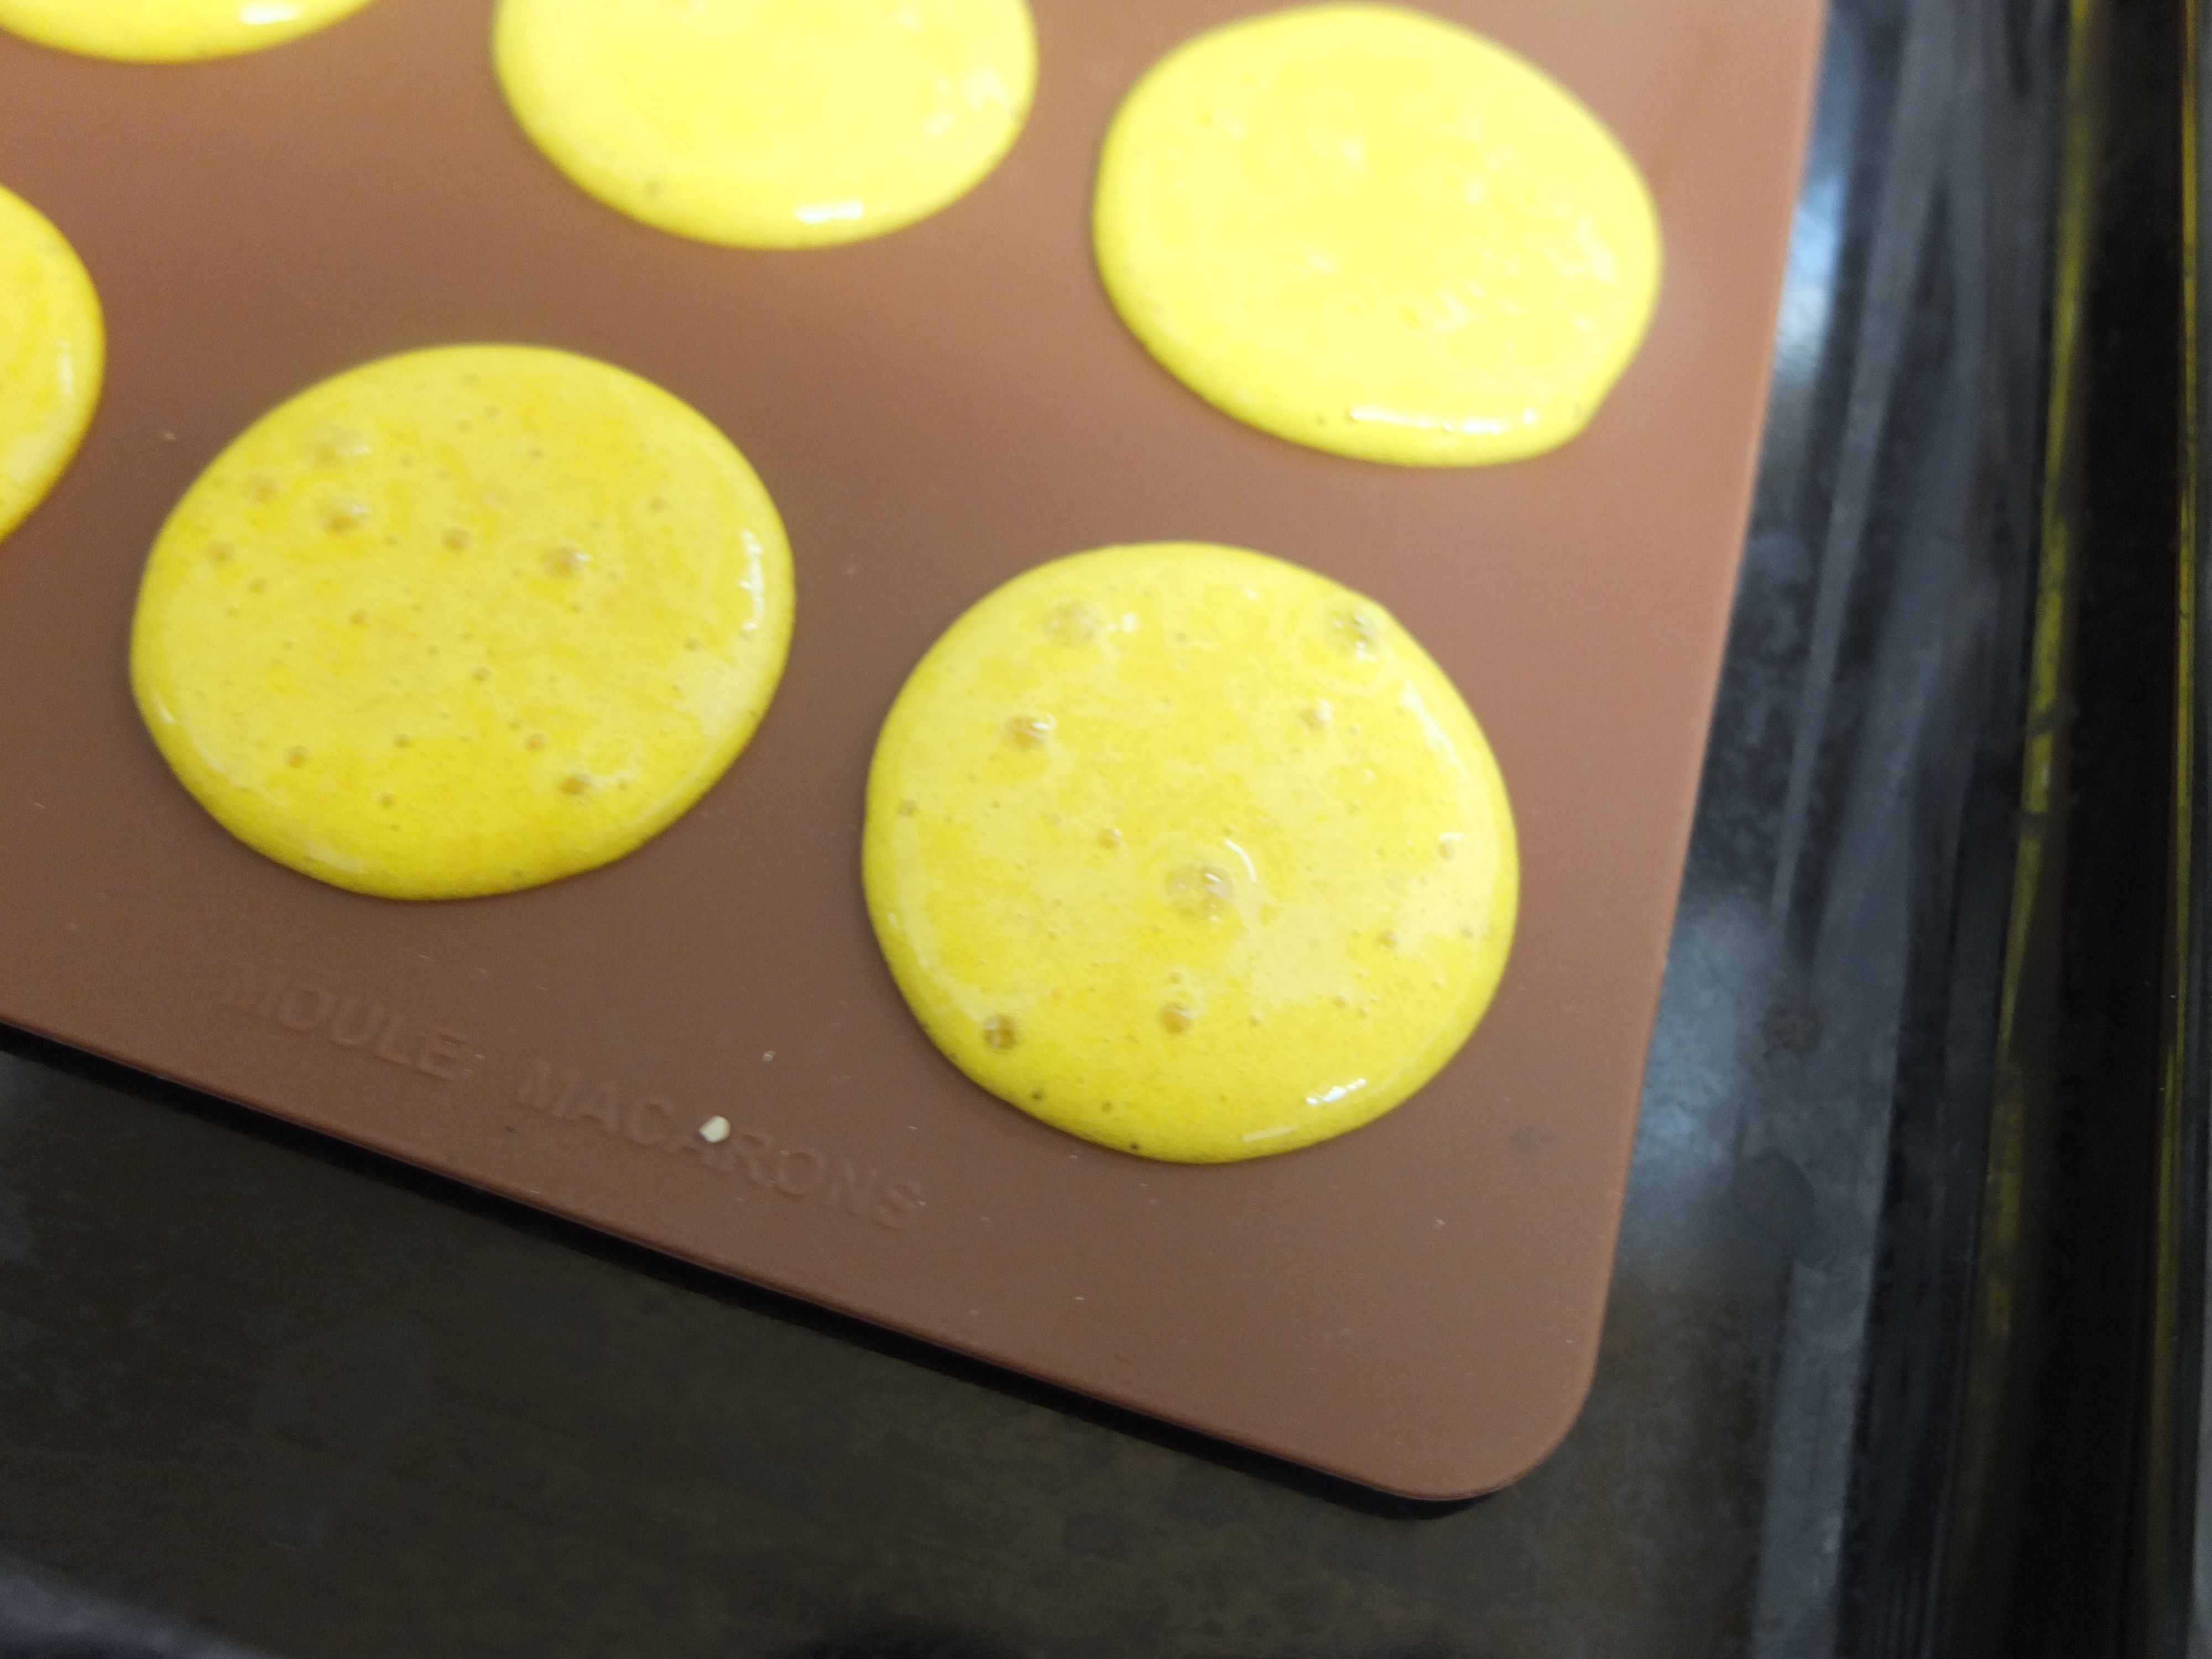
- Fill your prepared piping bag and pipe at regular intervals and with regular amounts (count to 3 each time as you press). Keep the nozzle quite close to the tray and resist the urge to swirl. You stay in one place then at the end flick a little to the left (or right). If you want to watch a video of someone doing this with nice technique:http://www.youtube.com/watch?v=xGldh8M-ttQ
- If they have little bubbles in them don’t worry too much. Look at these!
 I imagine it’s because I overbeat my egg whites and they were a bit too dry (I only read about that later). Next time…
 - Leave them at room temperature for around 1 hour or more (preheat the oven a short while before you put them in). When you touch gently with your finger it should be less sticky and you should feel there’s a slight crust formed around the macaron.
- Bake 7 minutes then turn the trays around and bake a further 3-4 minutes (or even 5 minutes if you feel they need it). They should just start to change colour a little.
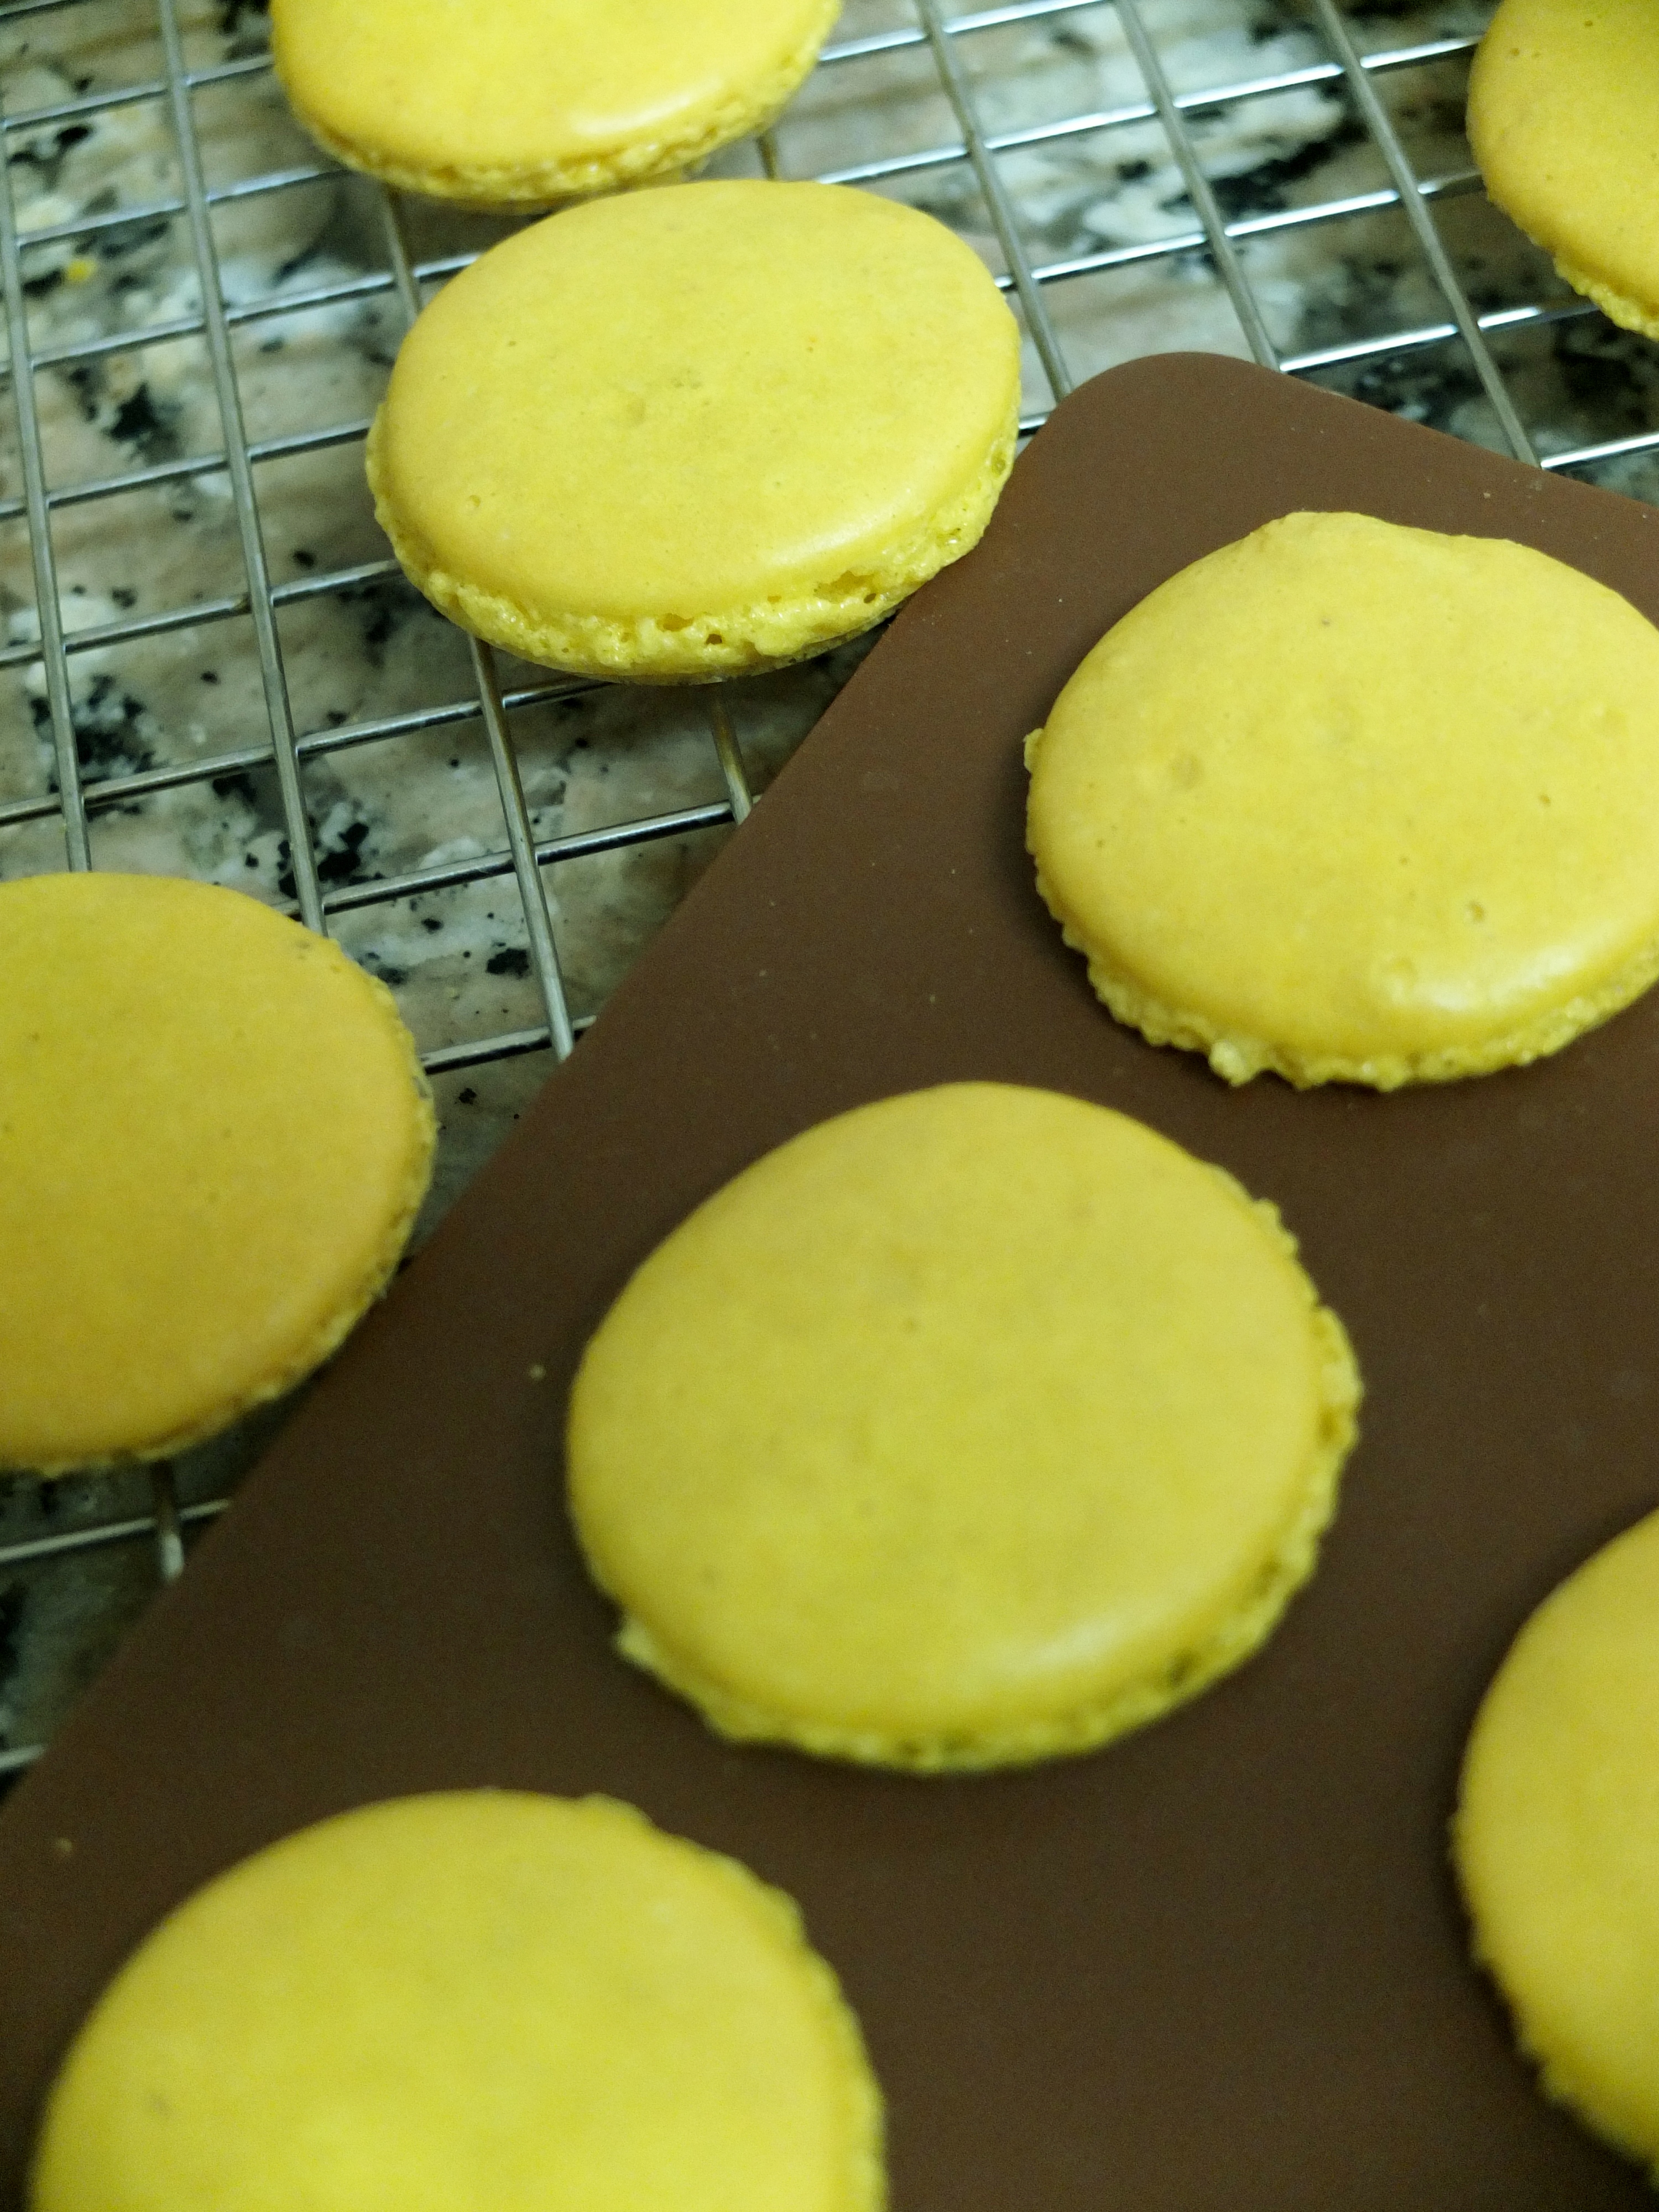
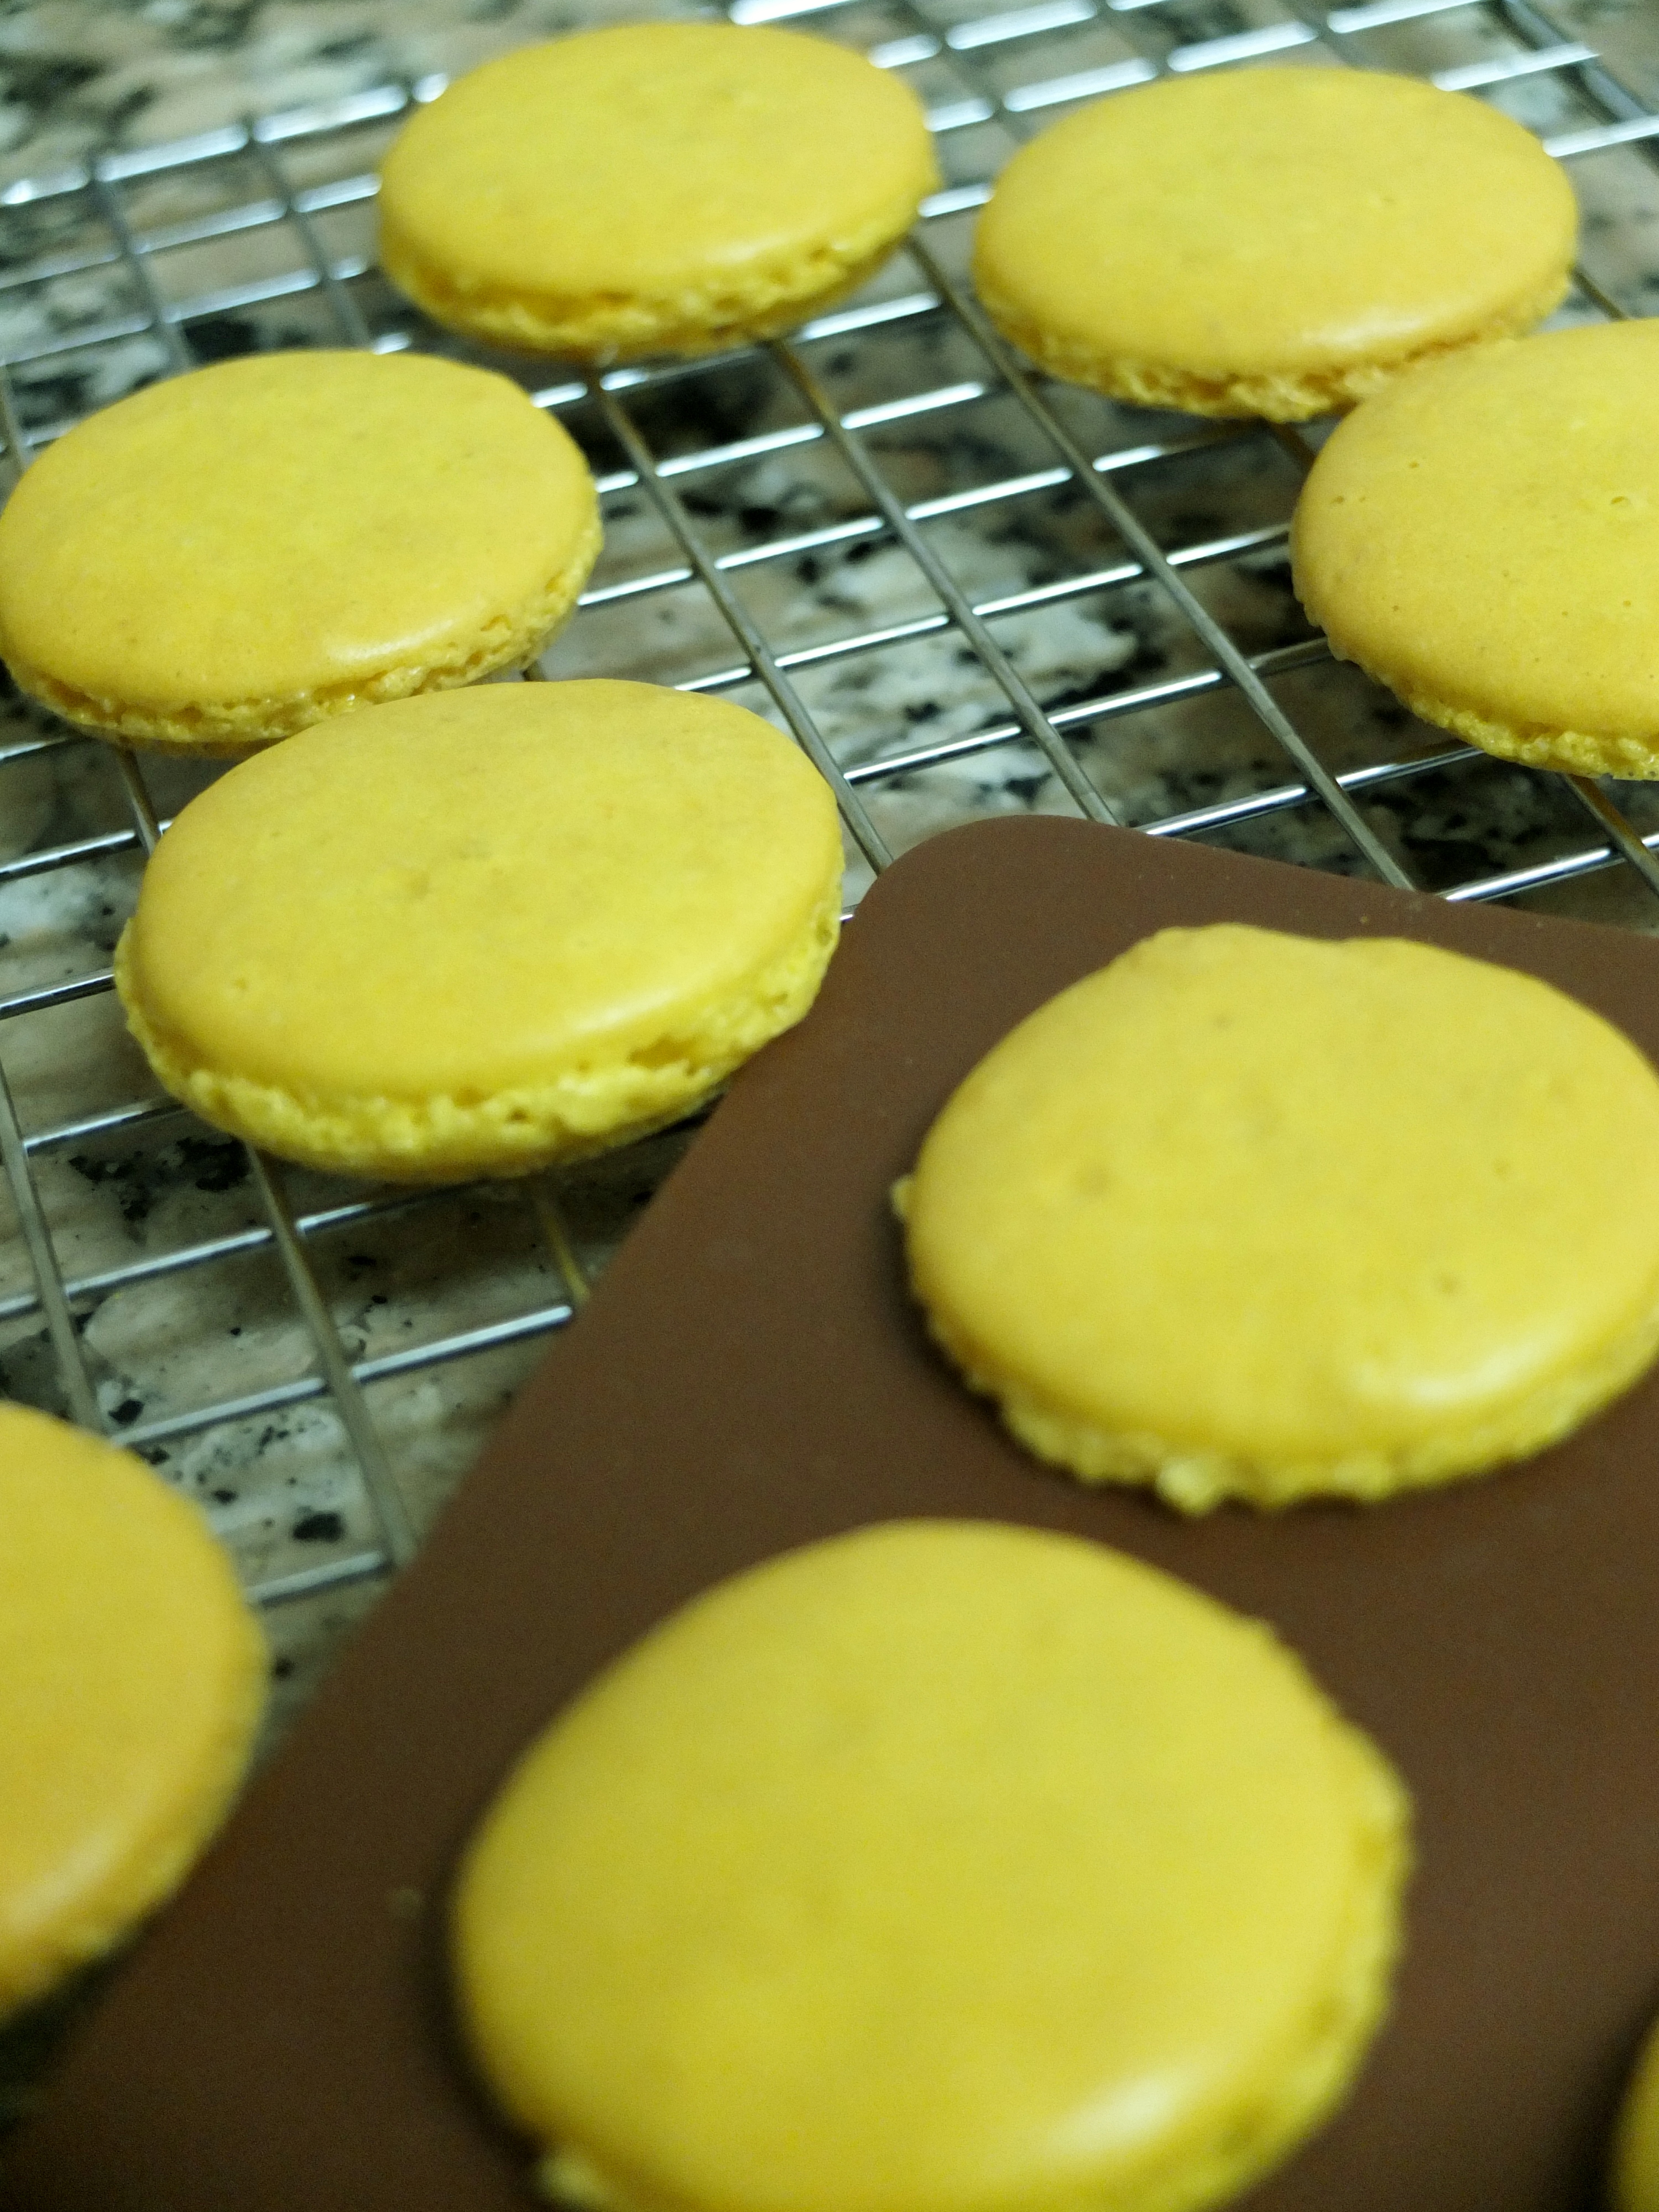
- Let them cool on their silicone mat or tray, then out on the wire rack before trying to take them off. You can use a little spatula knife to help you lift them.

French macaron shells!
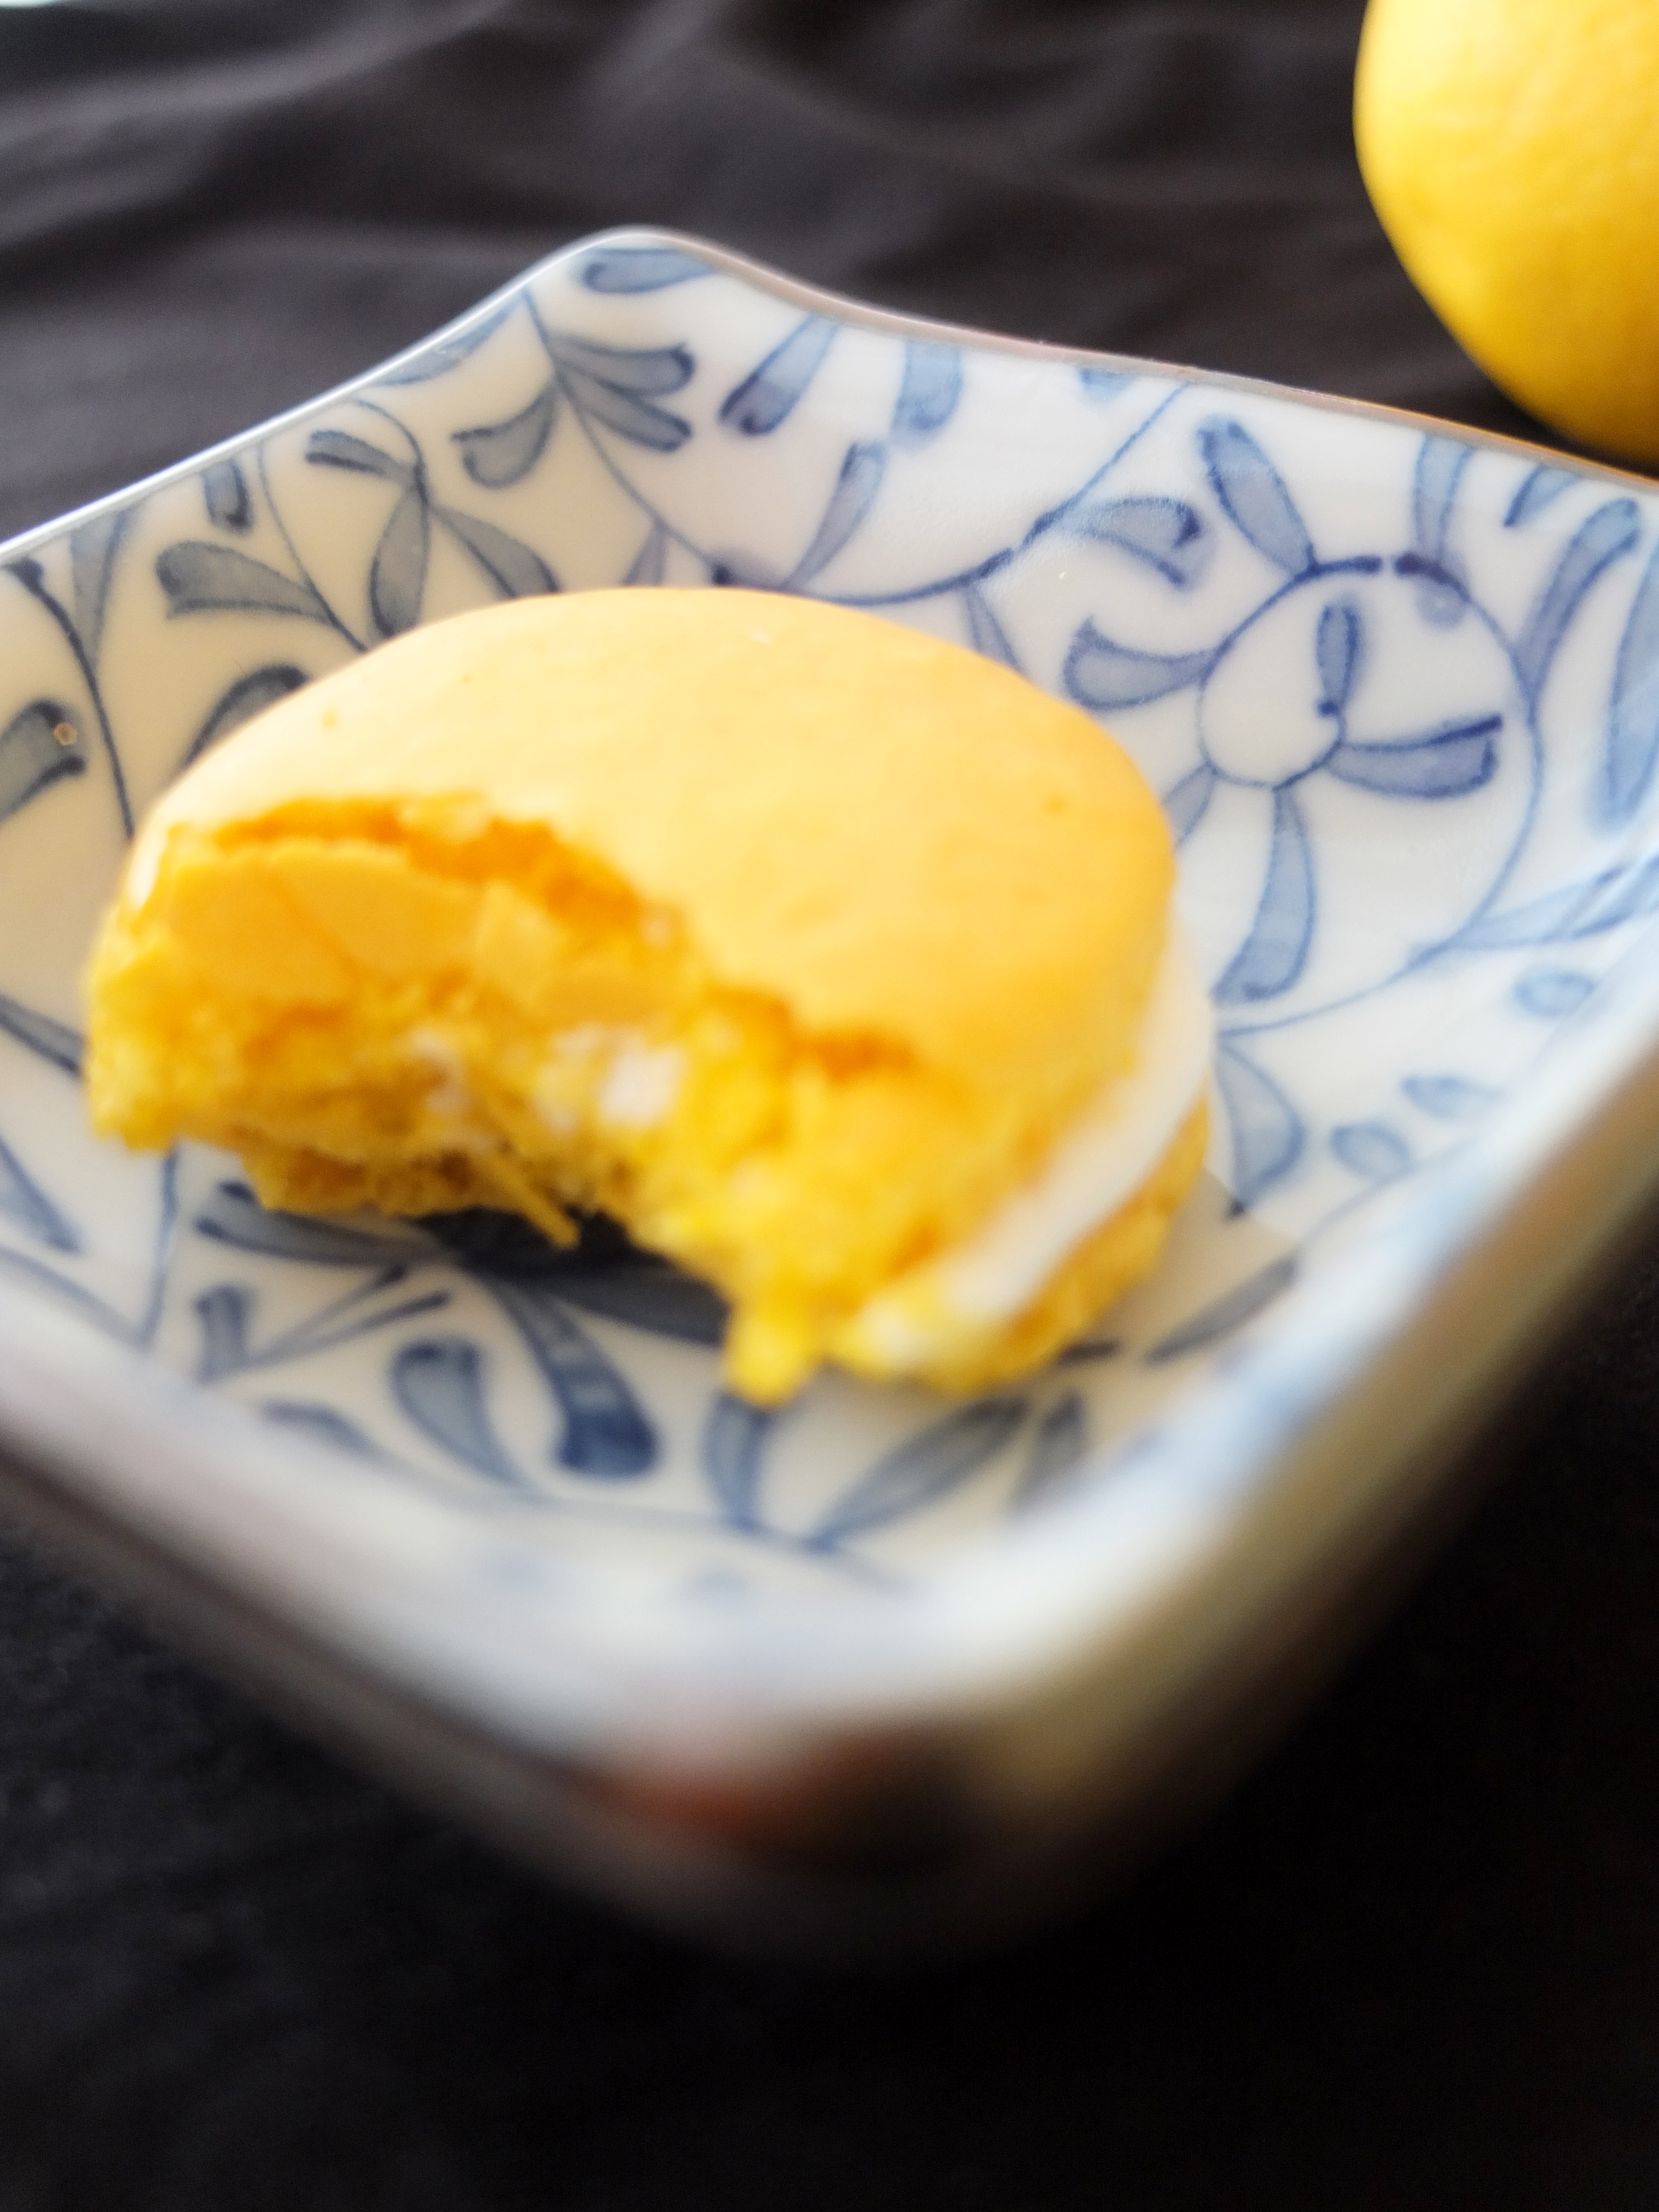
- Let the macaron shells cool completely before filling them. They should be lightly crisp on the outside and chewy inside! 🙂 Look:

Crisp outside, chewy inside!

Pingback: Savoury goats’ cheese macarons with fig, walnut and black sesame! | lili's cakes