
Making almond paste roses and leaves is actually pretty easy. As usual you just need to practise a little and suddenly one day your roses are coming out all bloomin’ lovely!
Do you need patience? Yup, and the will to make roses. The techniques I used are based on Christophe Felder’s explanations in his Patisserie book combined with those taught on our basic Cordon Bleu patisserie course in Paris. To be honest our first roses were not particularly attractive. It was hot and mine were drooping and ugly. Then I mistakenly put them in the fridge and they started sweating. Nightmare.
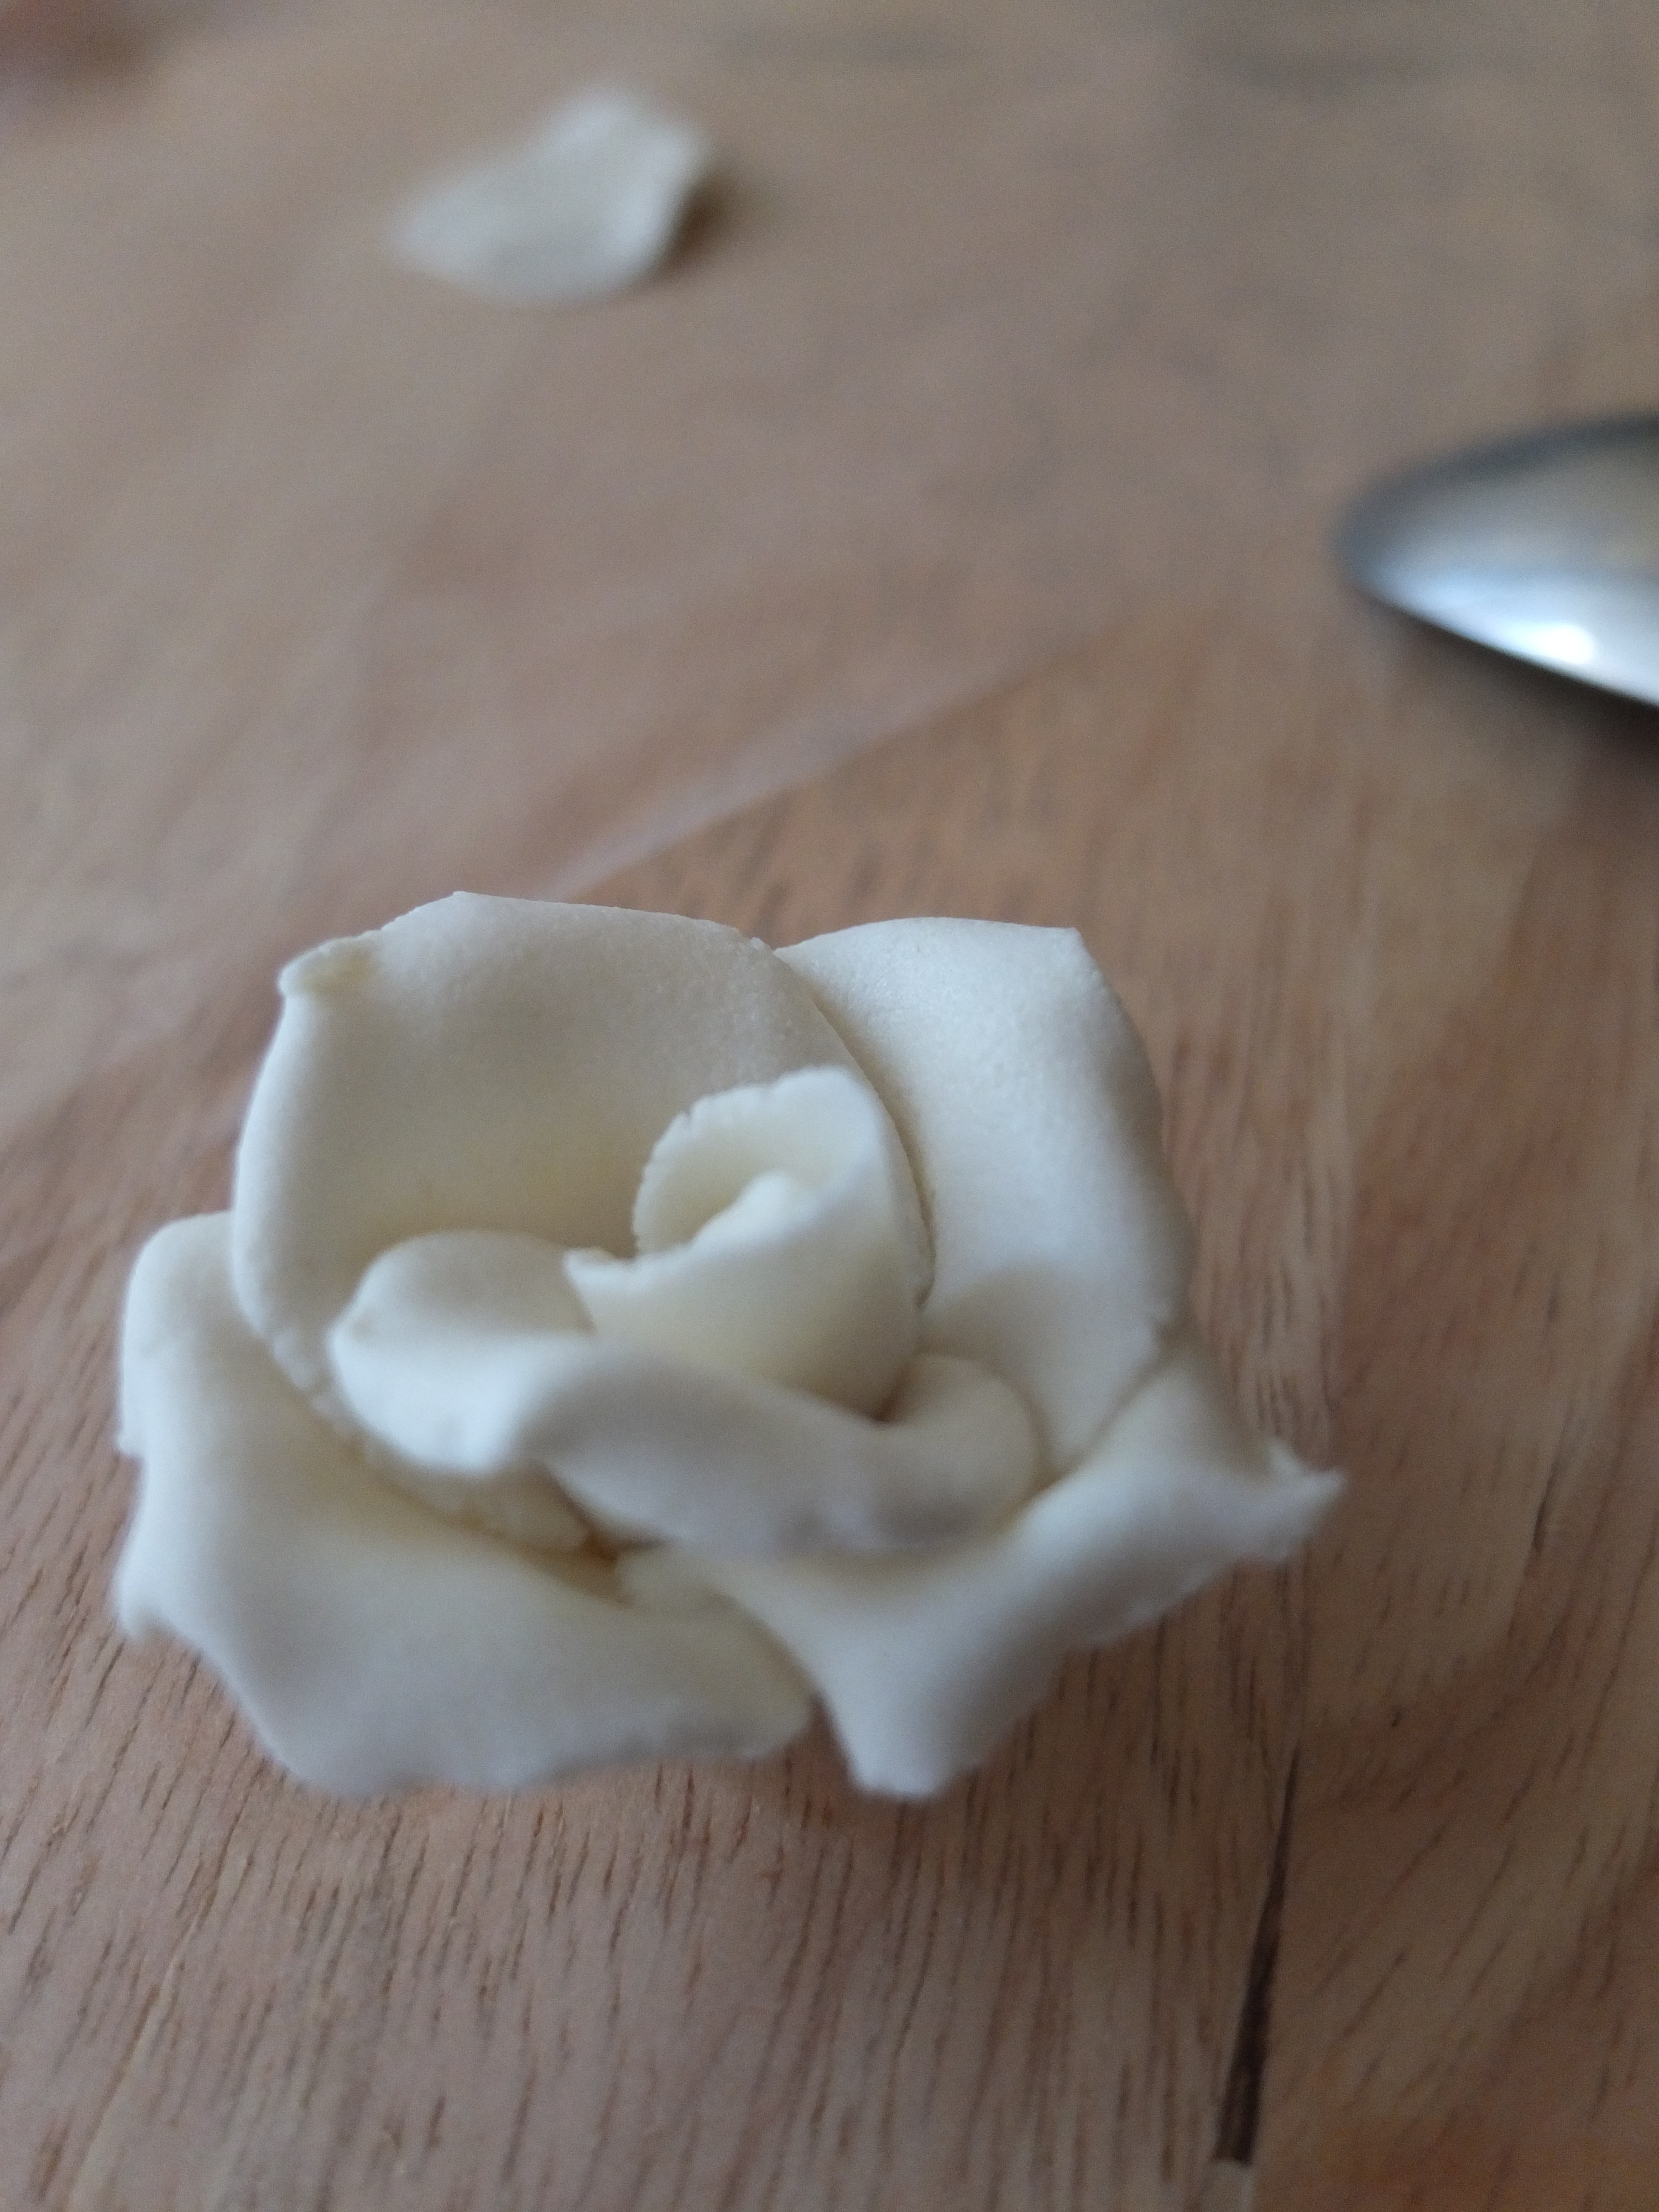
So I was most relieved when my roses finally started turning out a bit better. My main tip is: don’t flatten them out too thinly thinking you’re imitating nature. Forget nature, they need to be a little thicker than paper thin (within reason) or they droop and look sad. And don’t have too many petals.
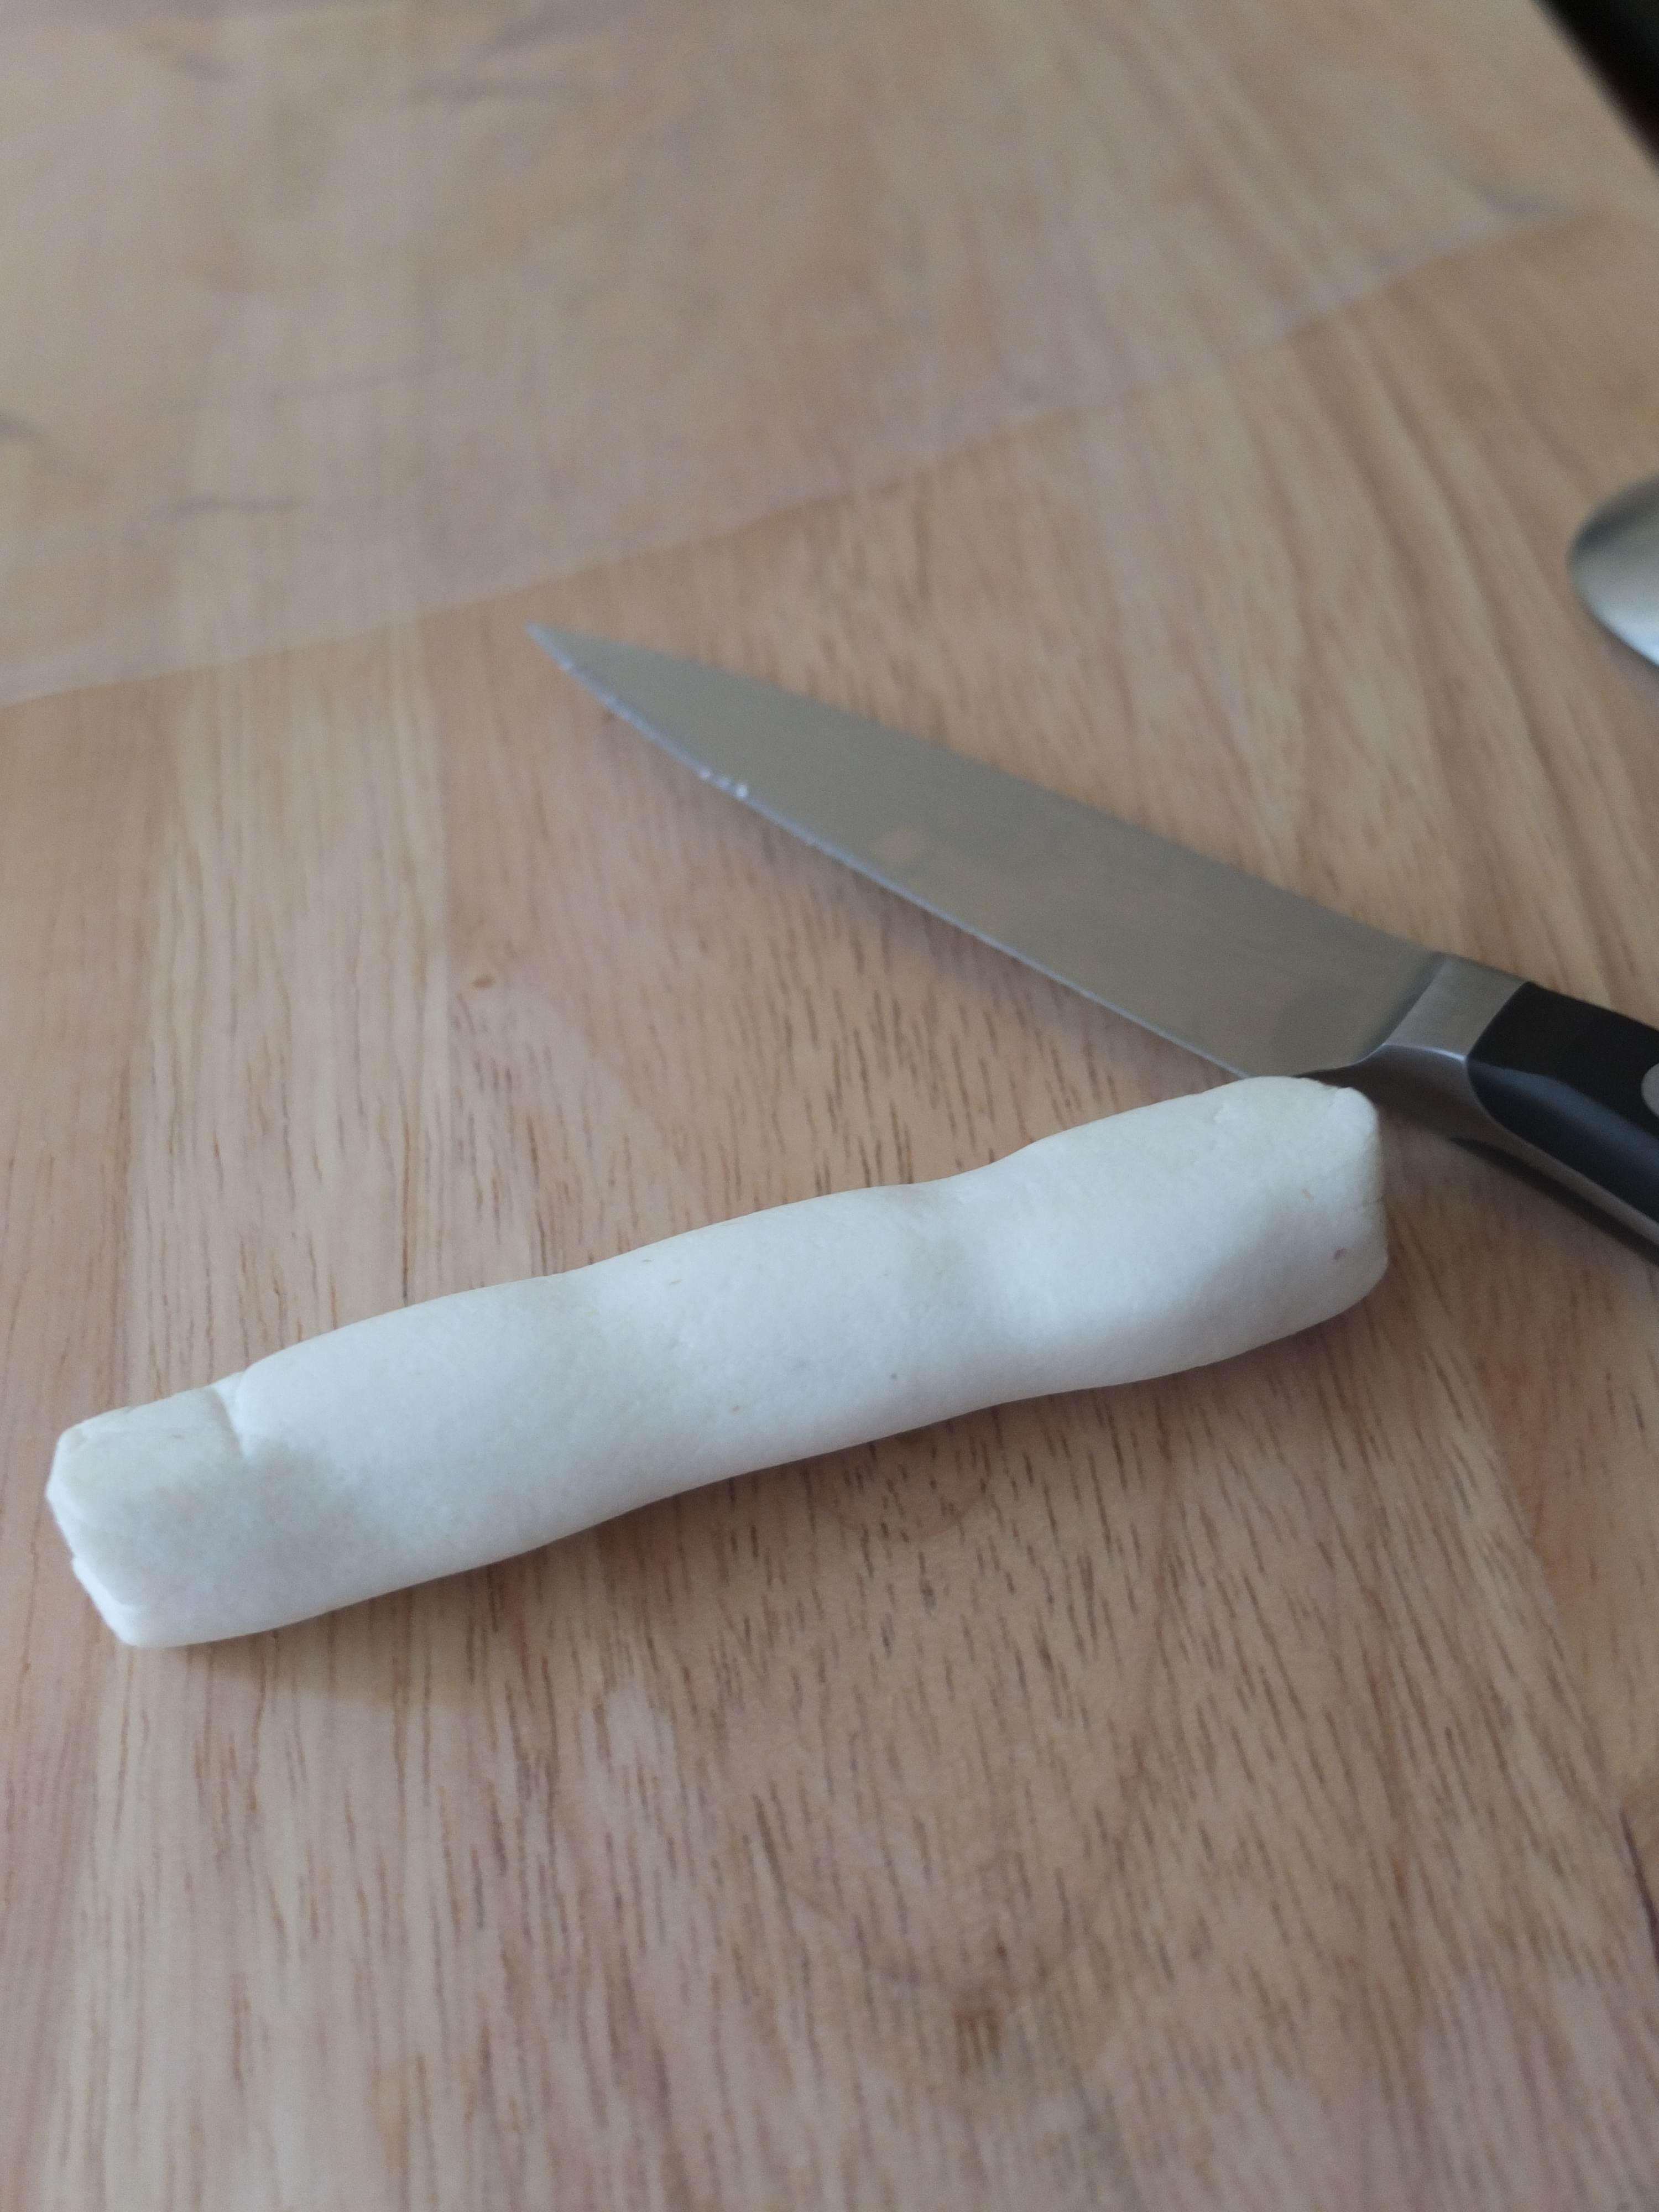
1. Make a roll of marzipan.
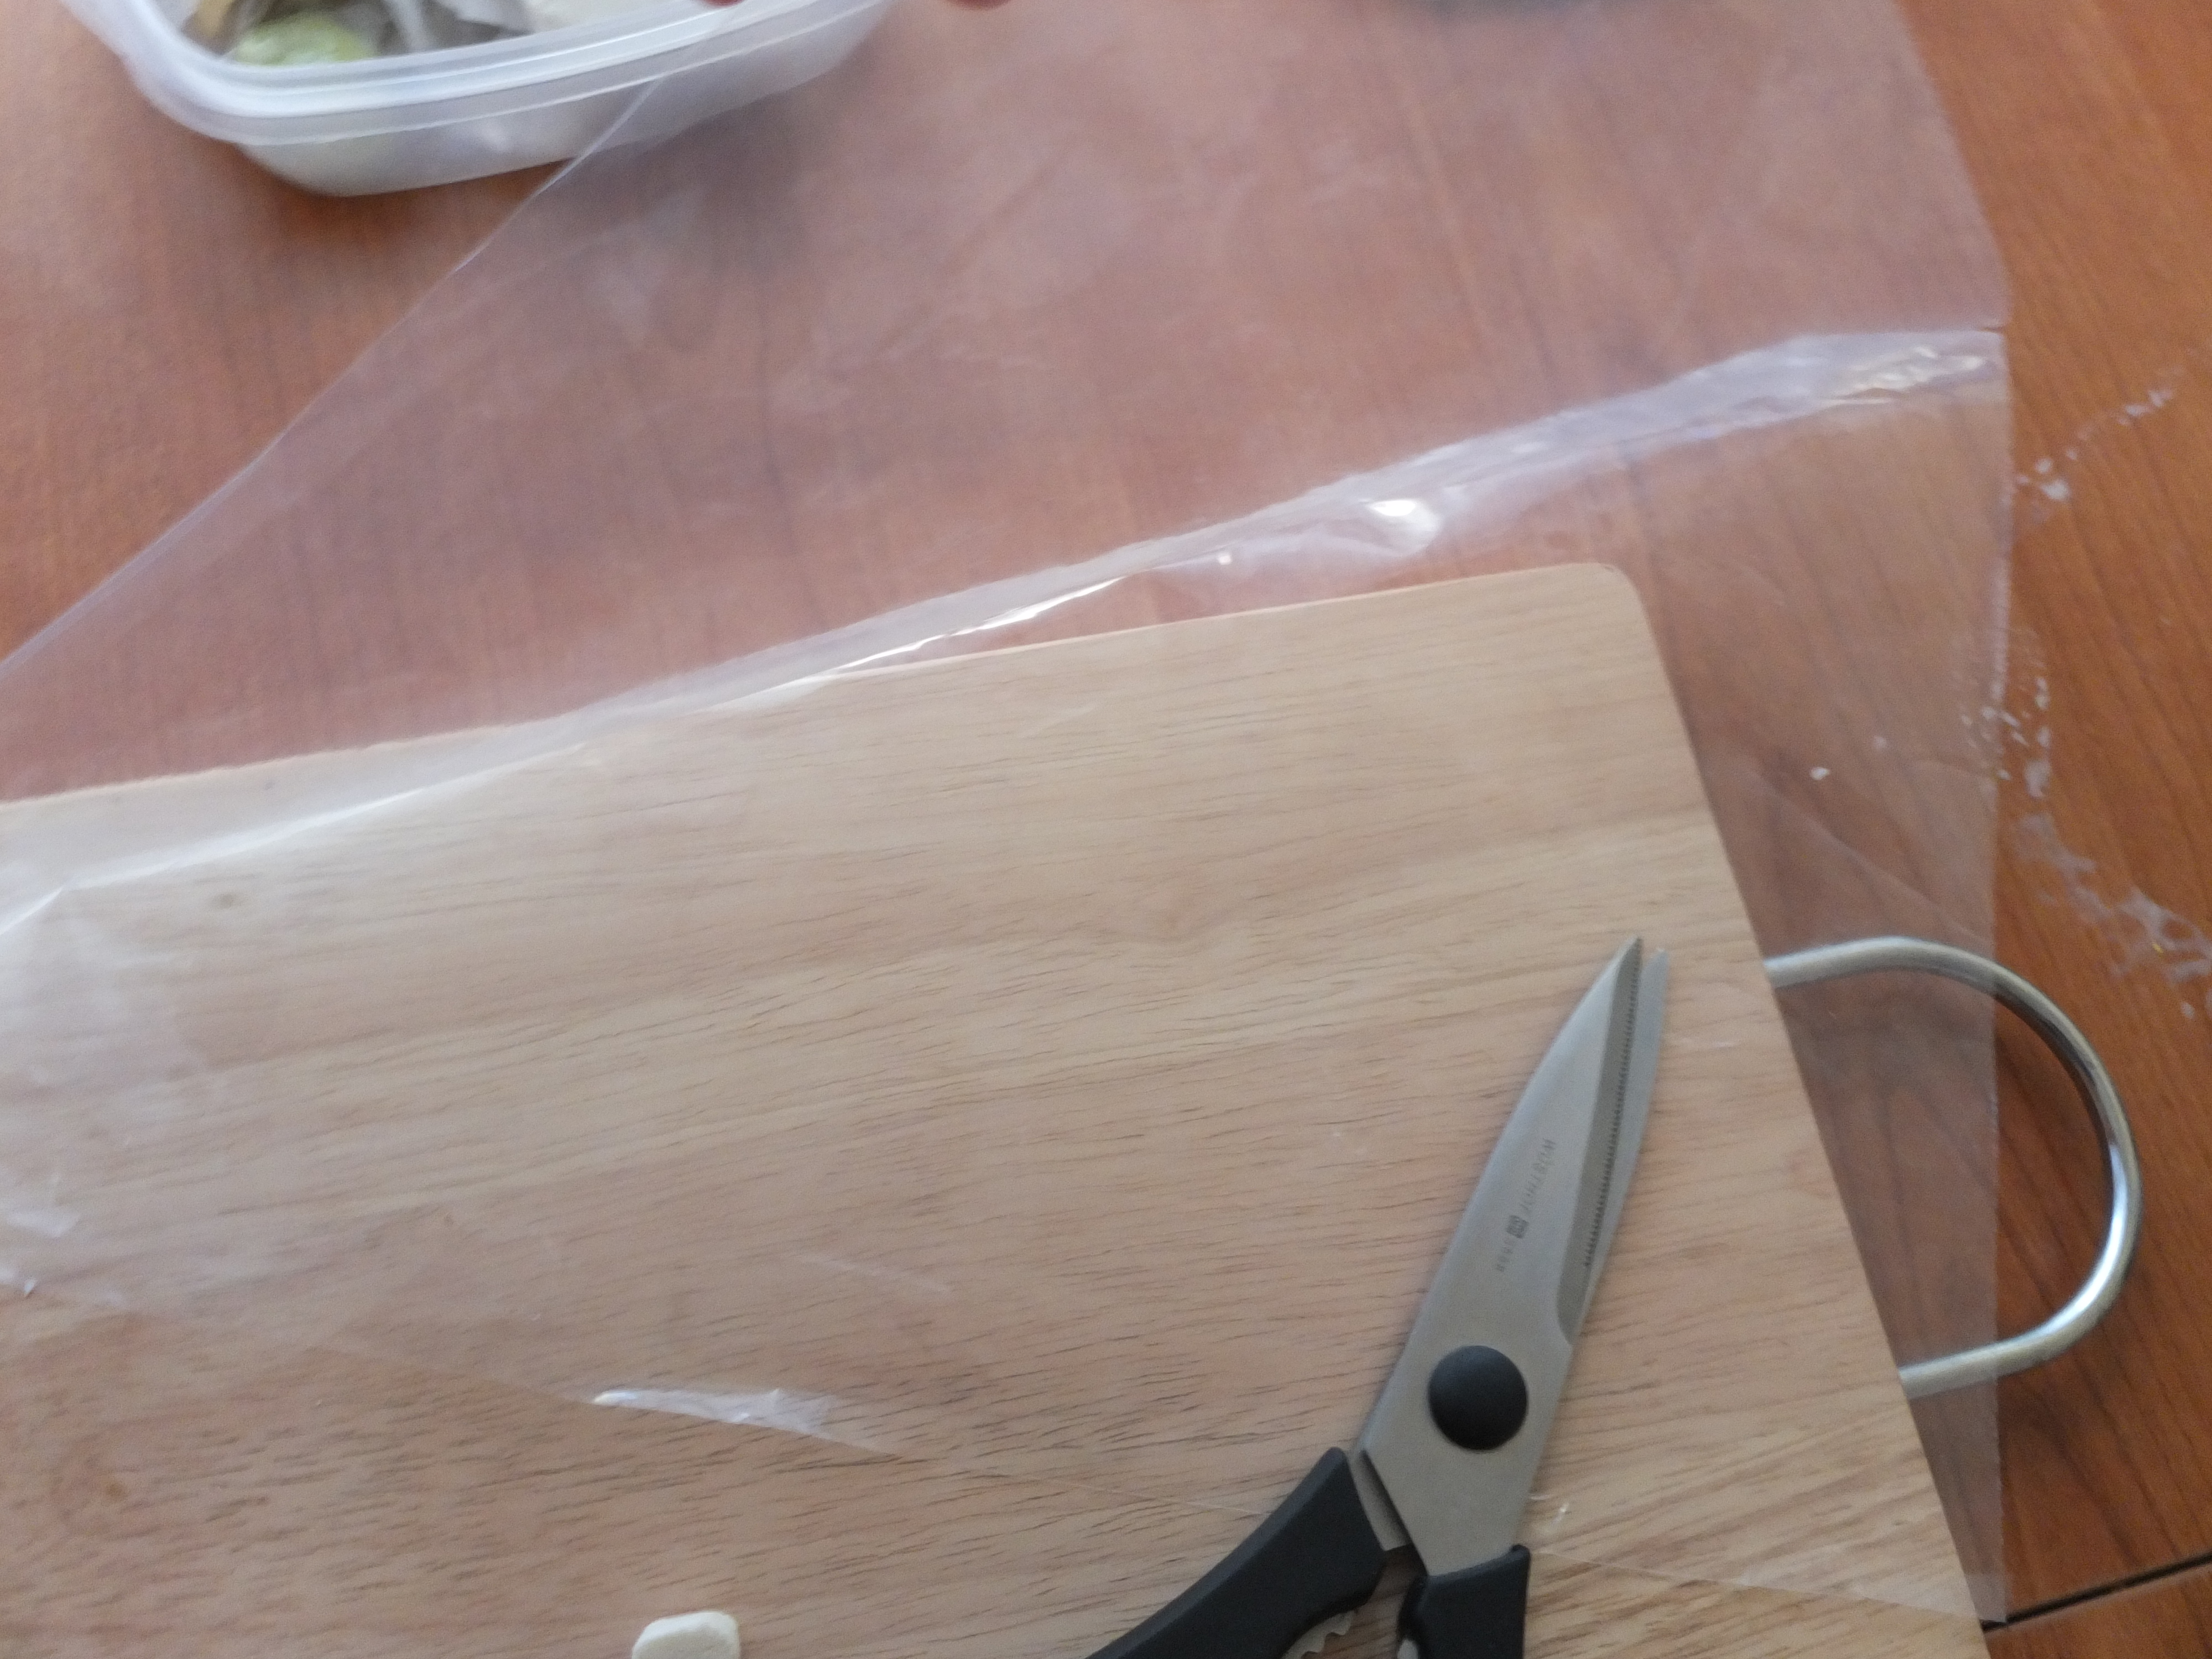
2. Cut a plastic piping bag at the seam or an A4 plastic envelope (to get two sheets of plastic, one under and one on top).
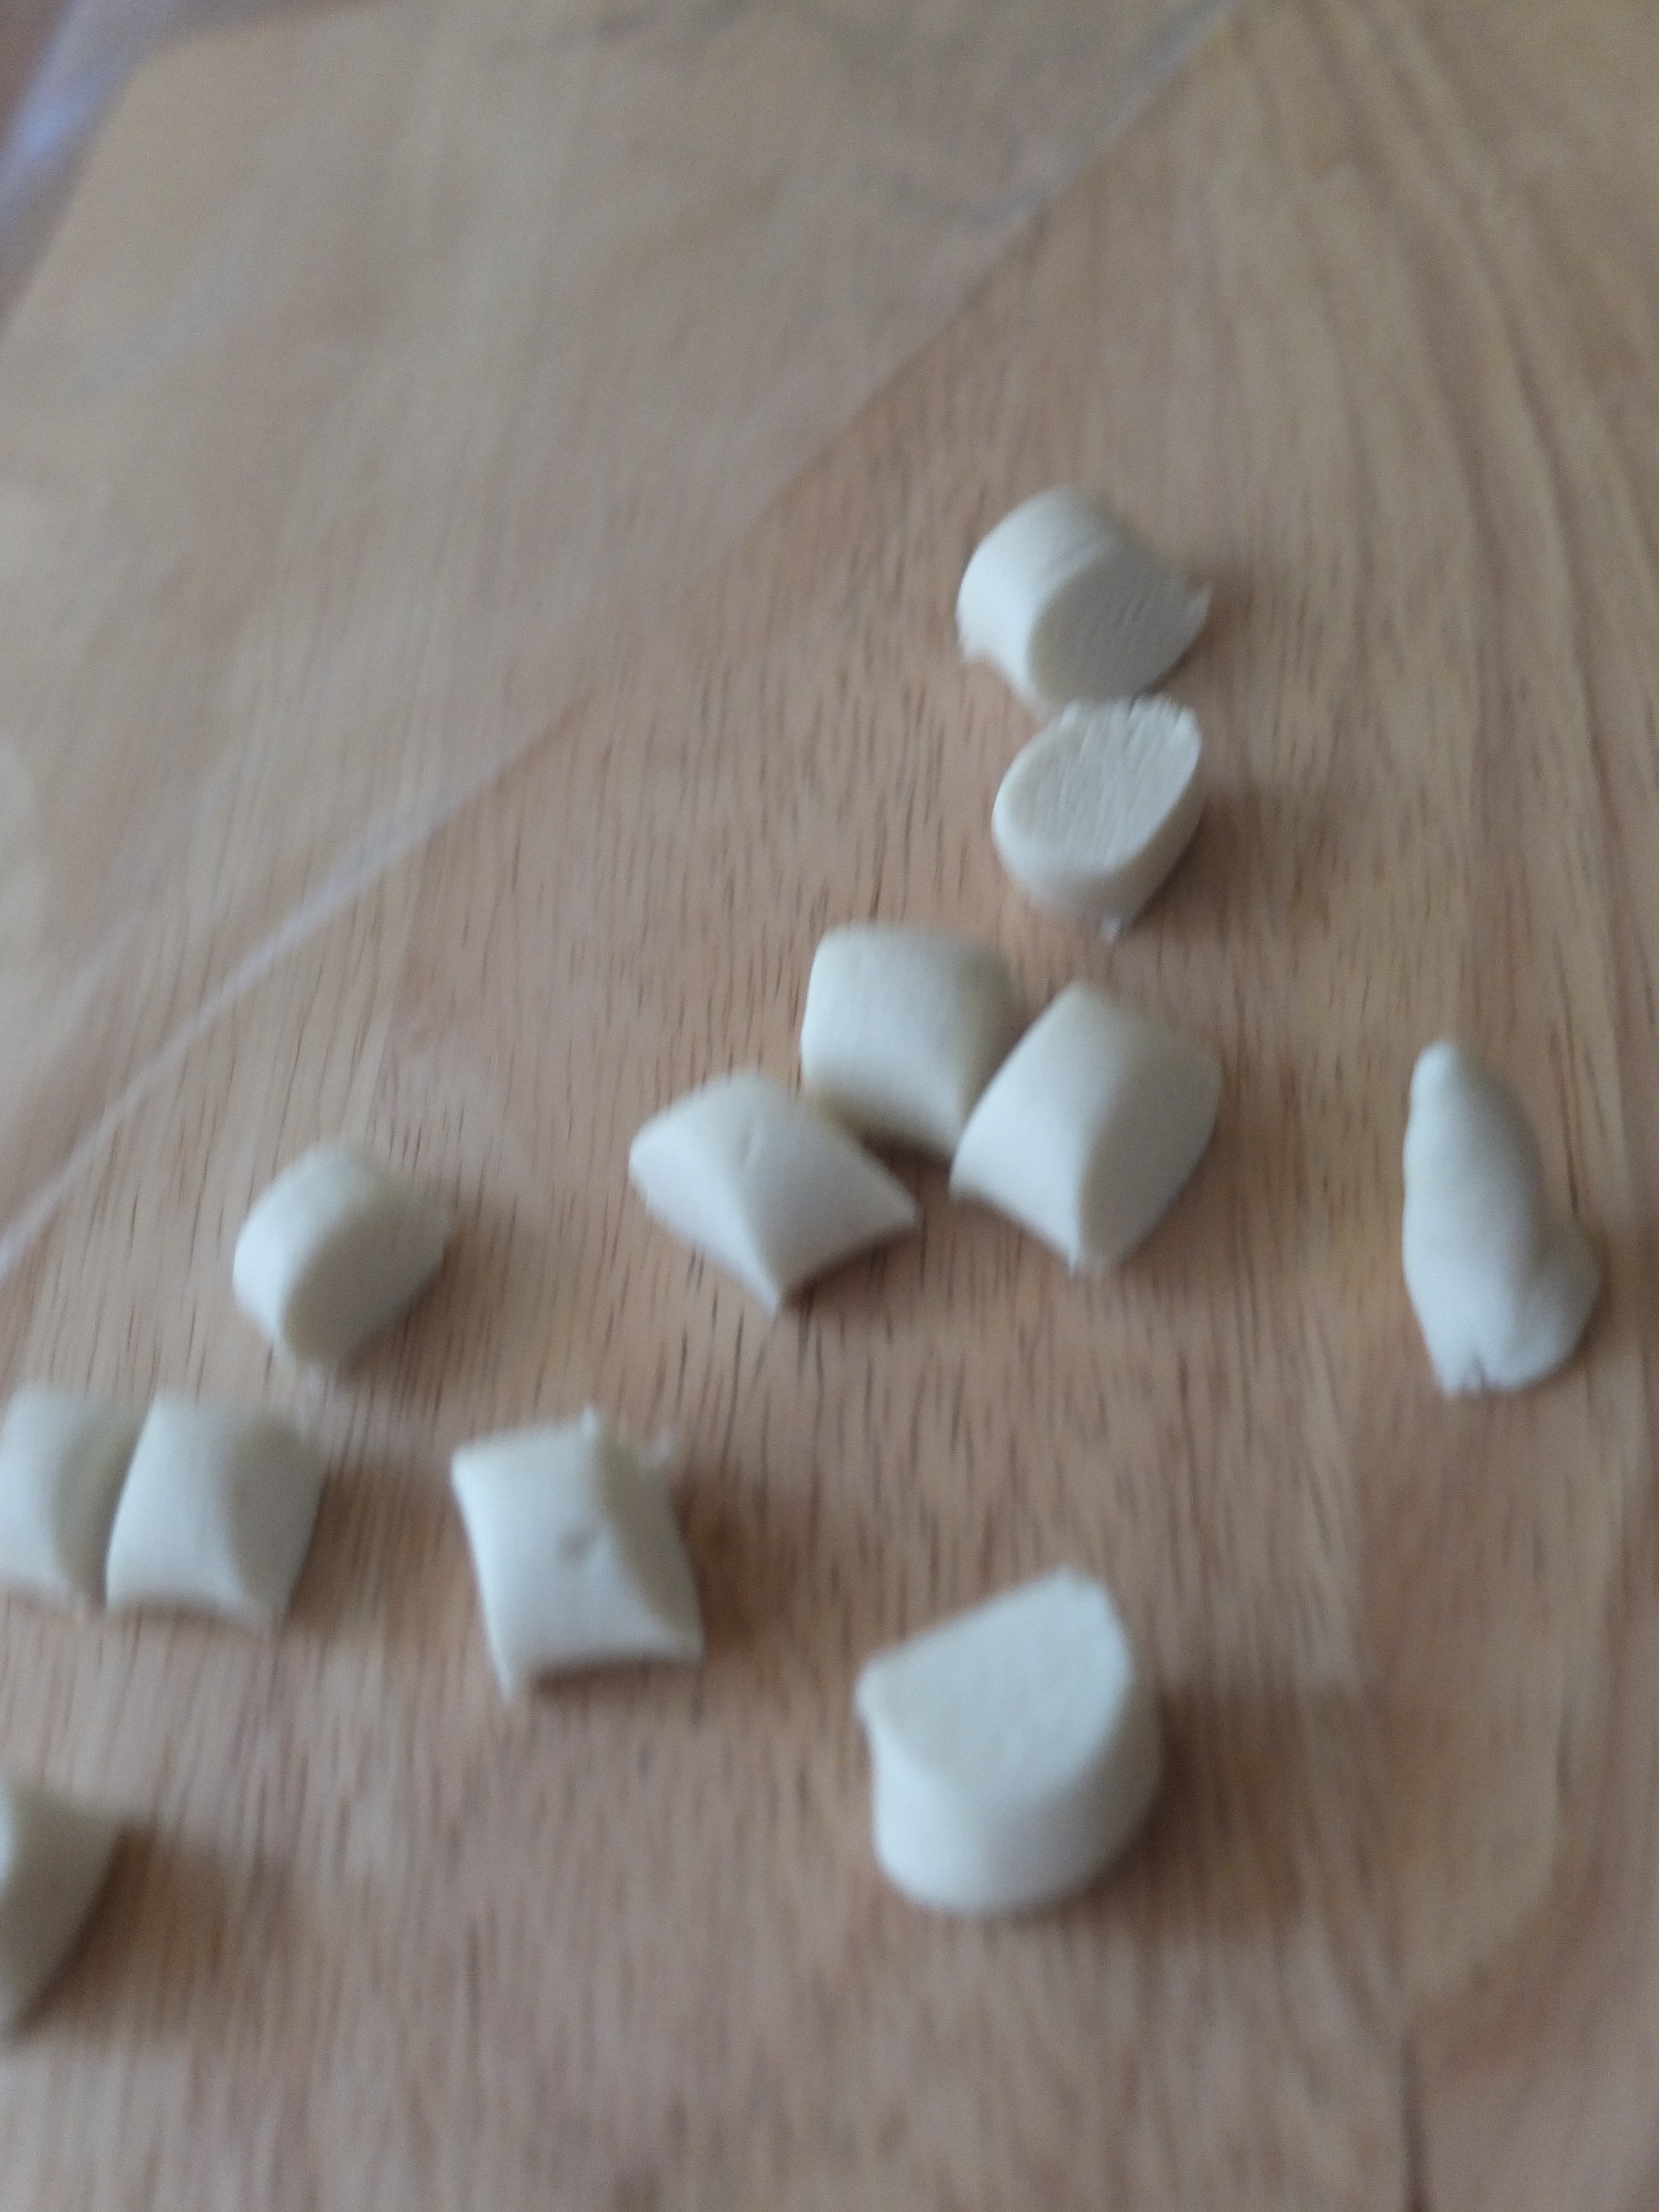
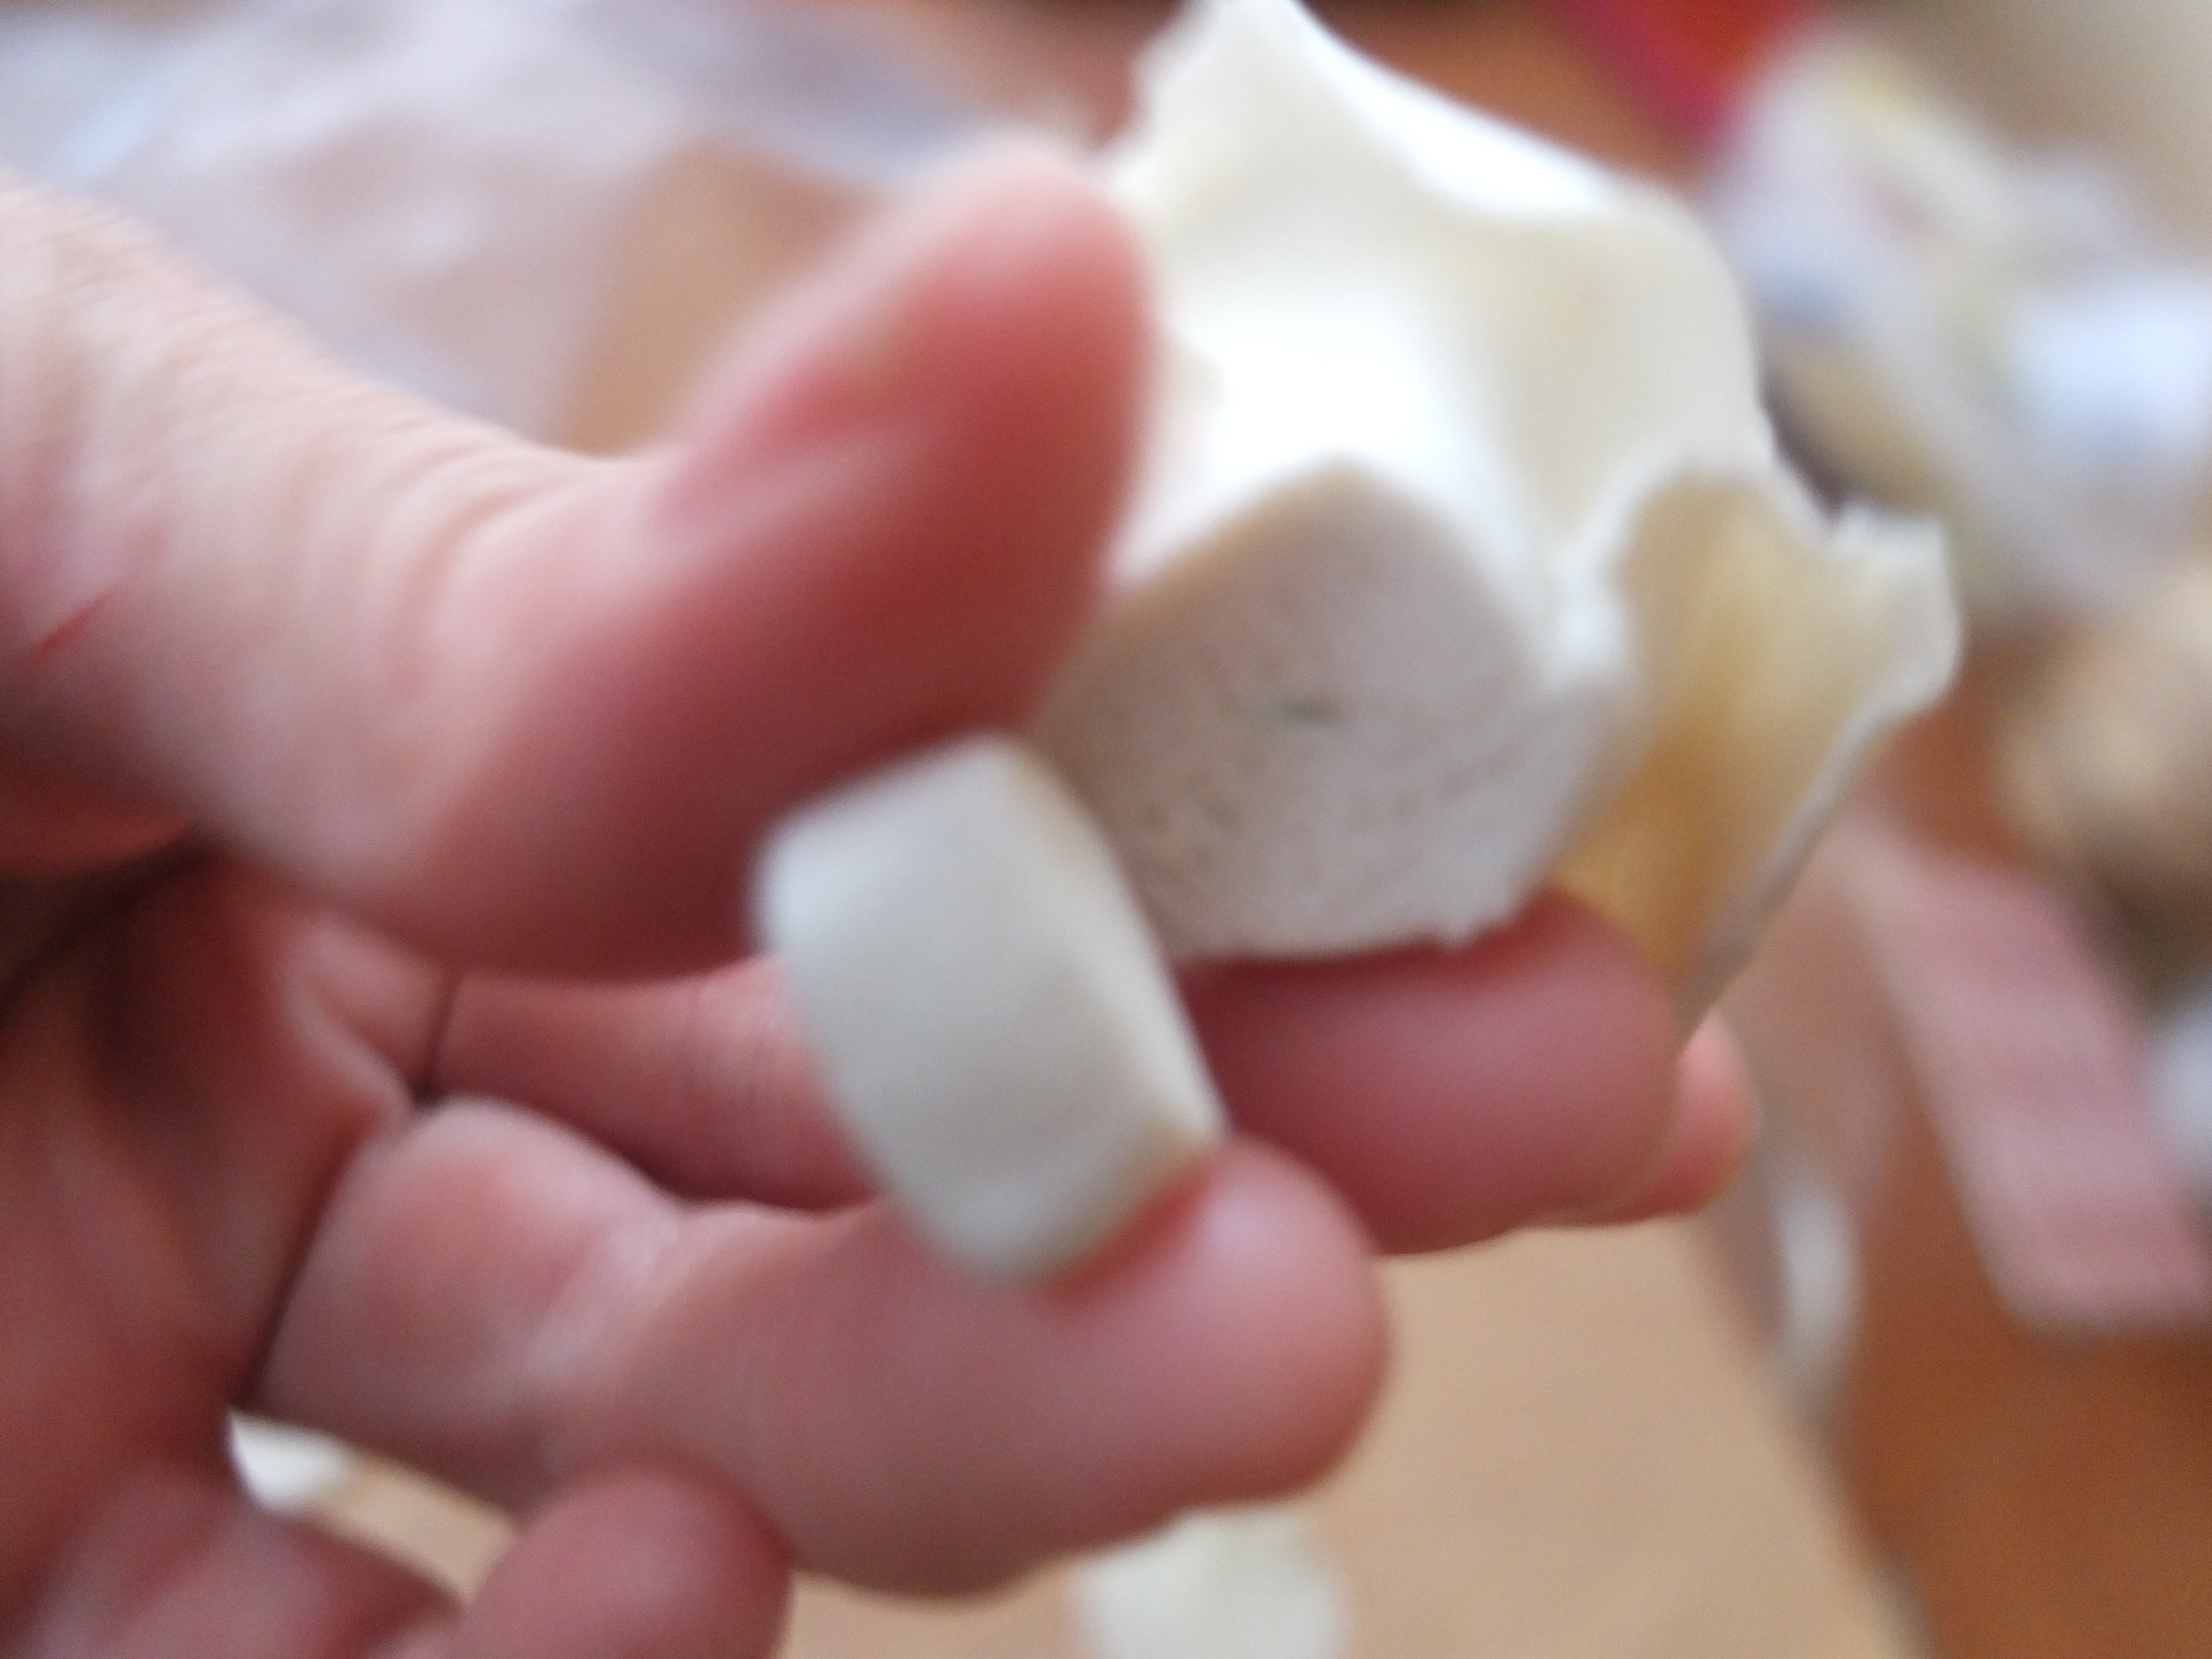
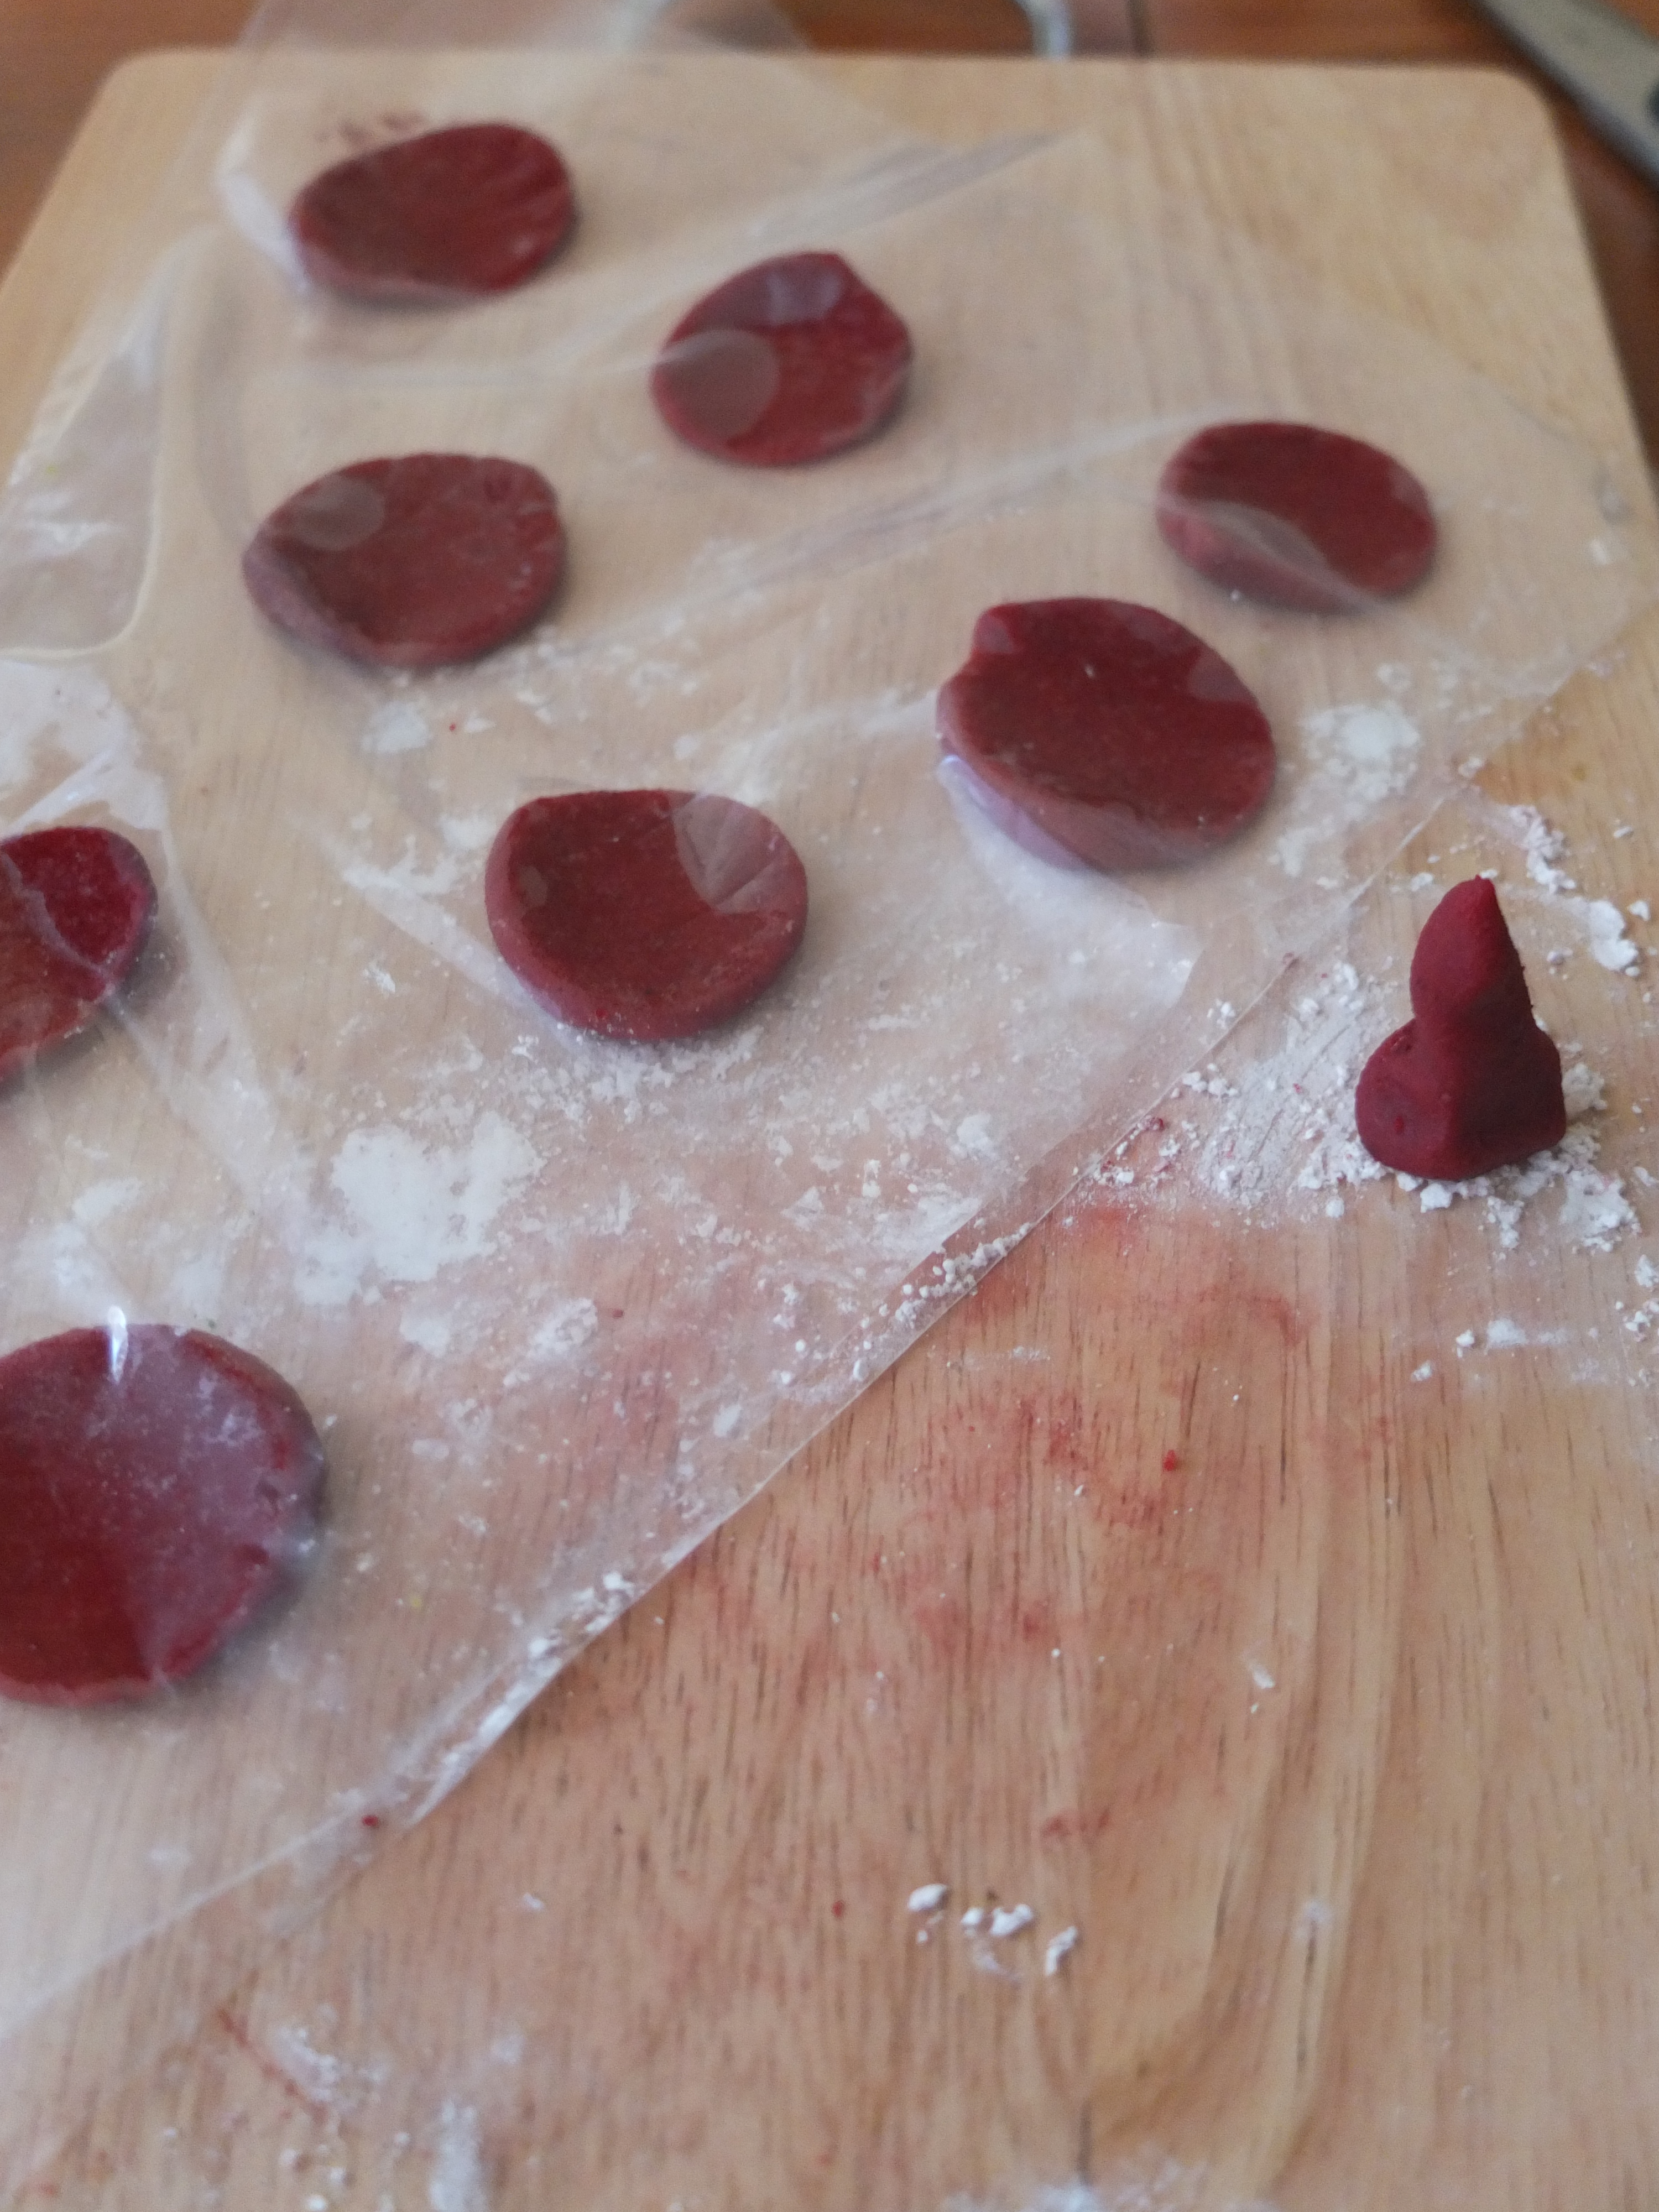
3. Cut similarly sized pieces in your roll. Some can be smaller for the earlier petals. Also shape one little cone.
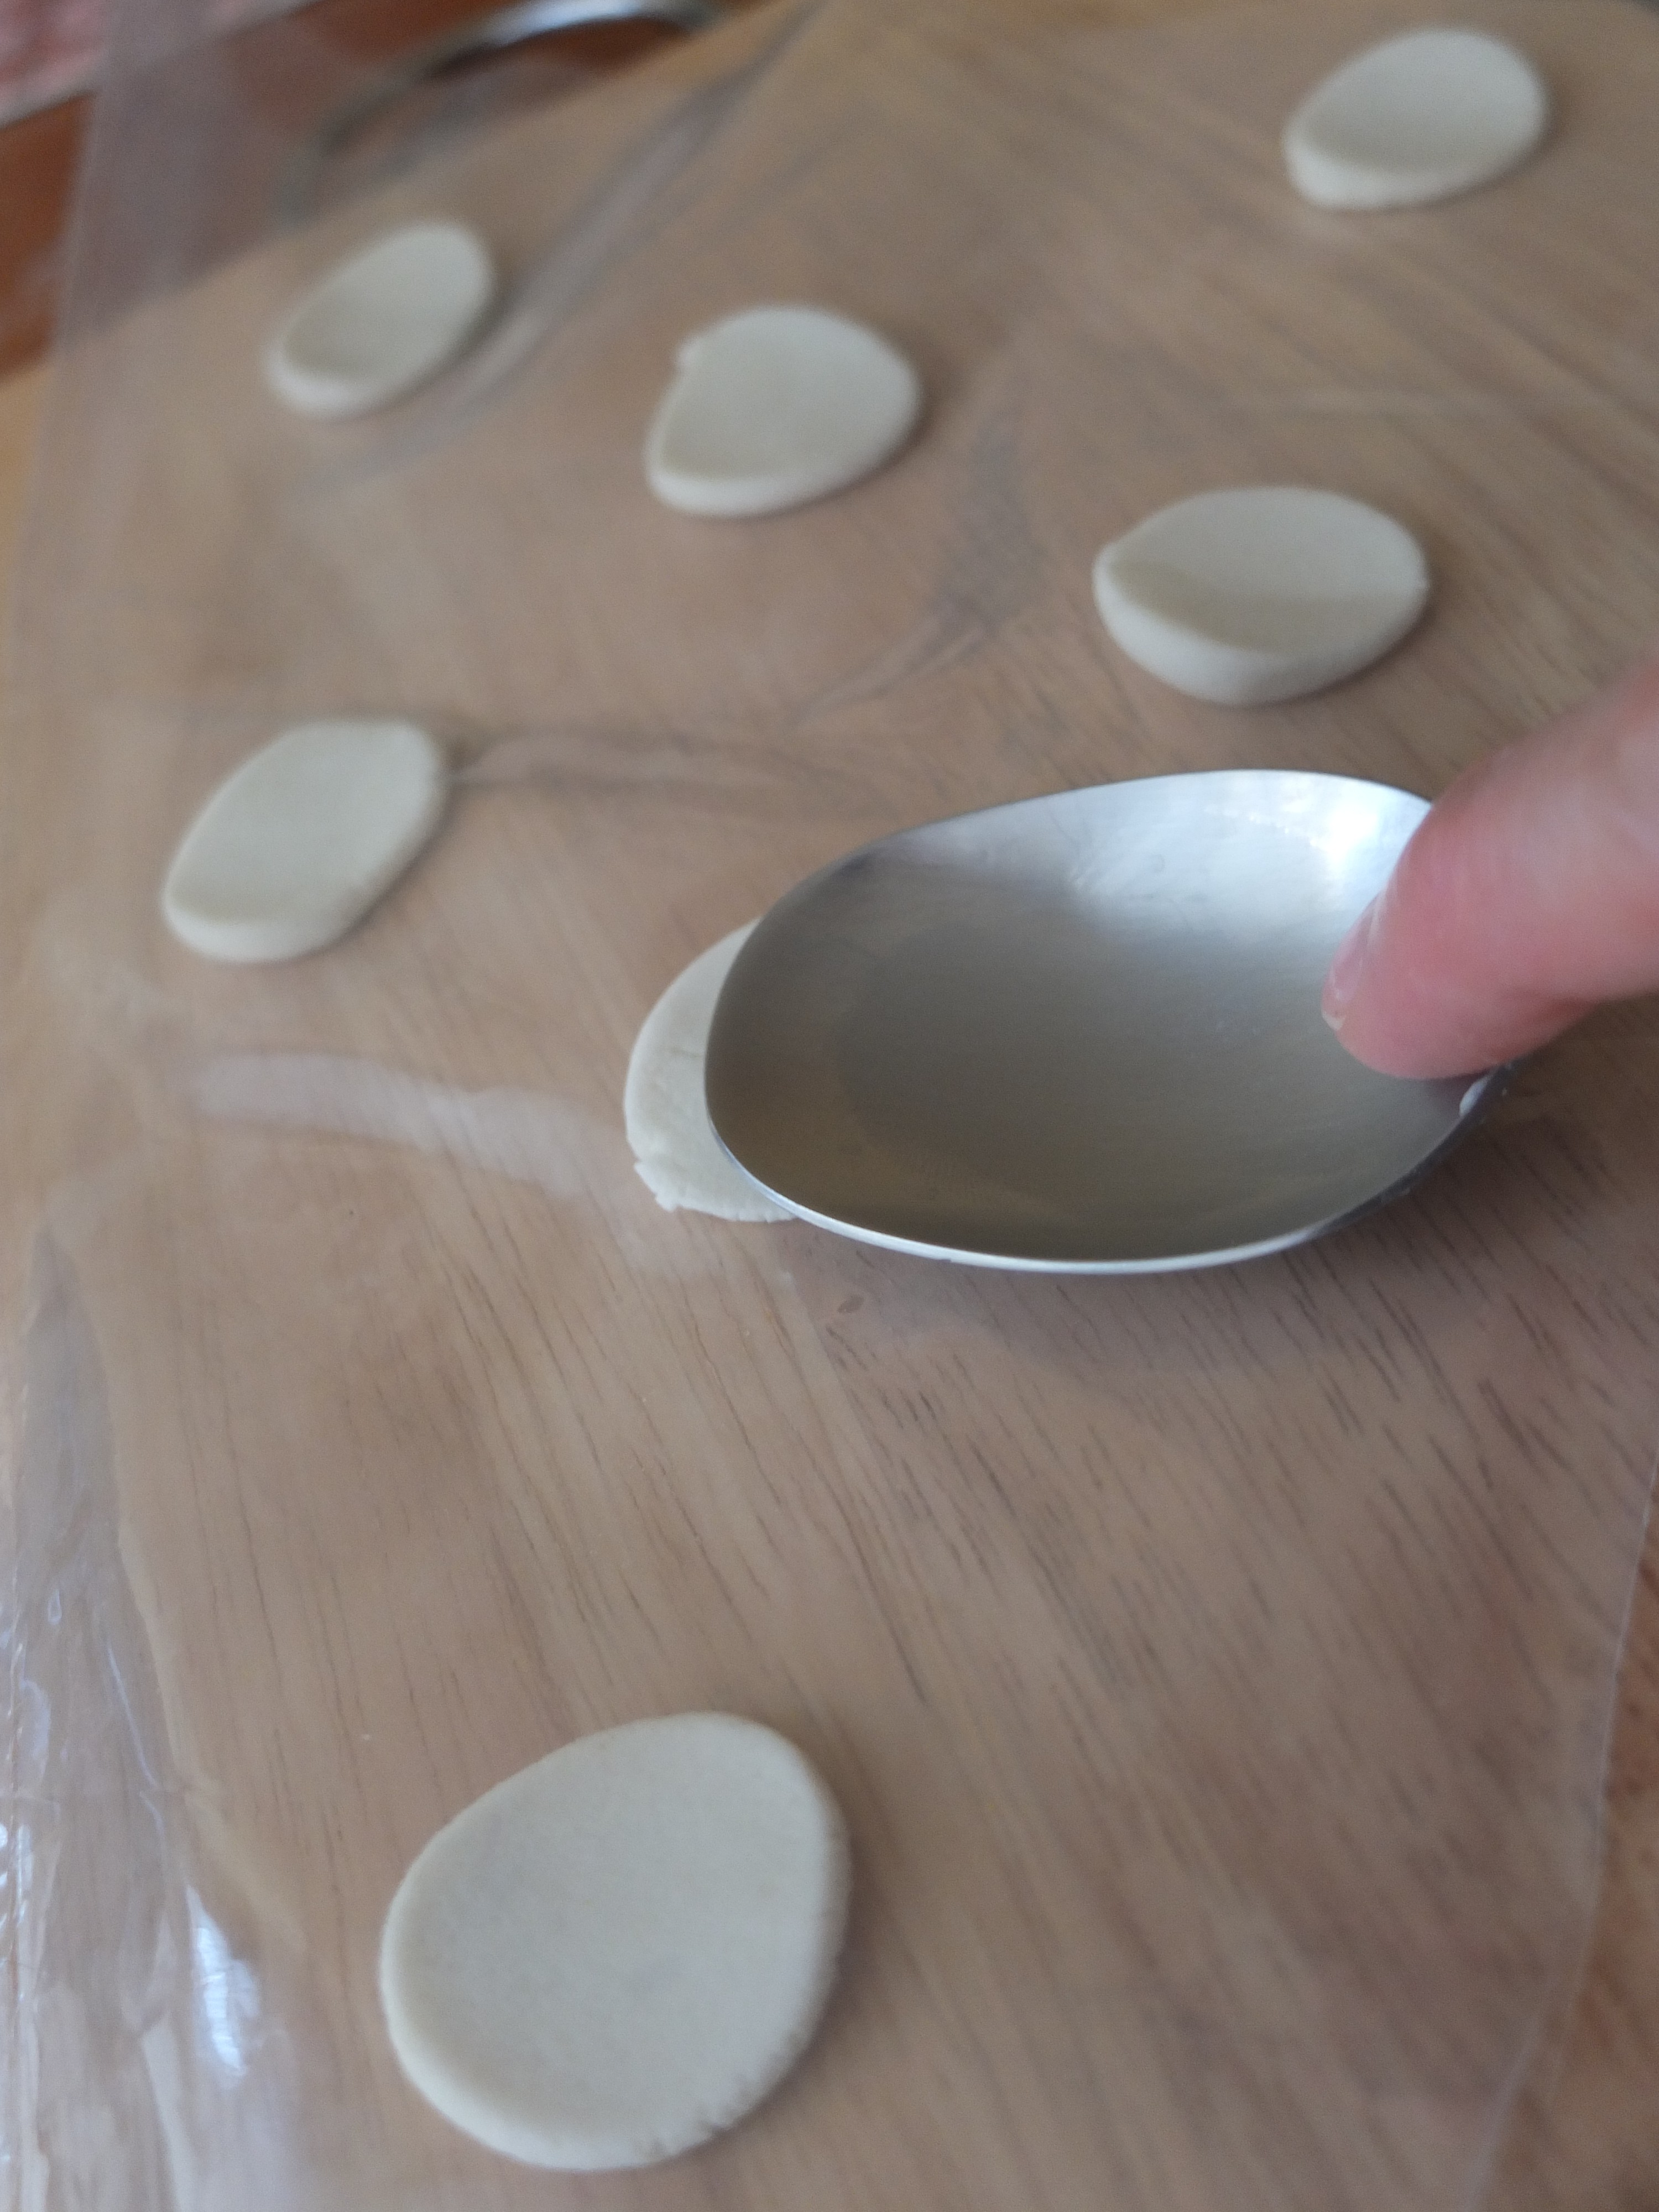
5. Flatten with the back of a metal spoon.
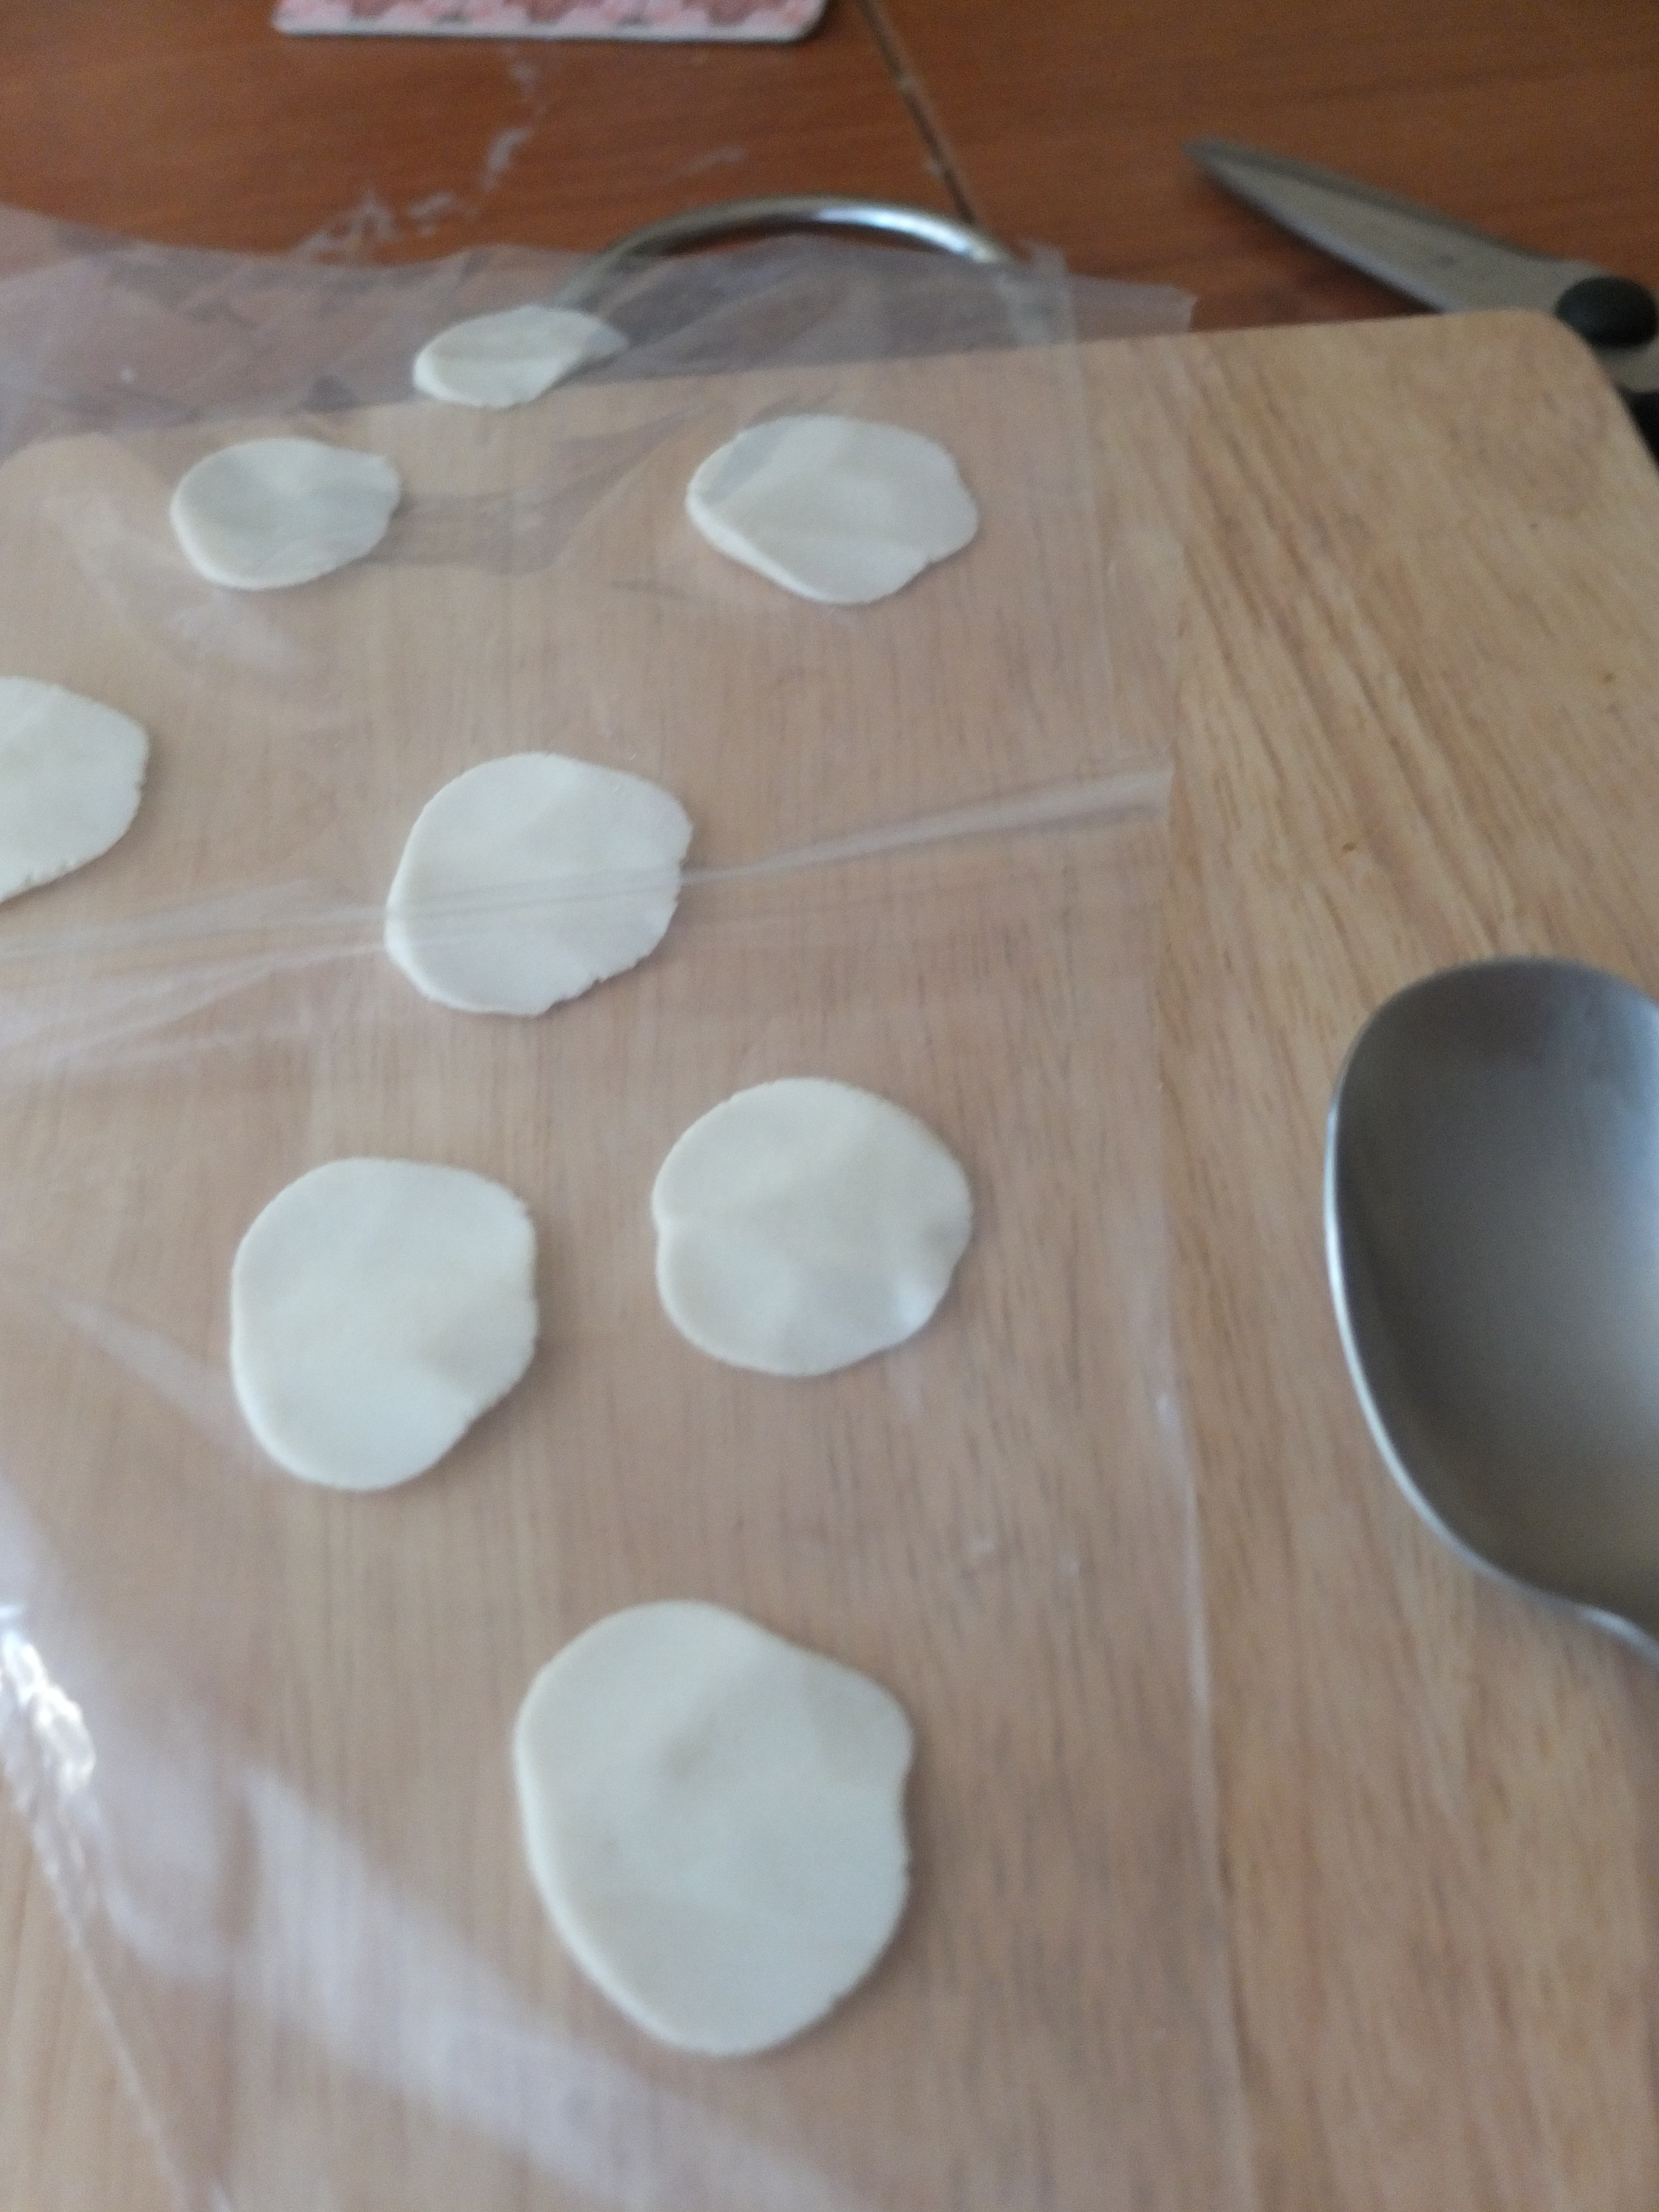
6. Then flatten the outer edges of your petal a little more, leaving a slightly thicker middle base (of about 1cm height and width).
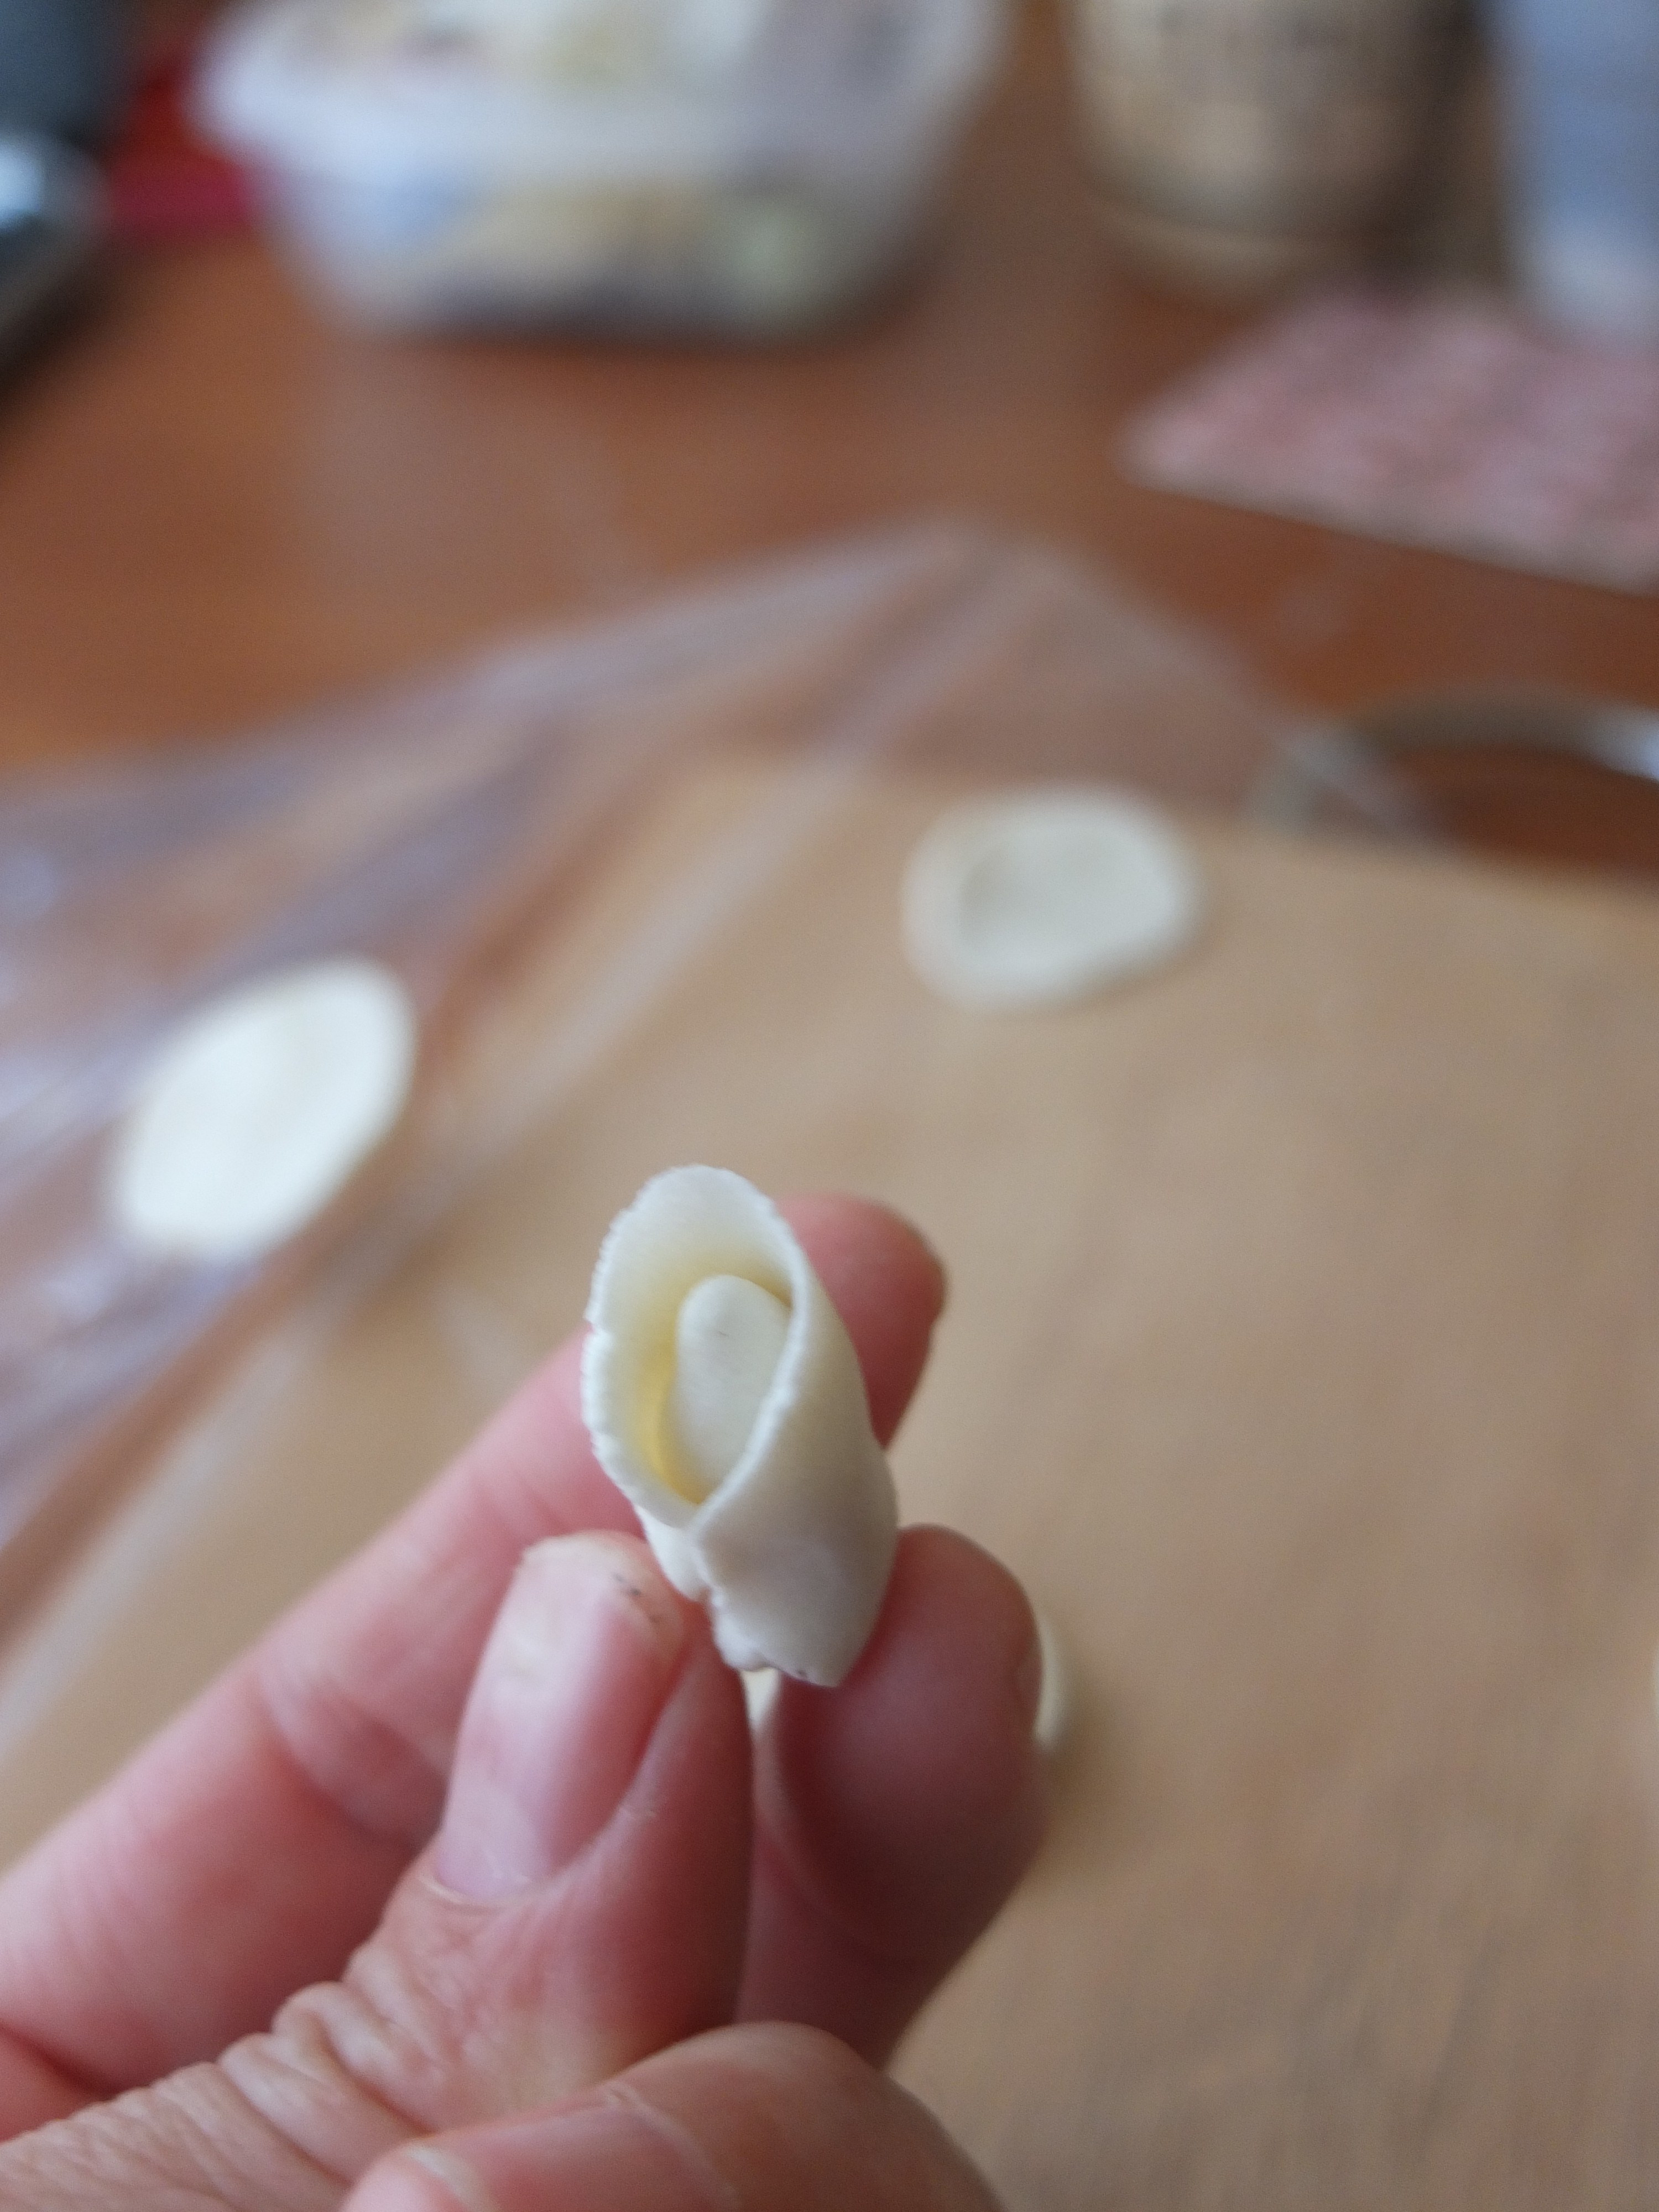
7. Carefully wrap the first smallest petal around your cone.
8. Add a second bigger petal, fixing at the base. Try to make the petals a little higher than the cone.
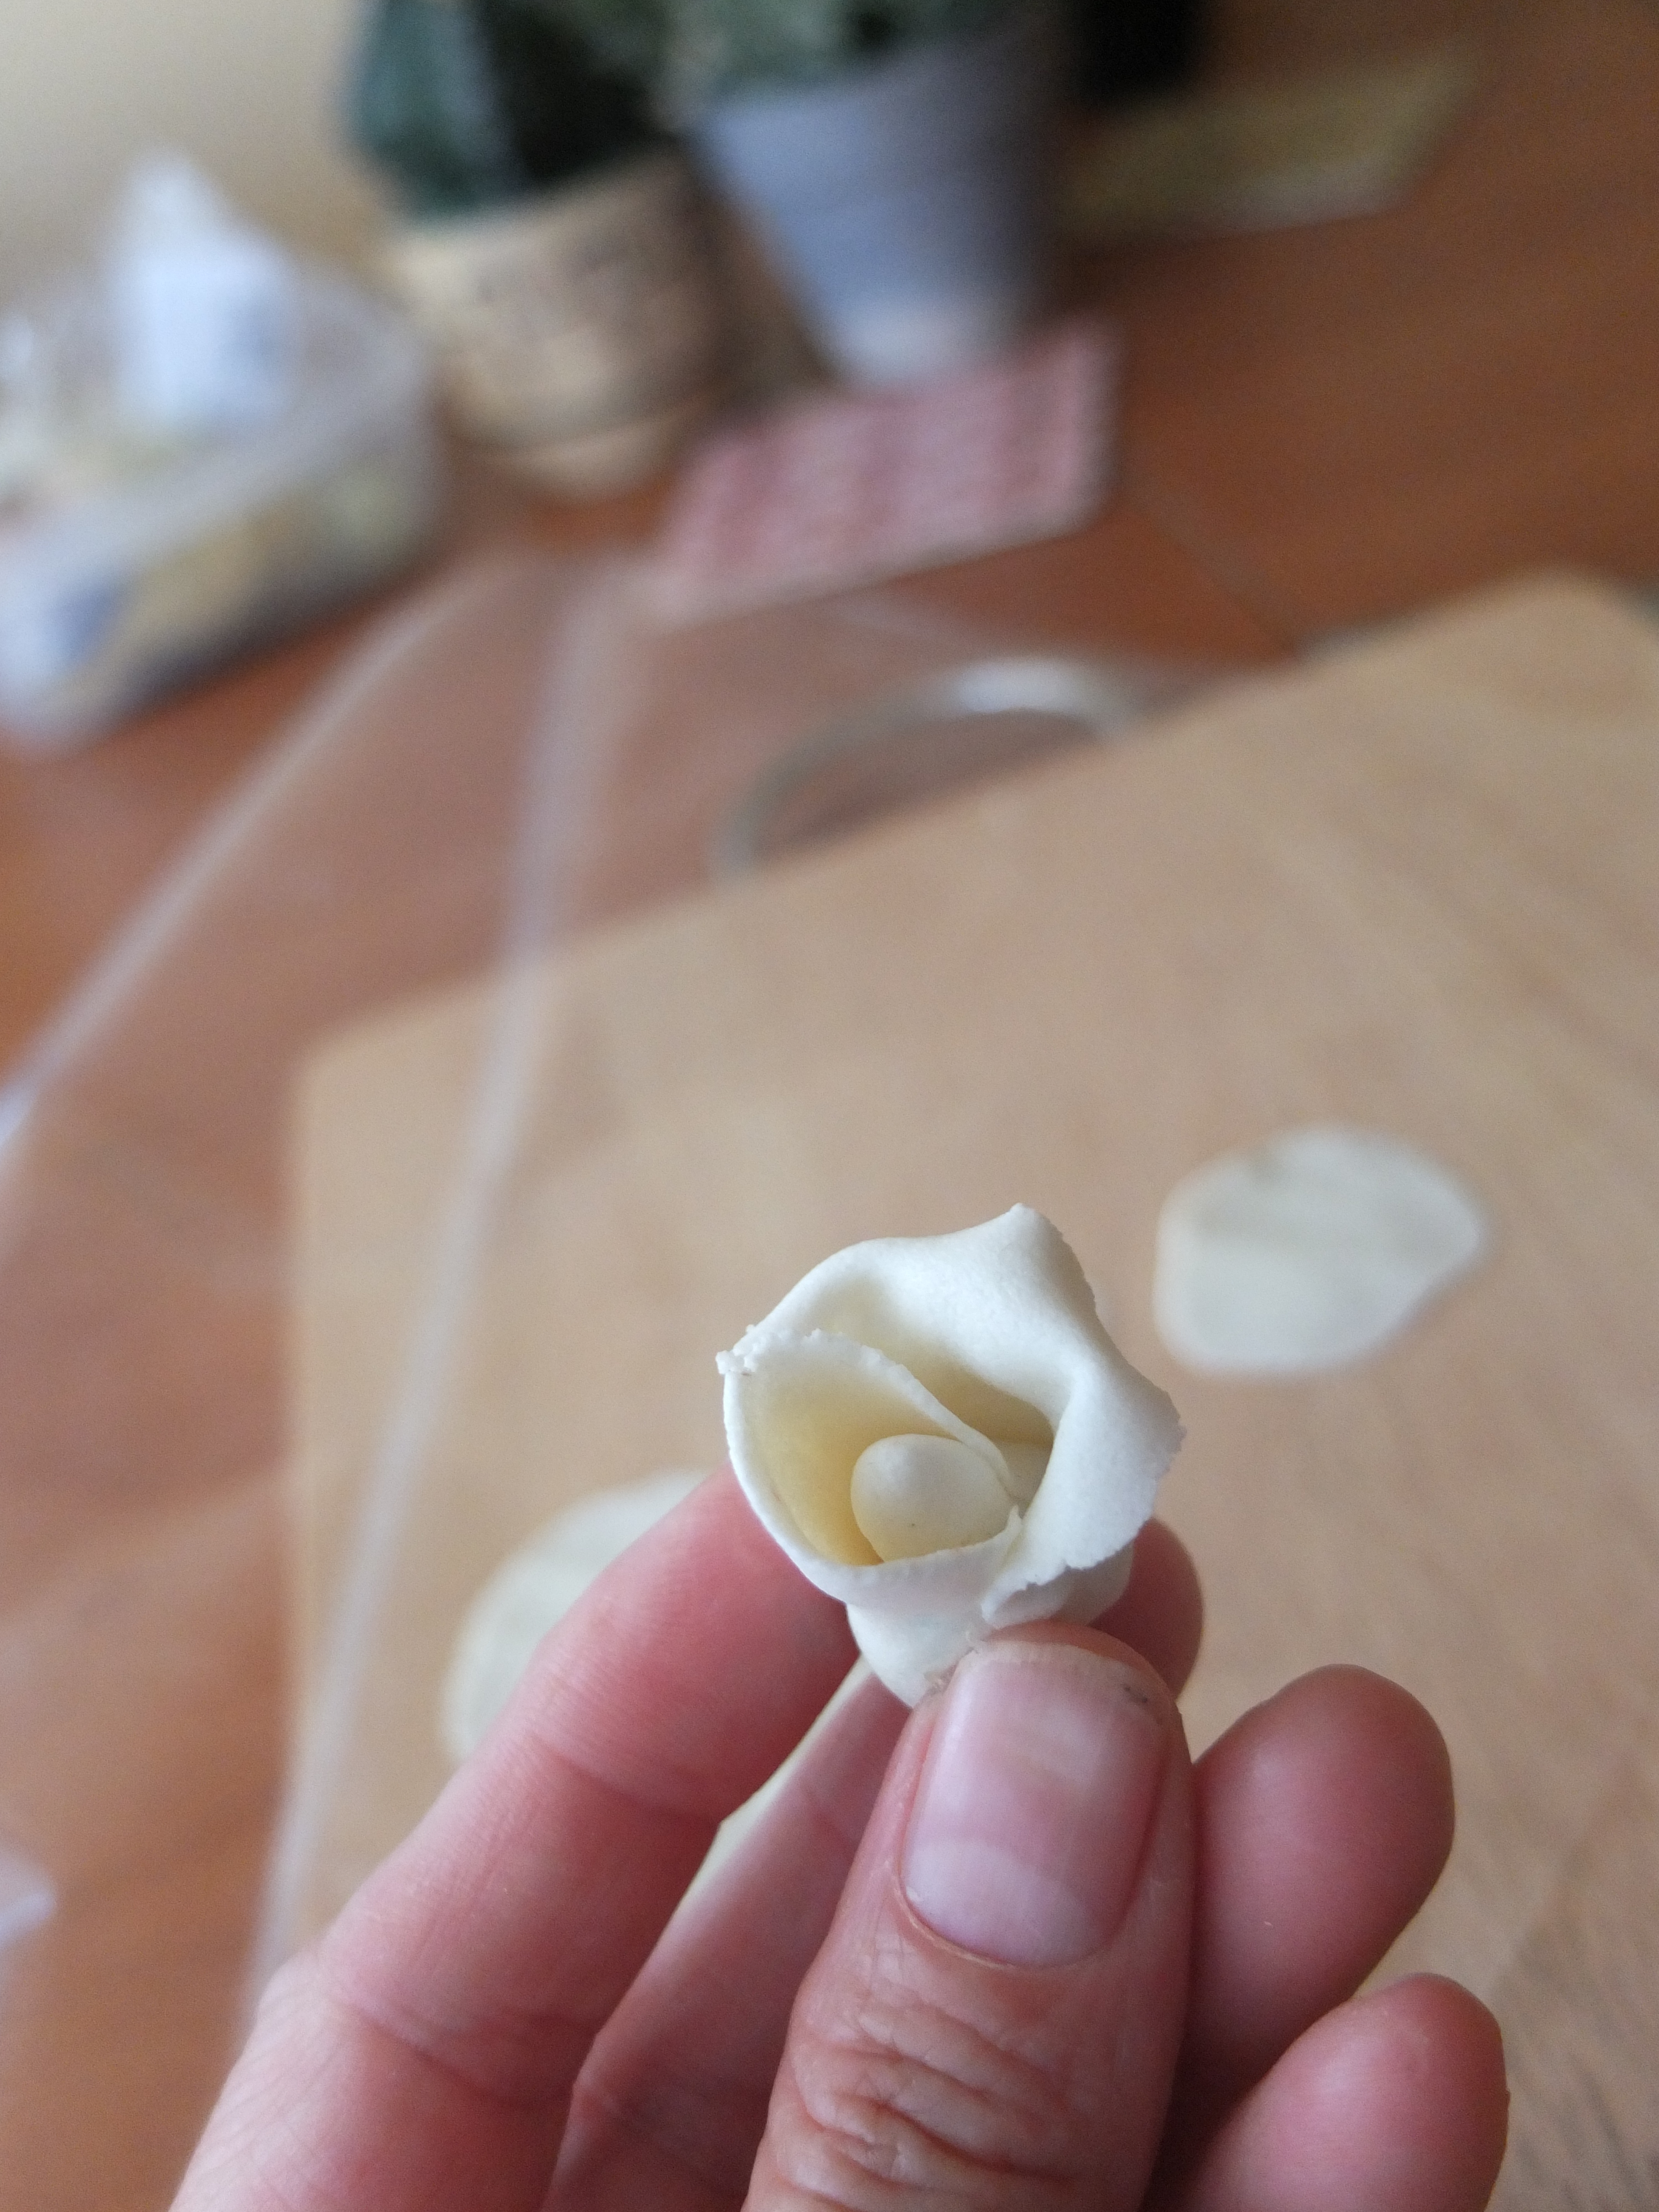
9. Pinch the petals between finger and thumb to give a ‘rose petal effect’.
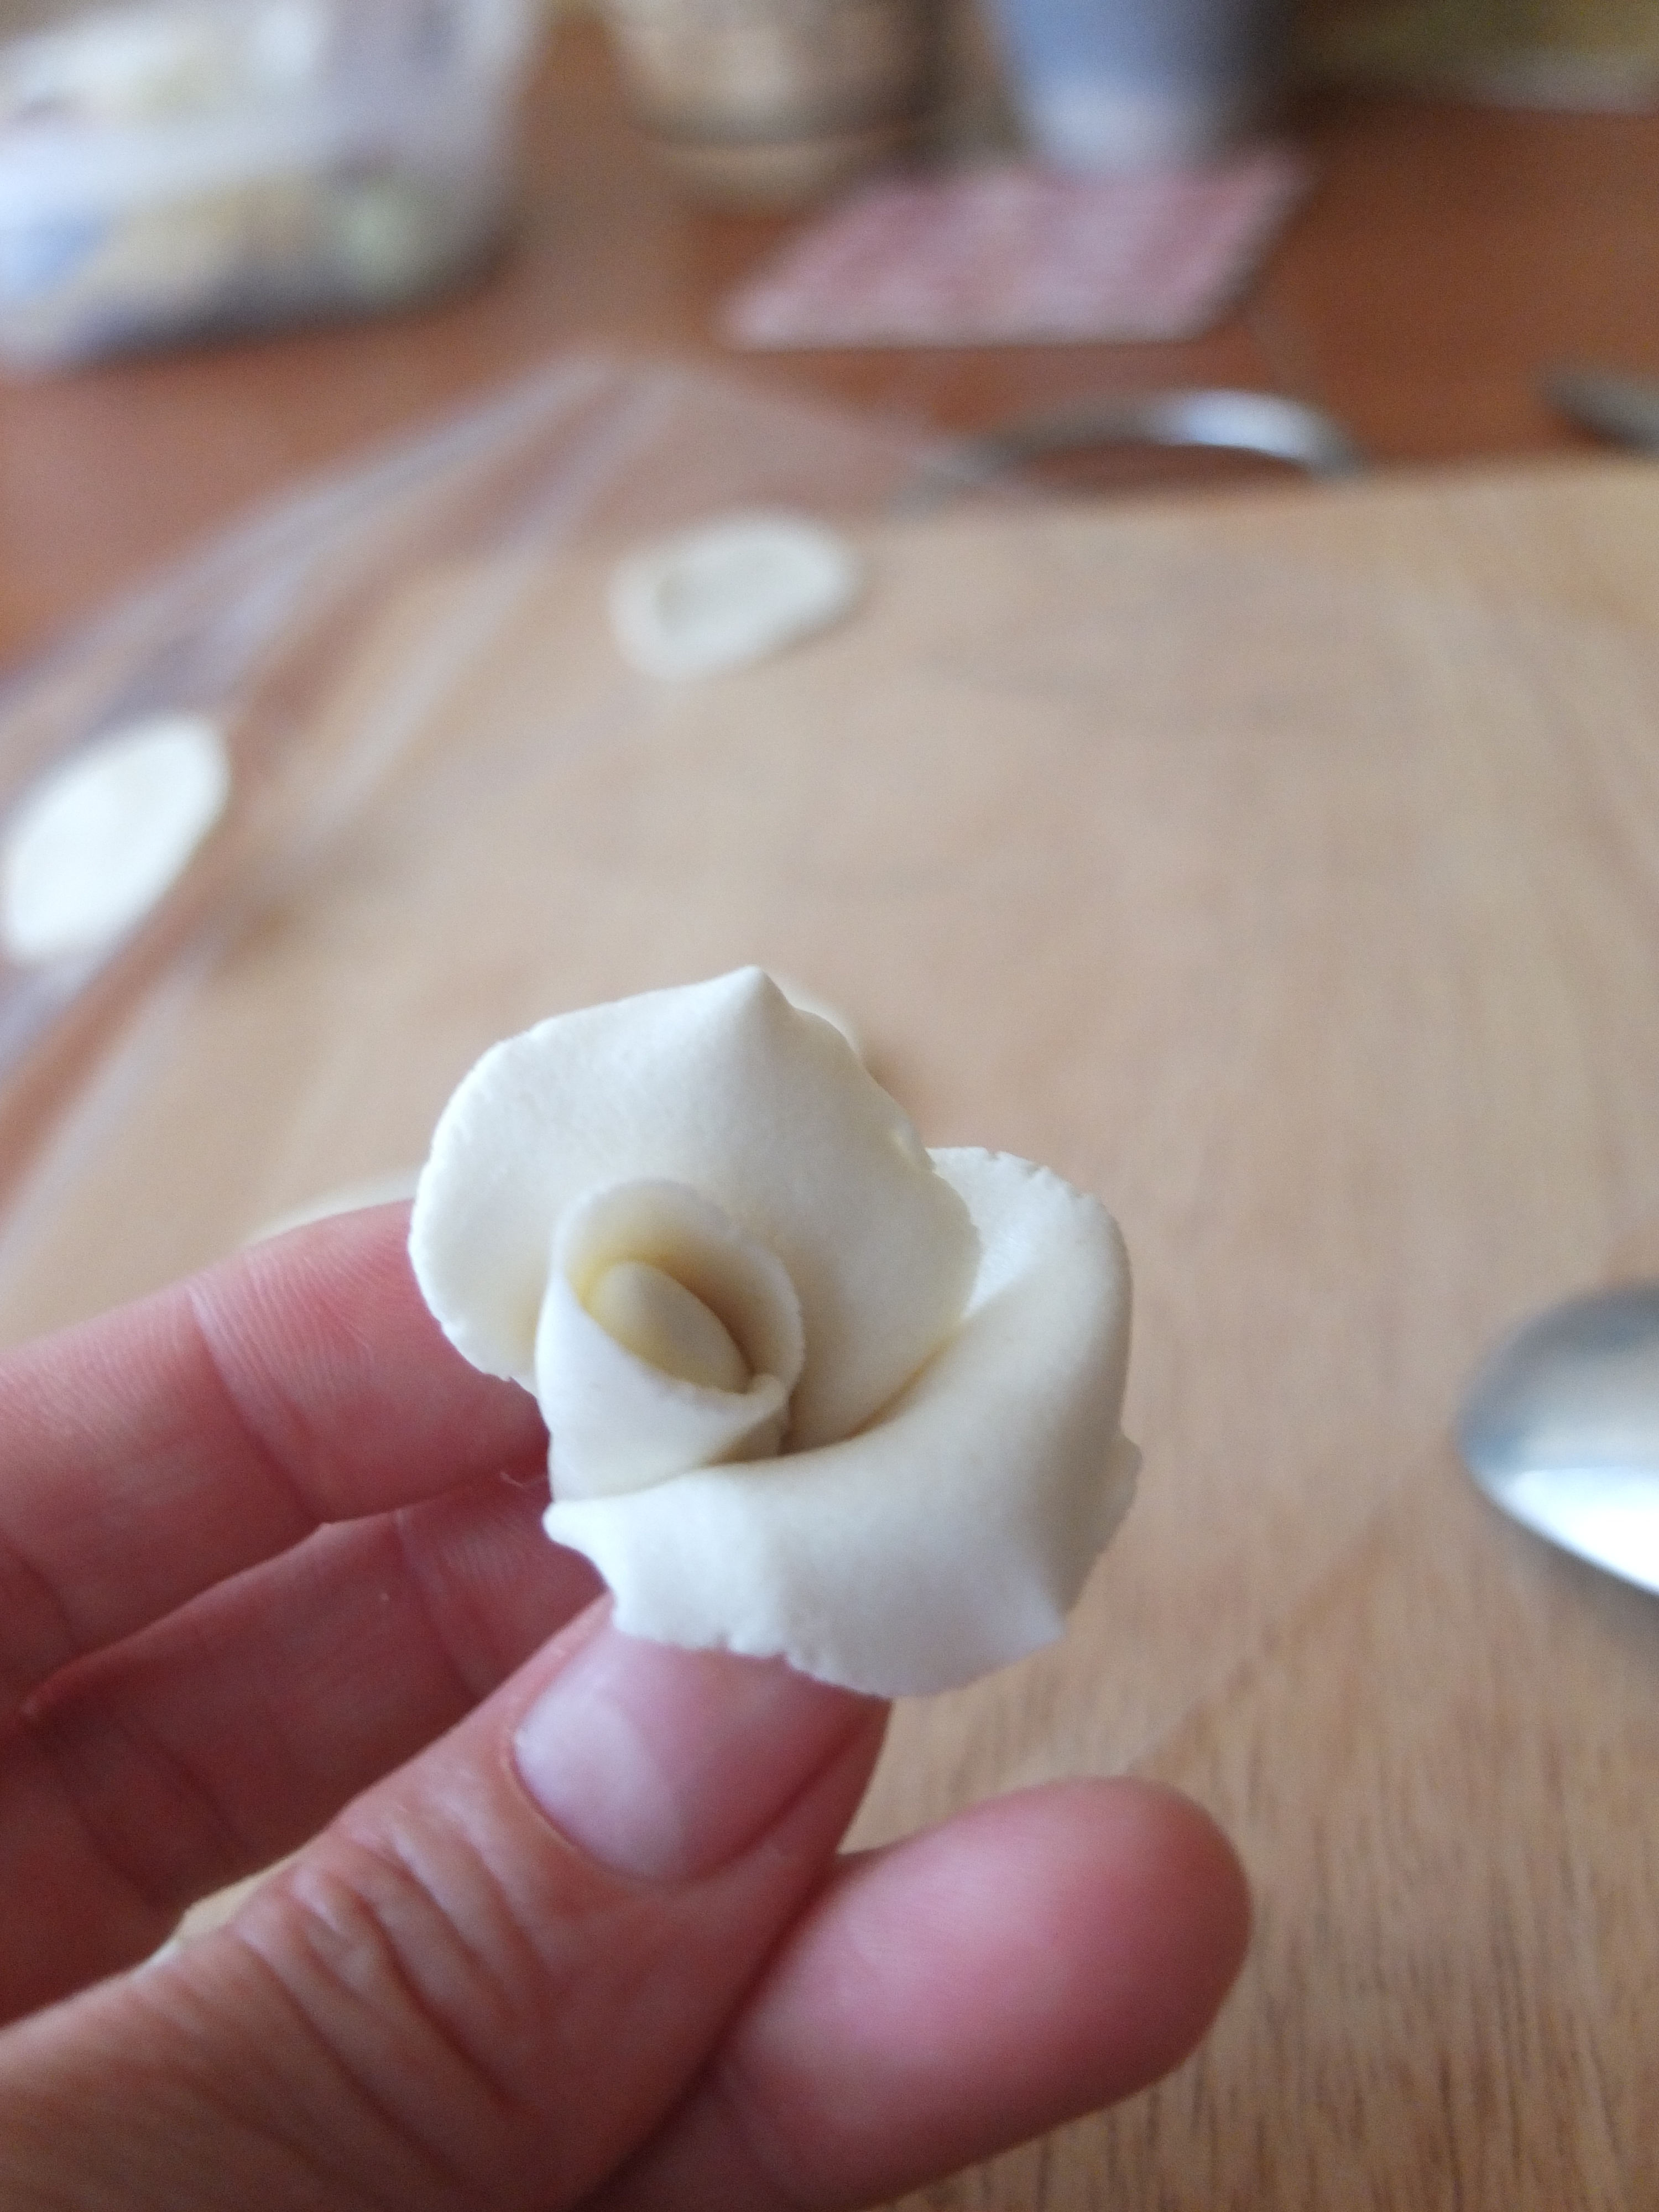
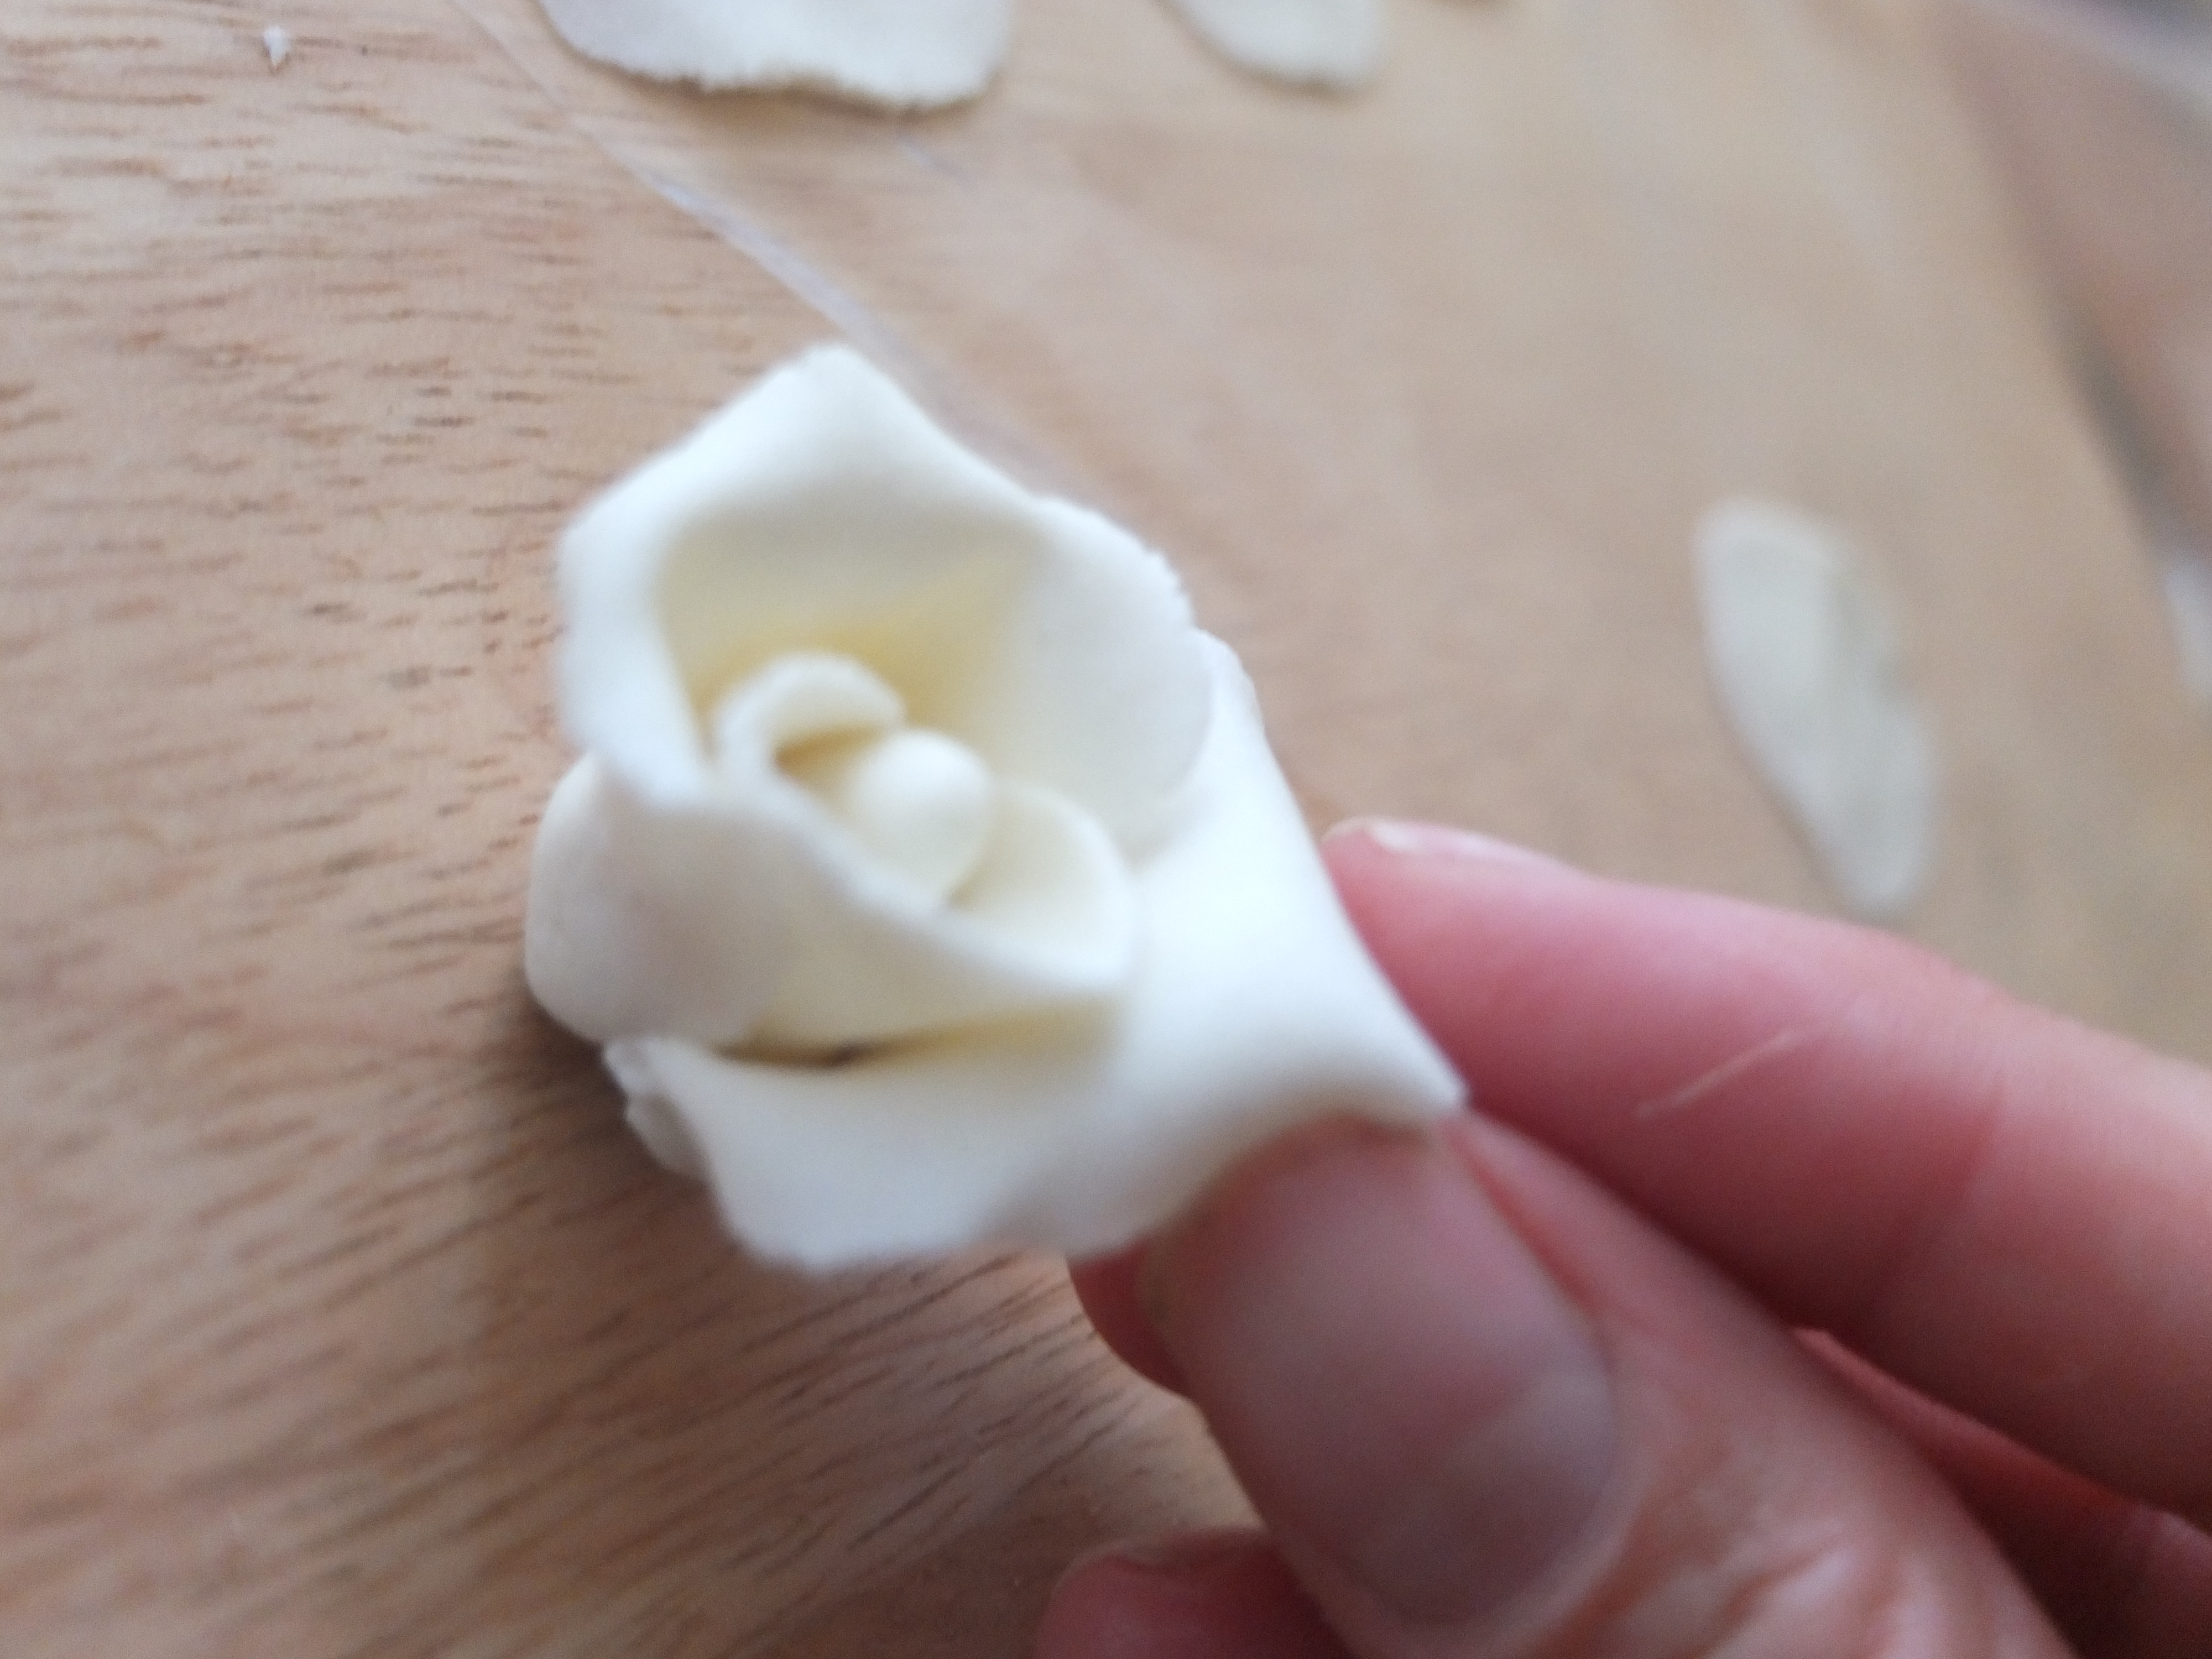
10. Work your way around adding petals but not too many. Five or six petals seems to work – as you prefer.
11. Slice a bit off the base.
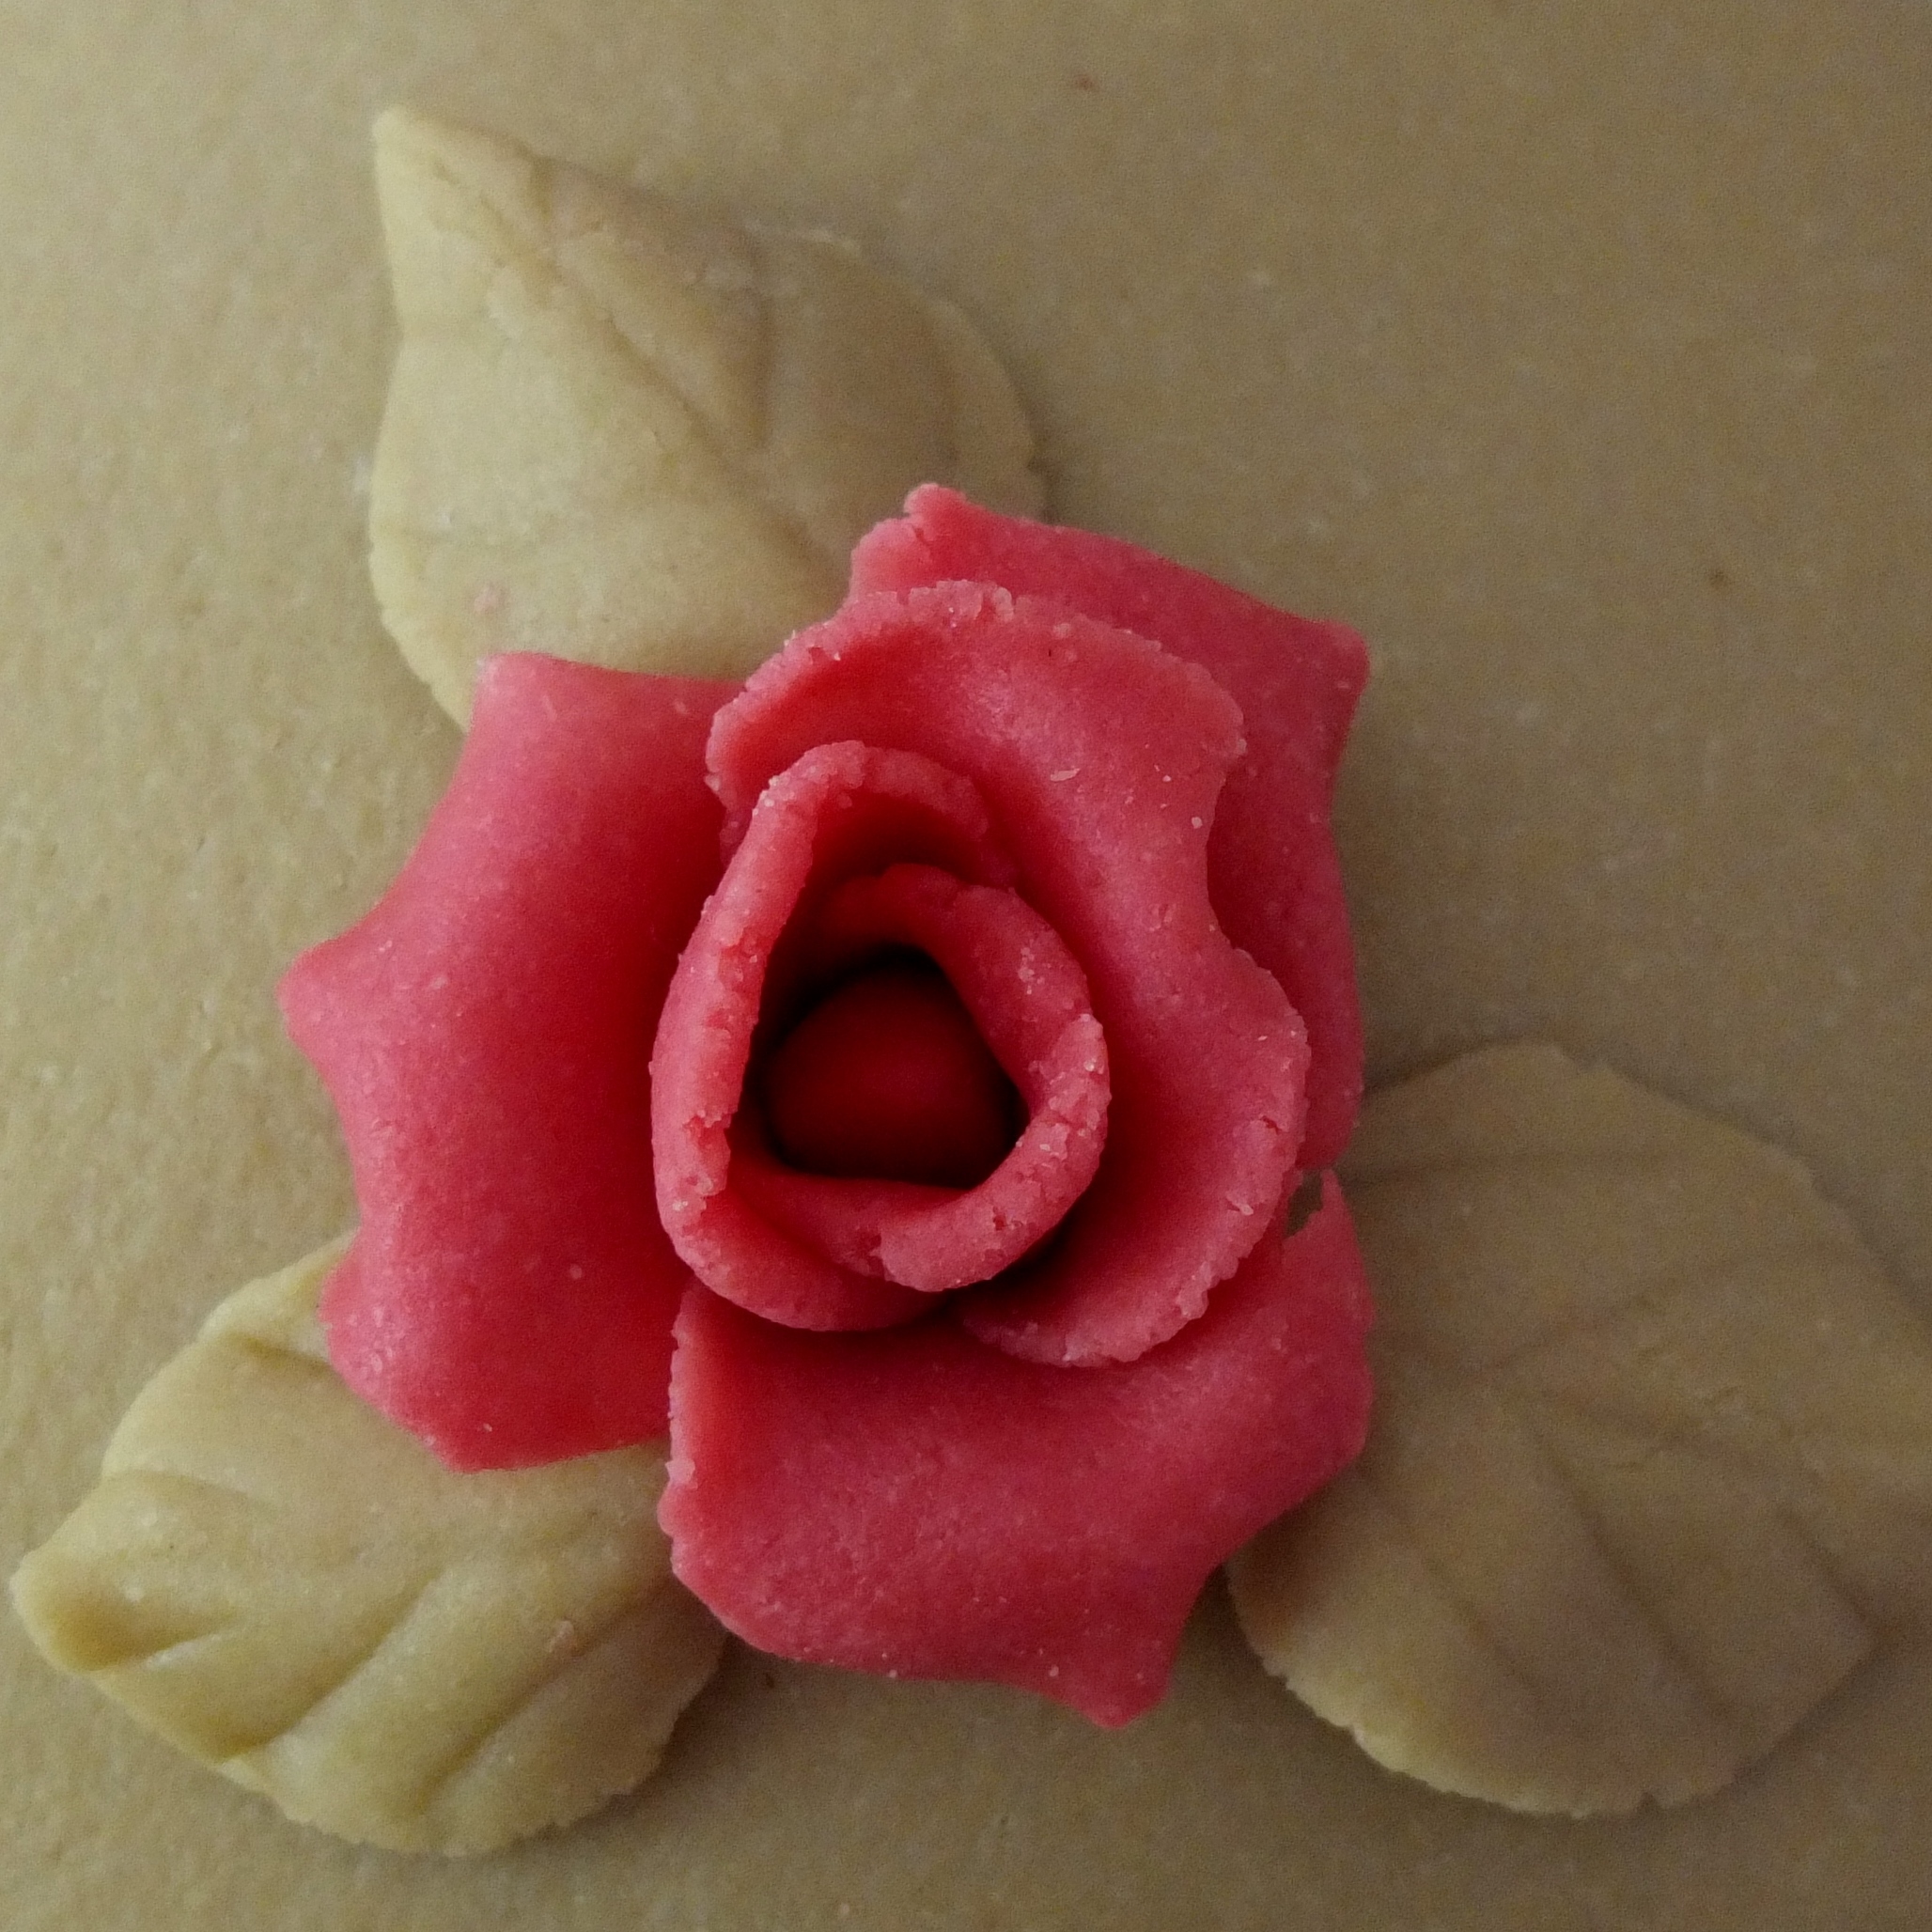
Red or pink roses
Repeat the same process but before you start massage in some colouring powder or gel with care or you’ll get dark red roses like I did! Which strangely enough looked nice but I’m not eating them! With pink roses also be careful not to overdo the colouring gel or powder. Generally, always add colourants little by little with a toothpick or knife tip.
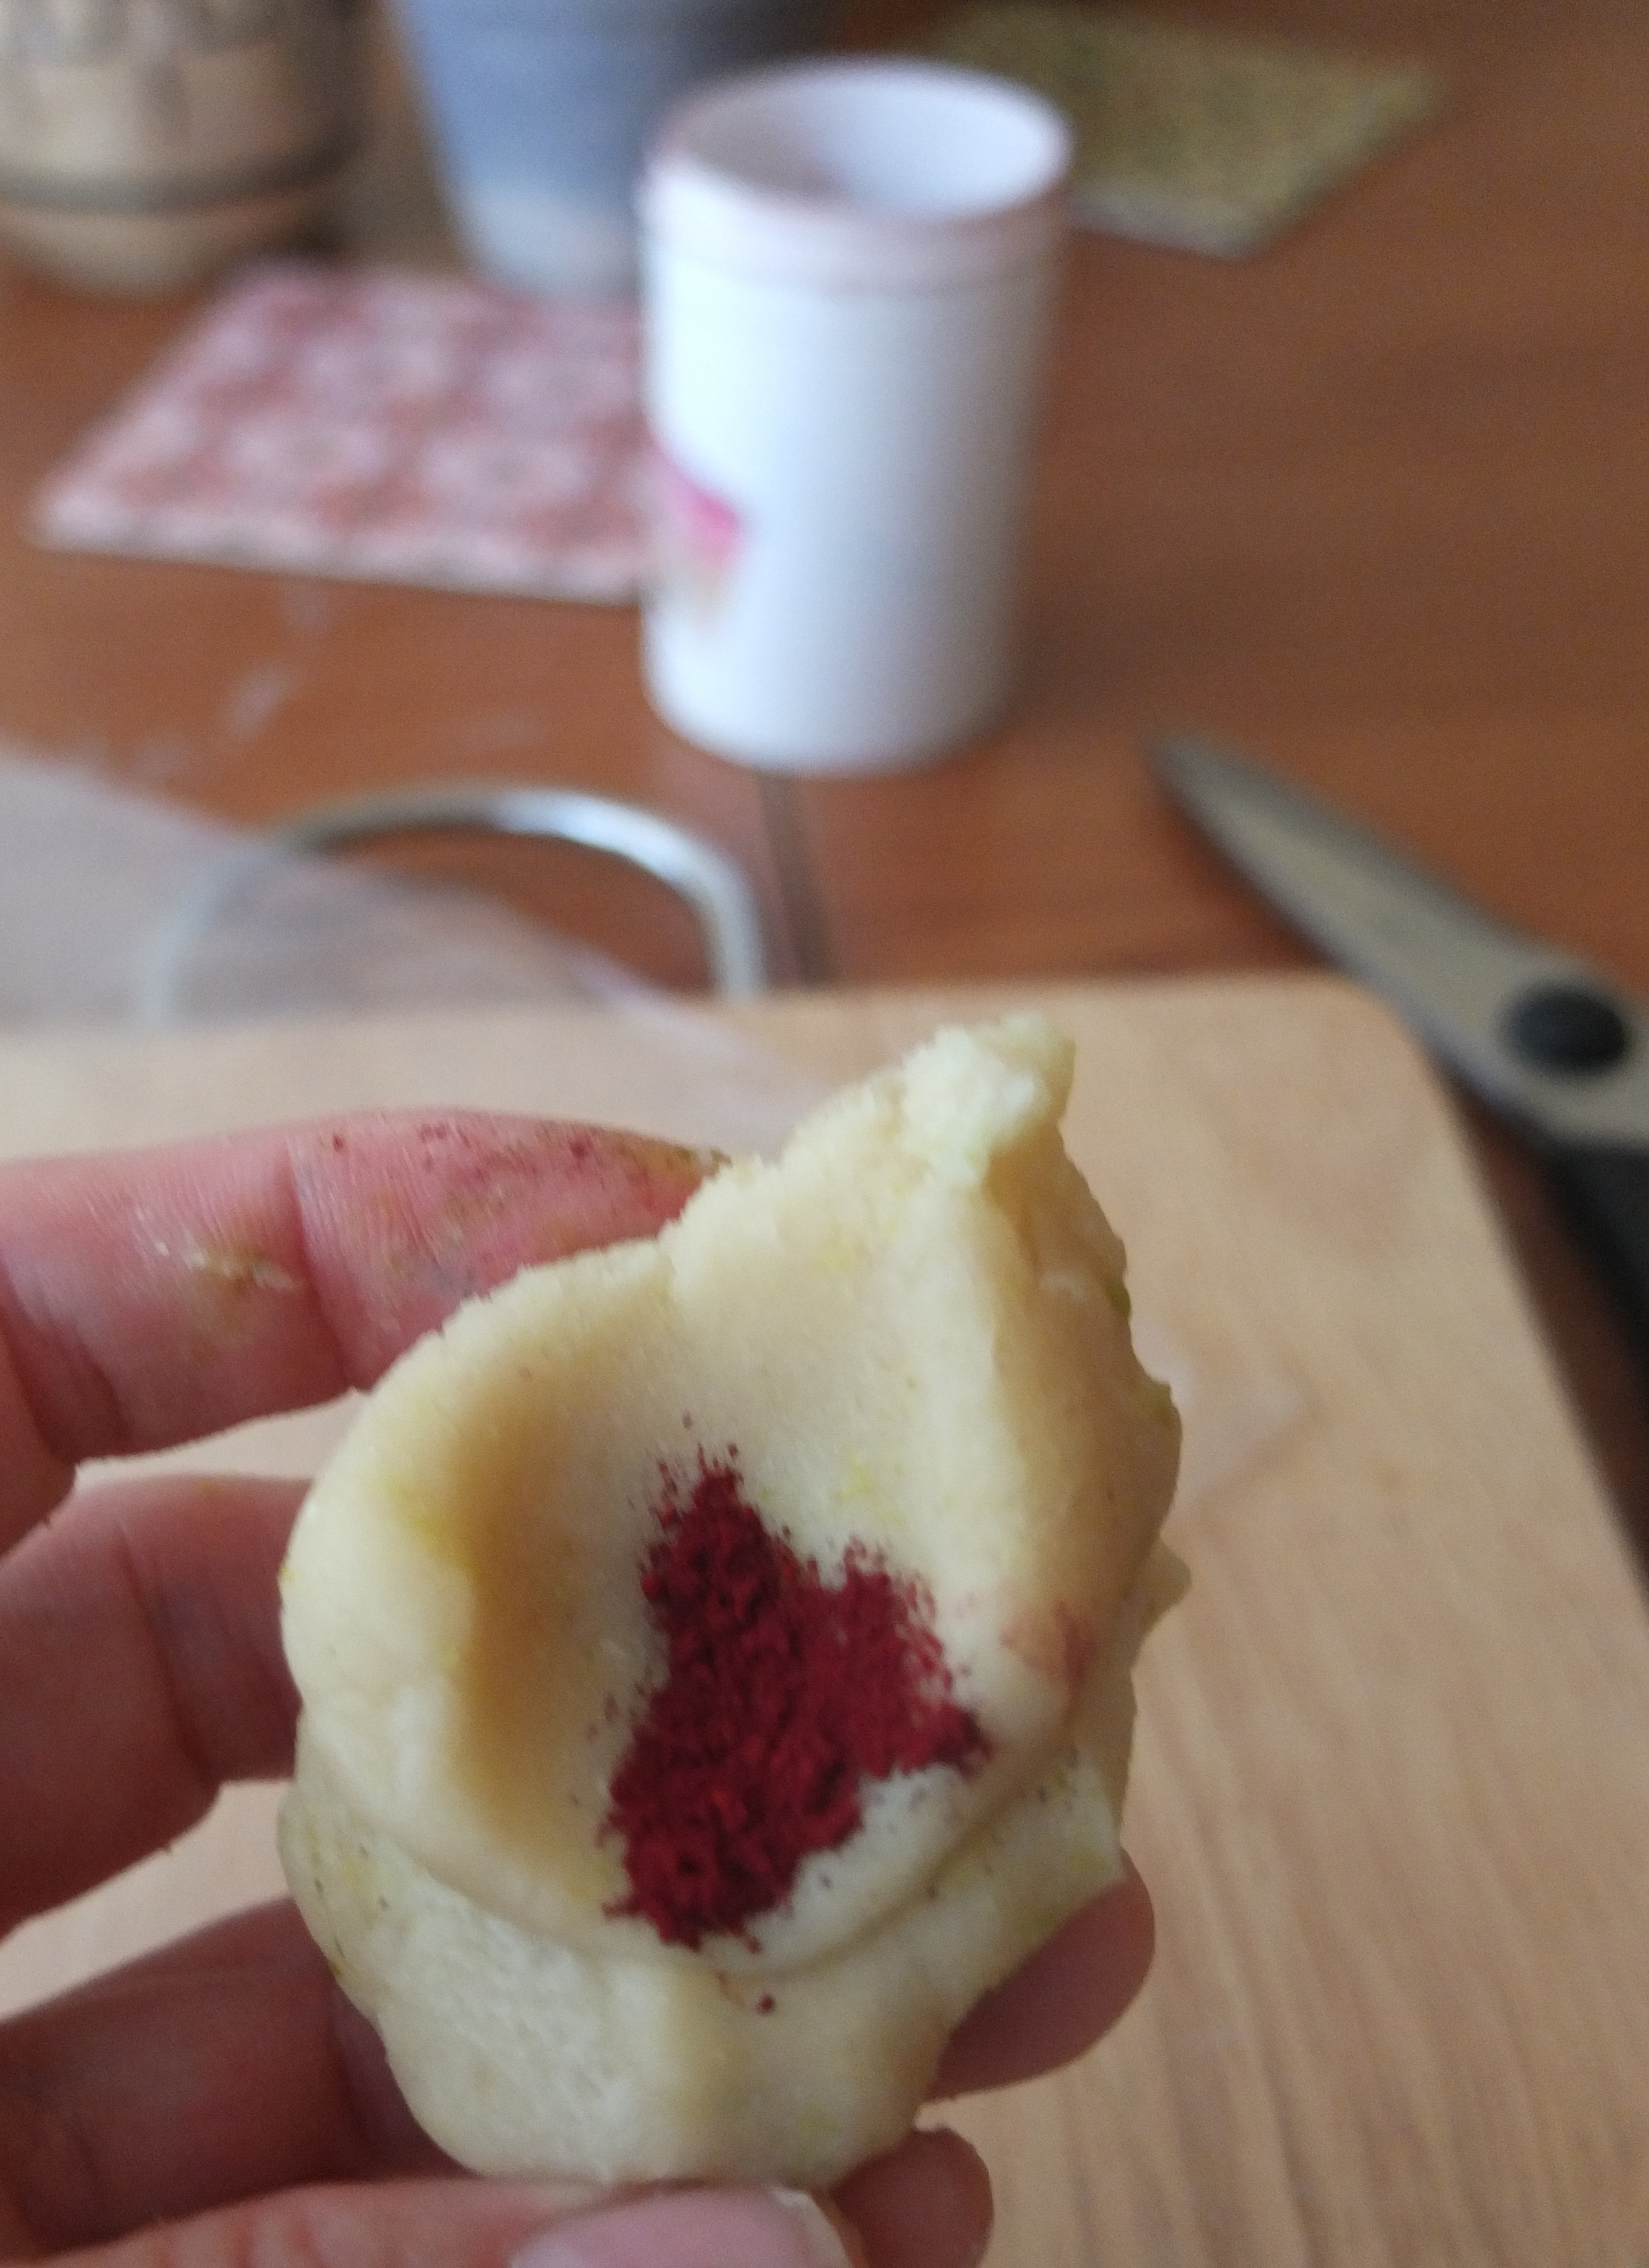
Too much colouring powder!!! Oh dear…
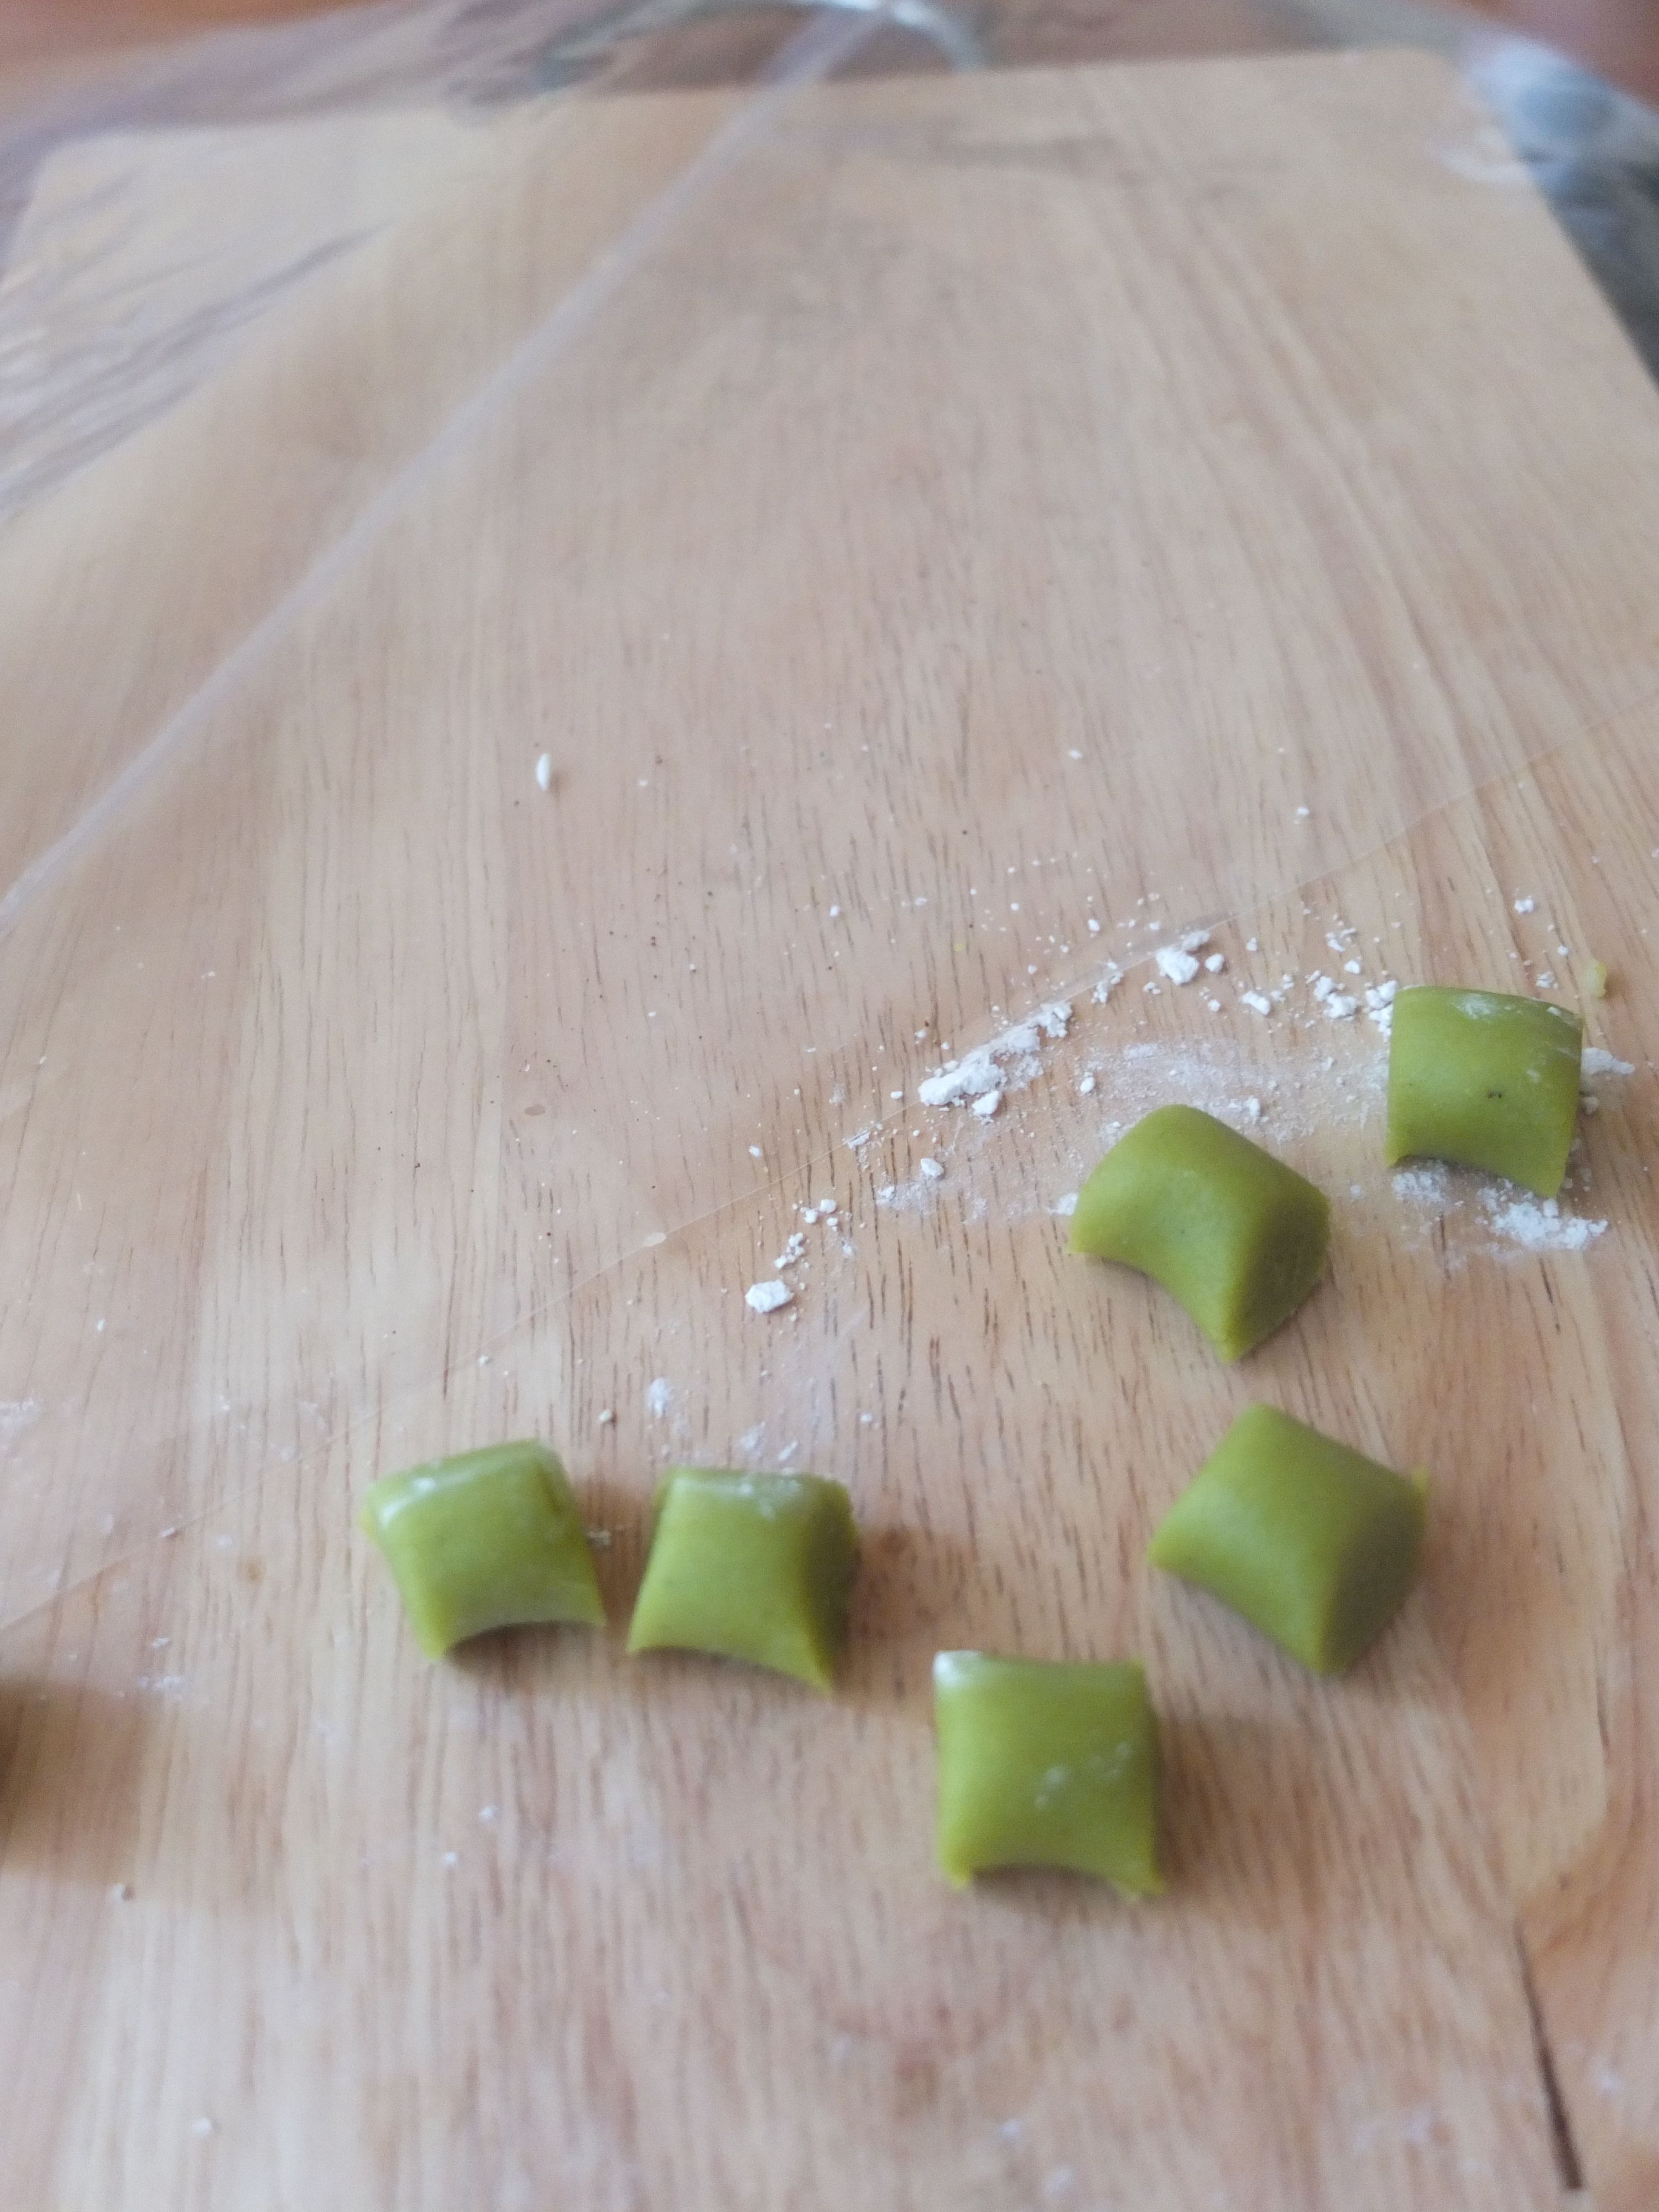
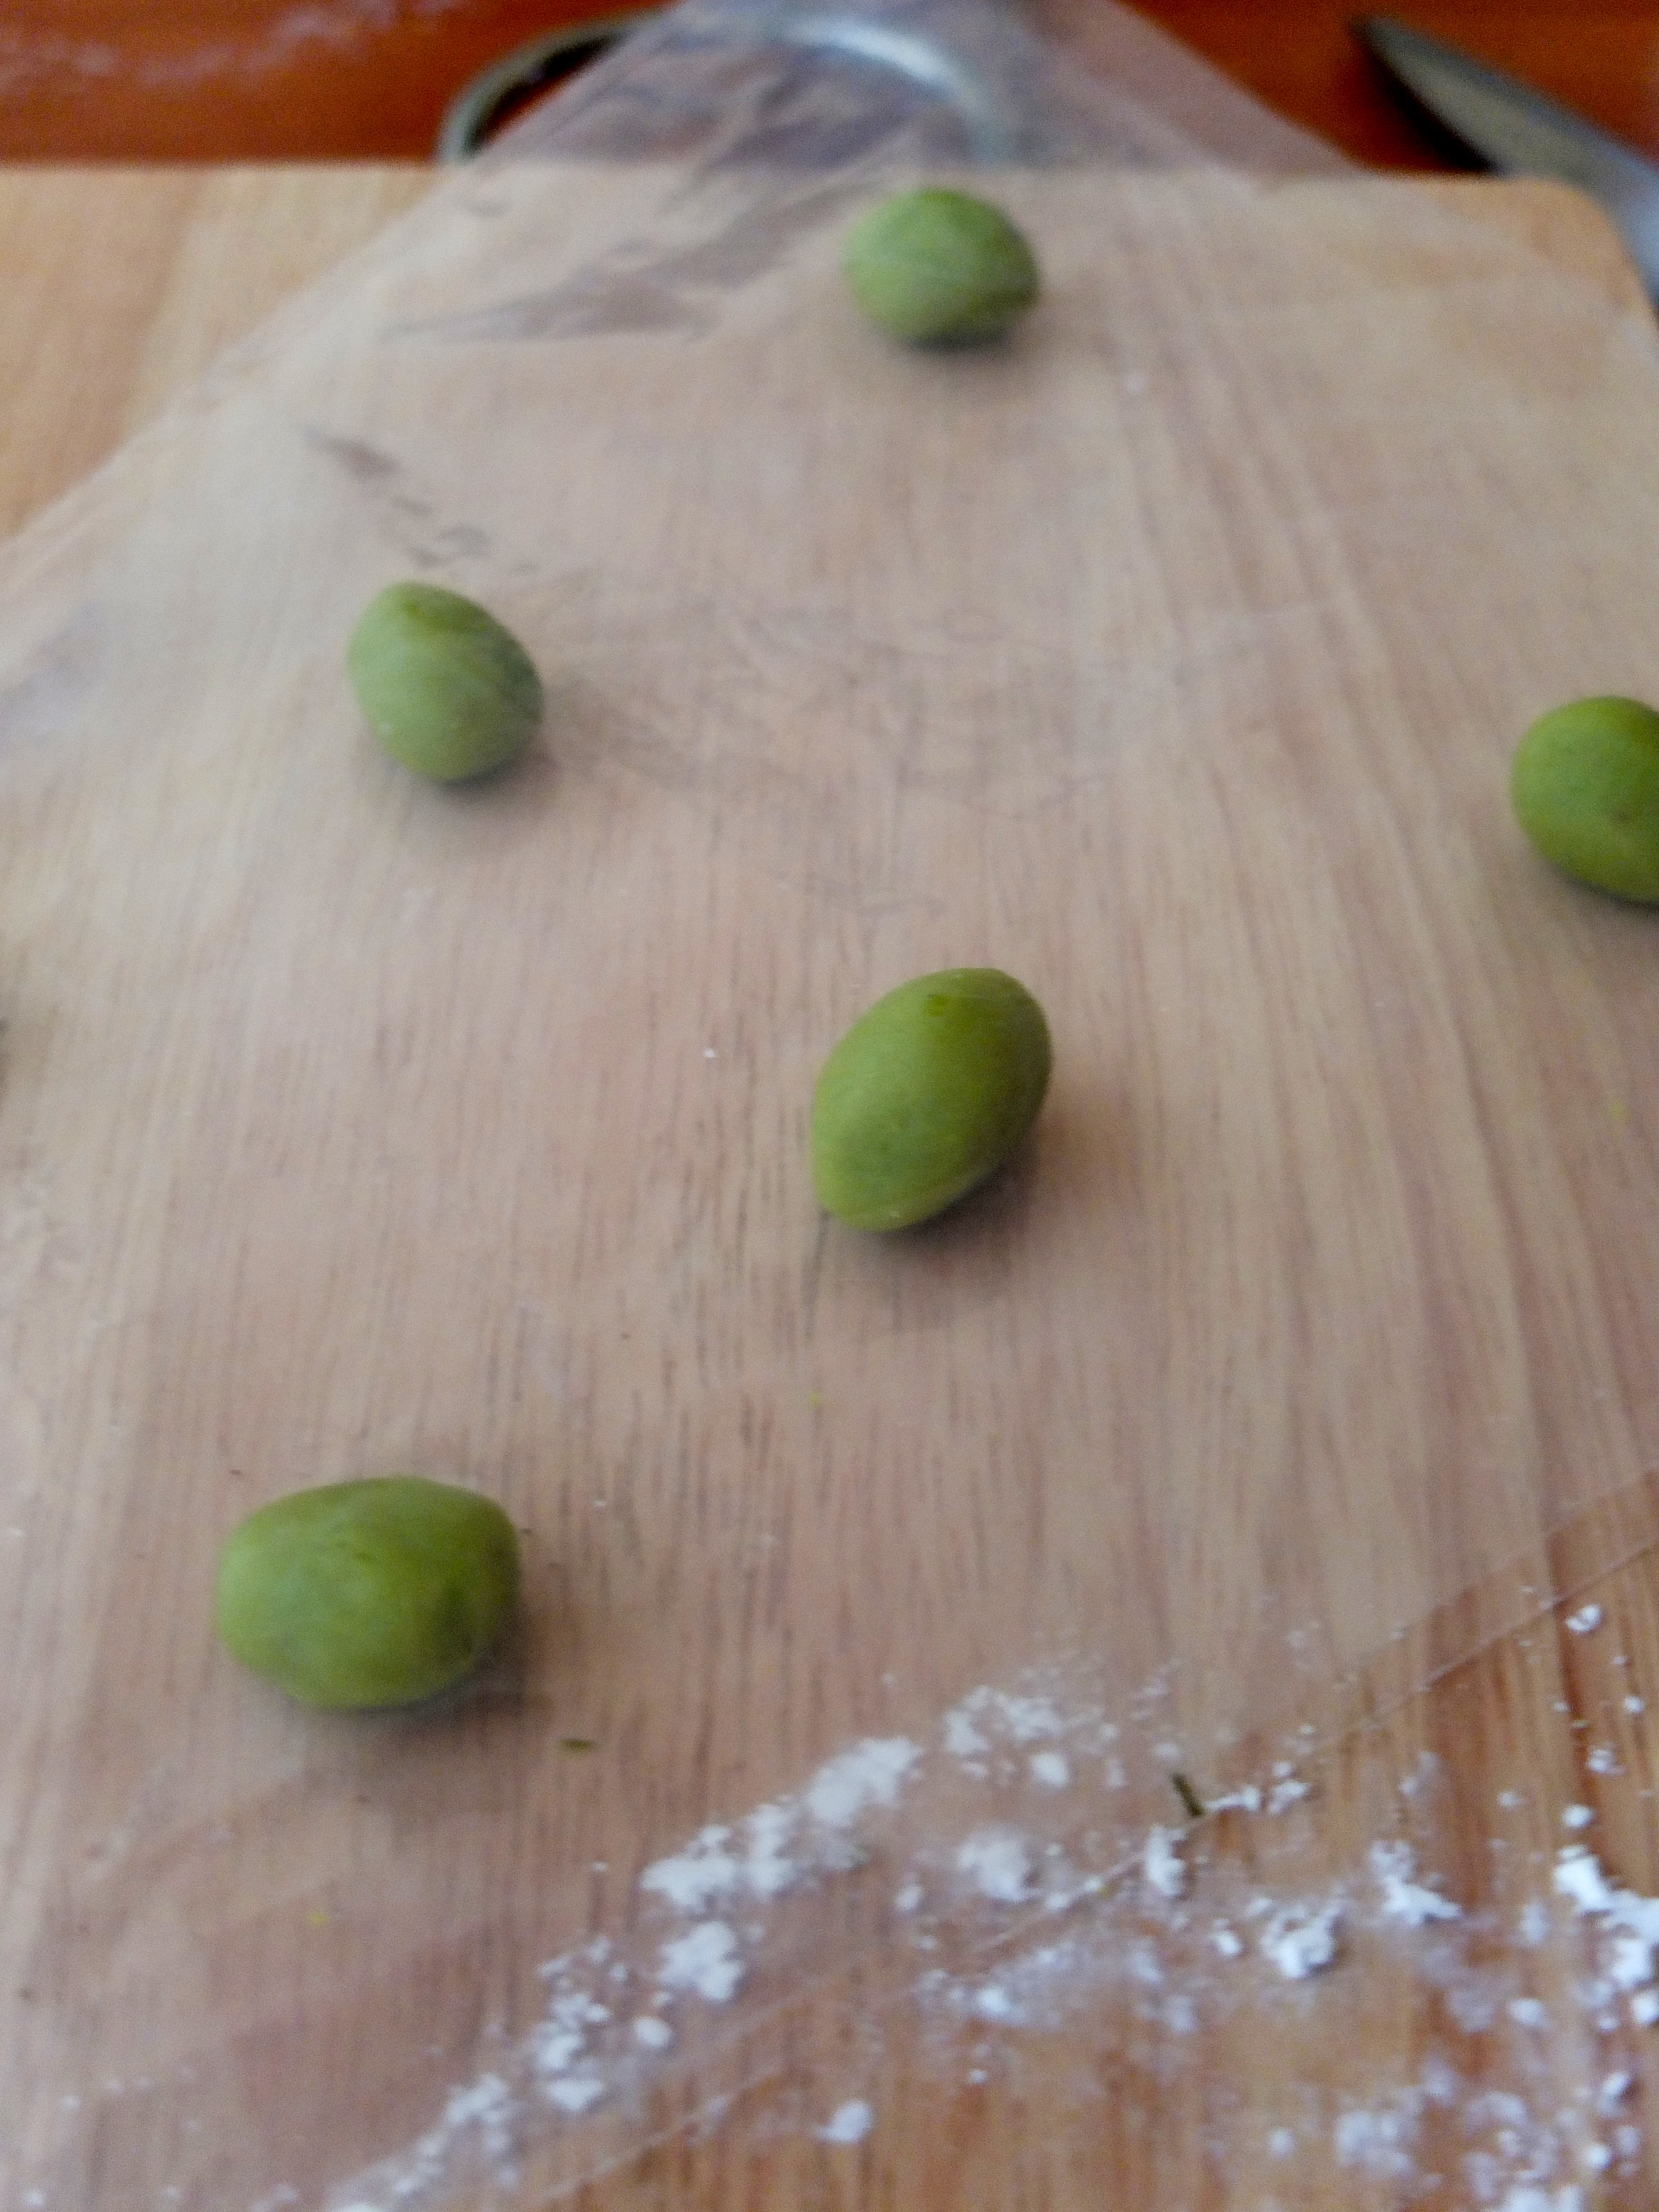
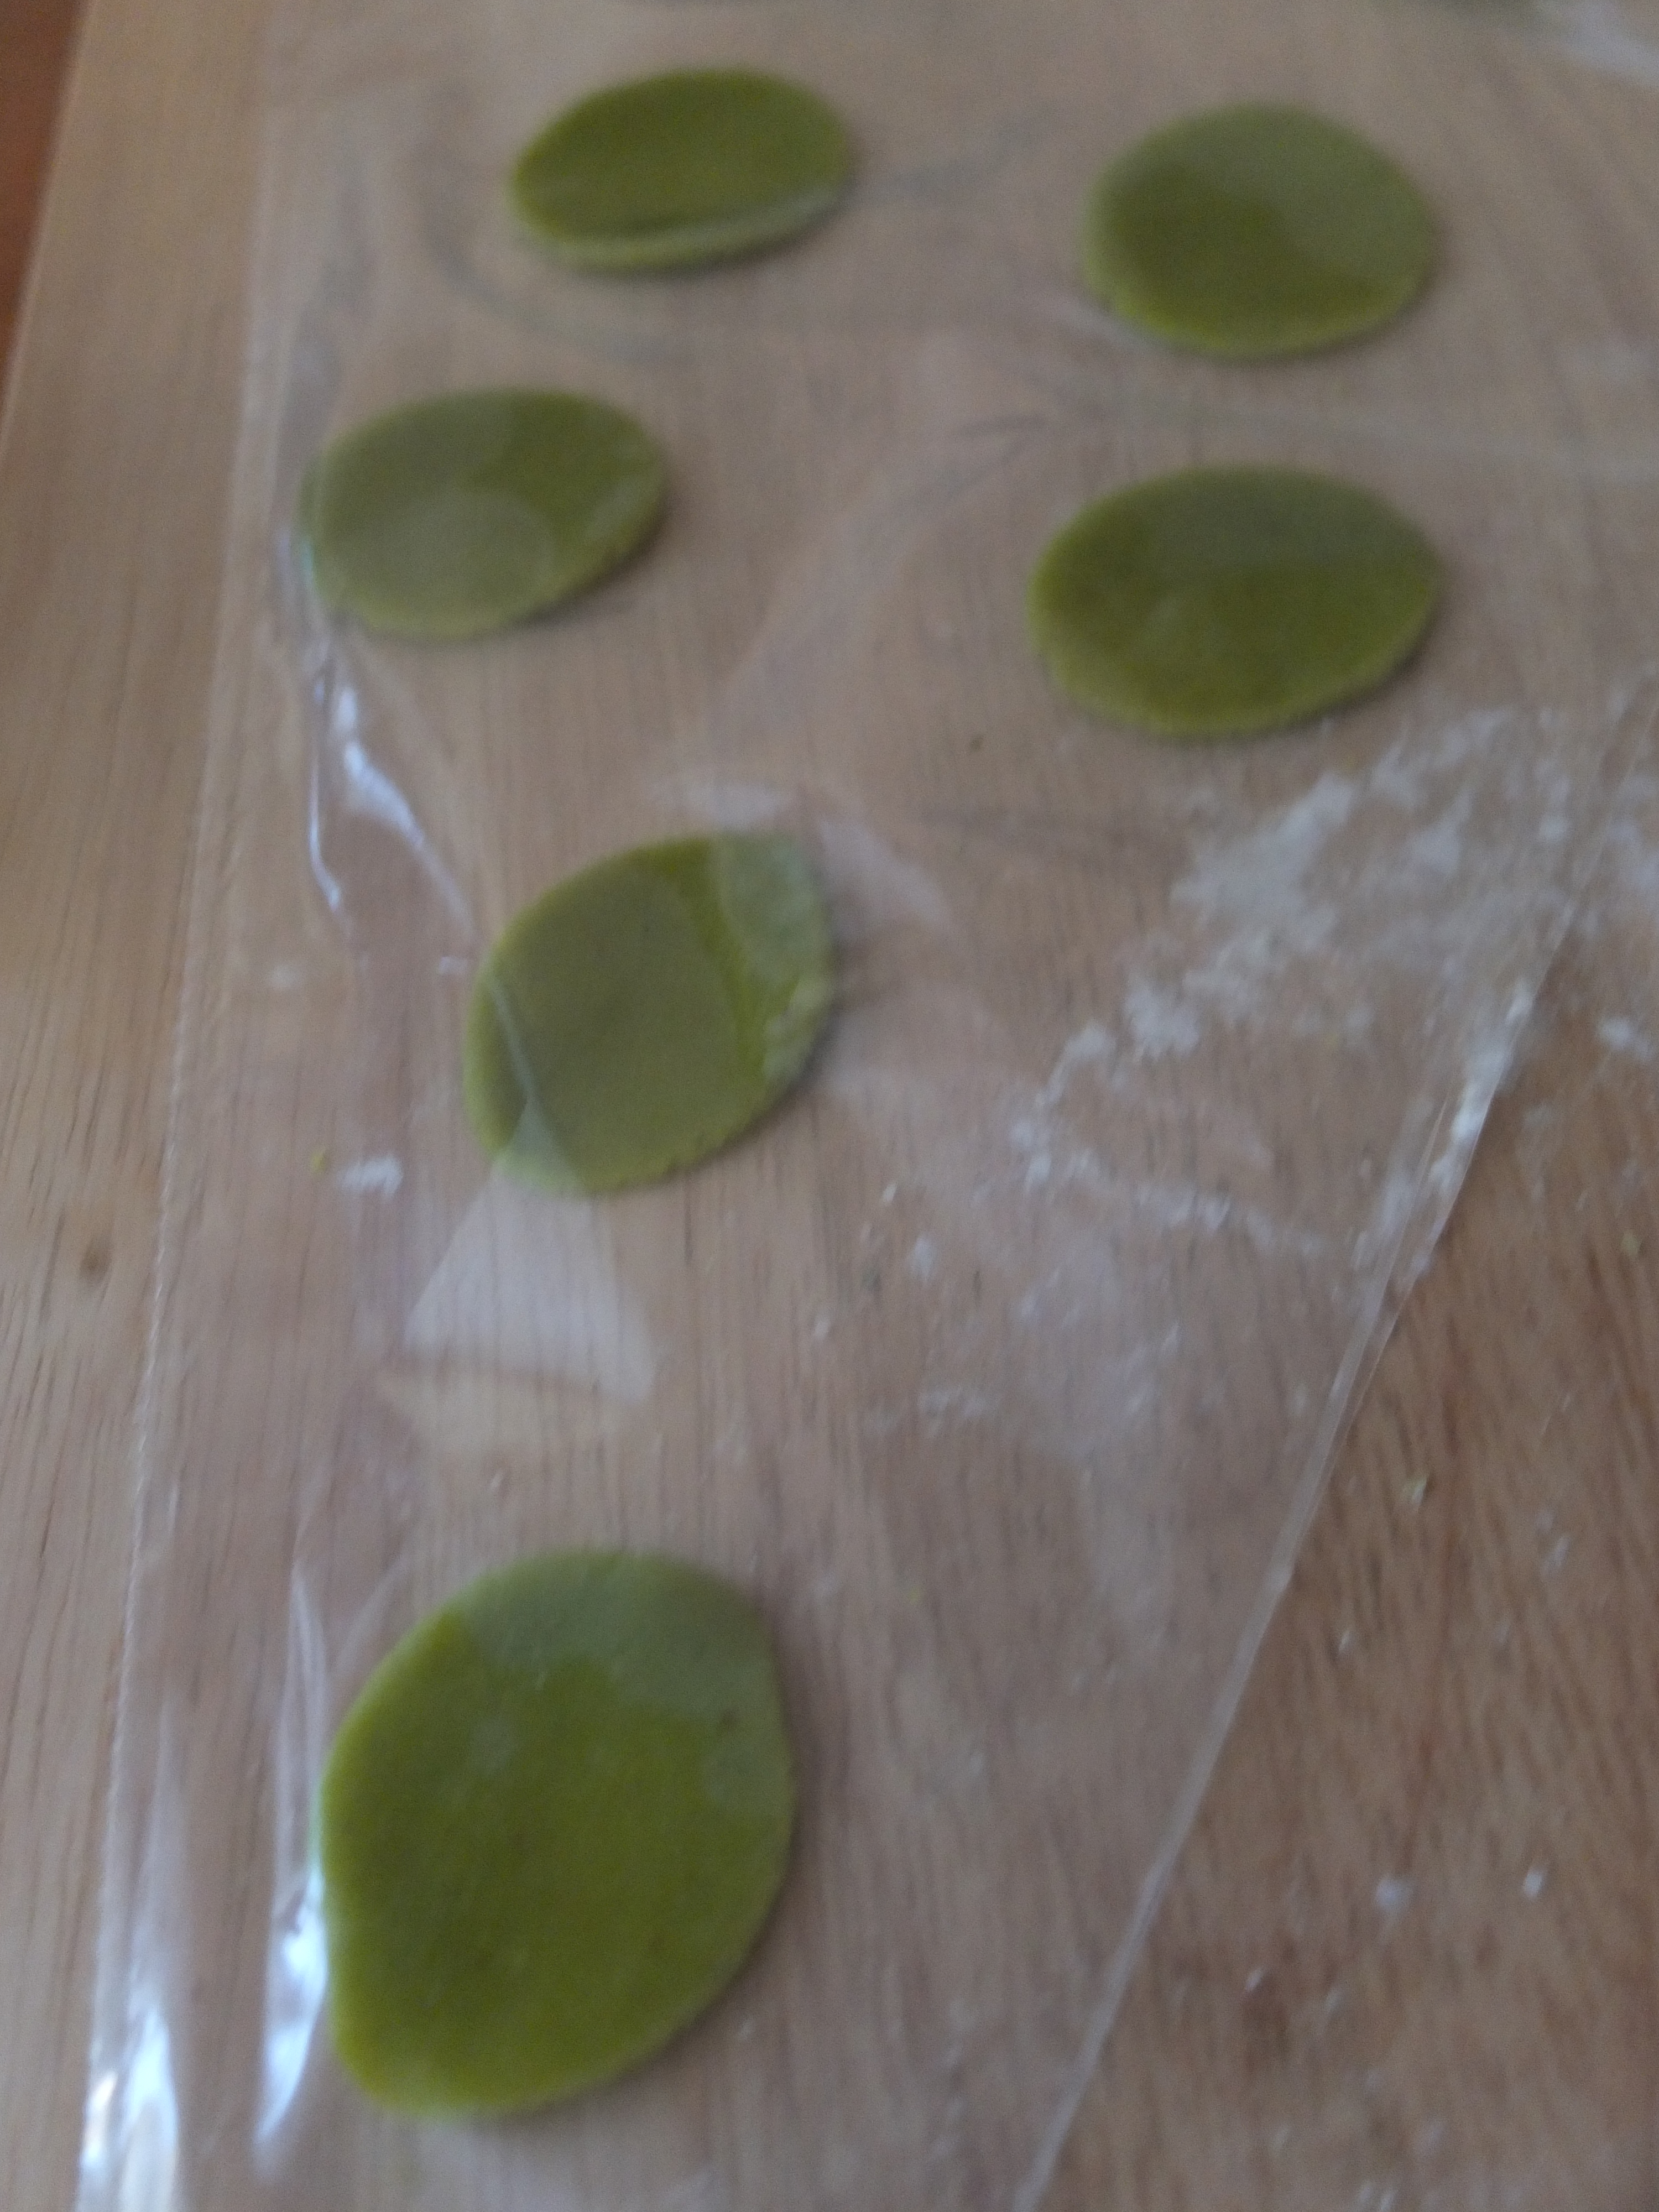
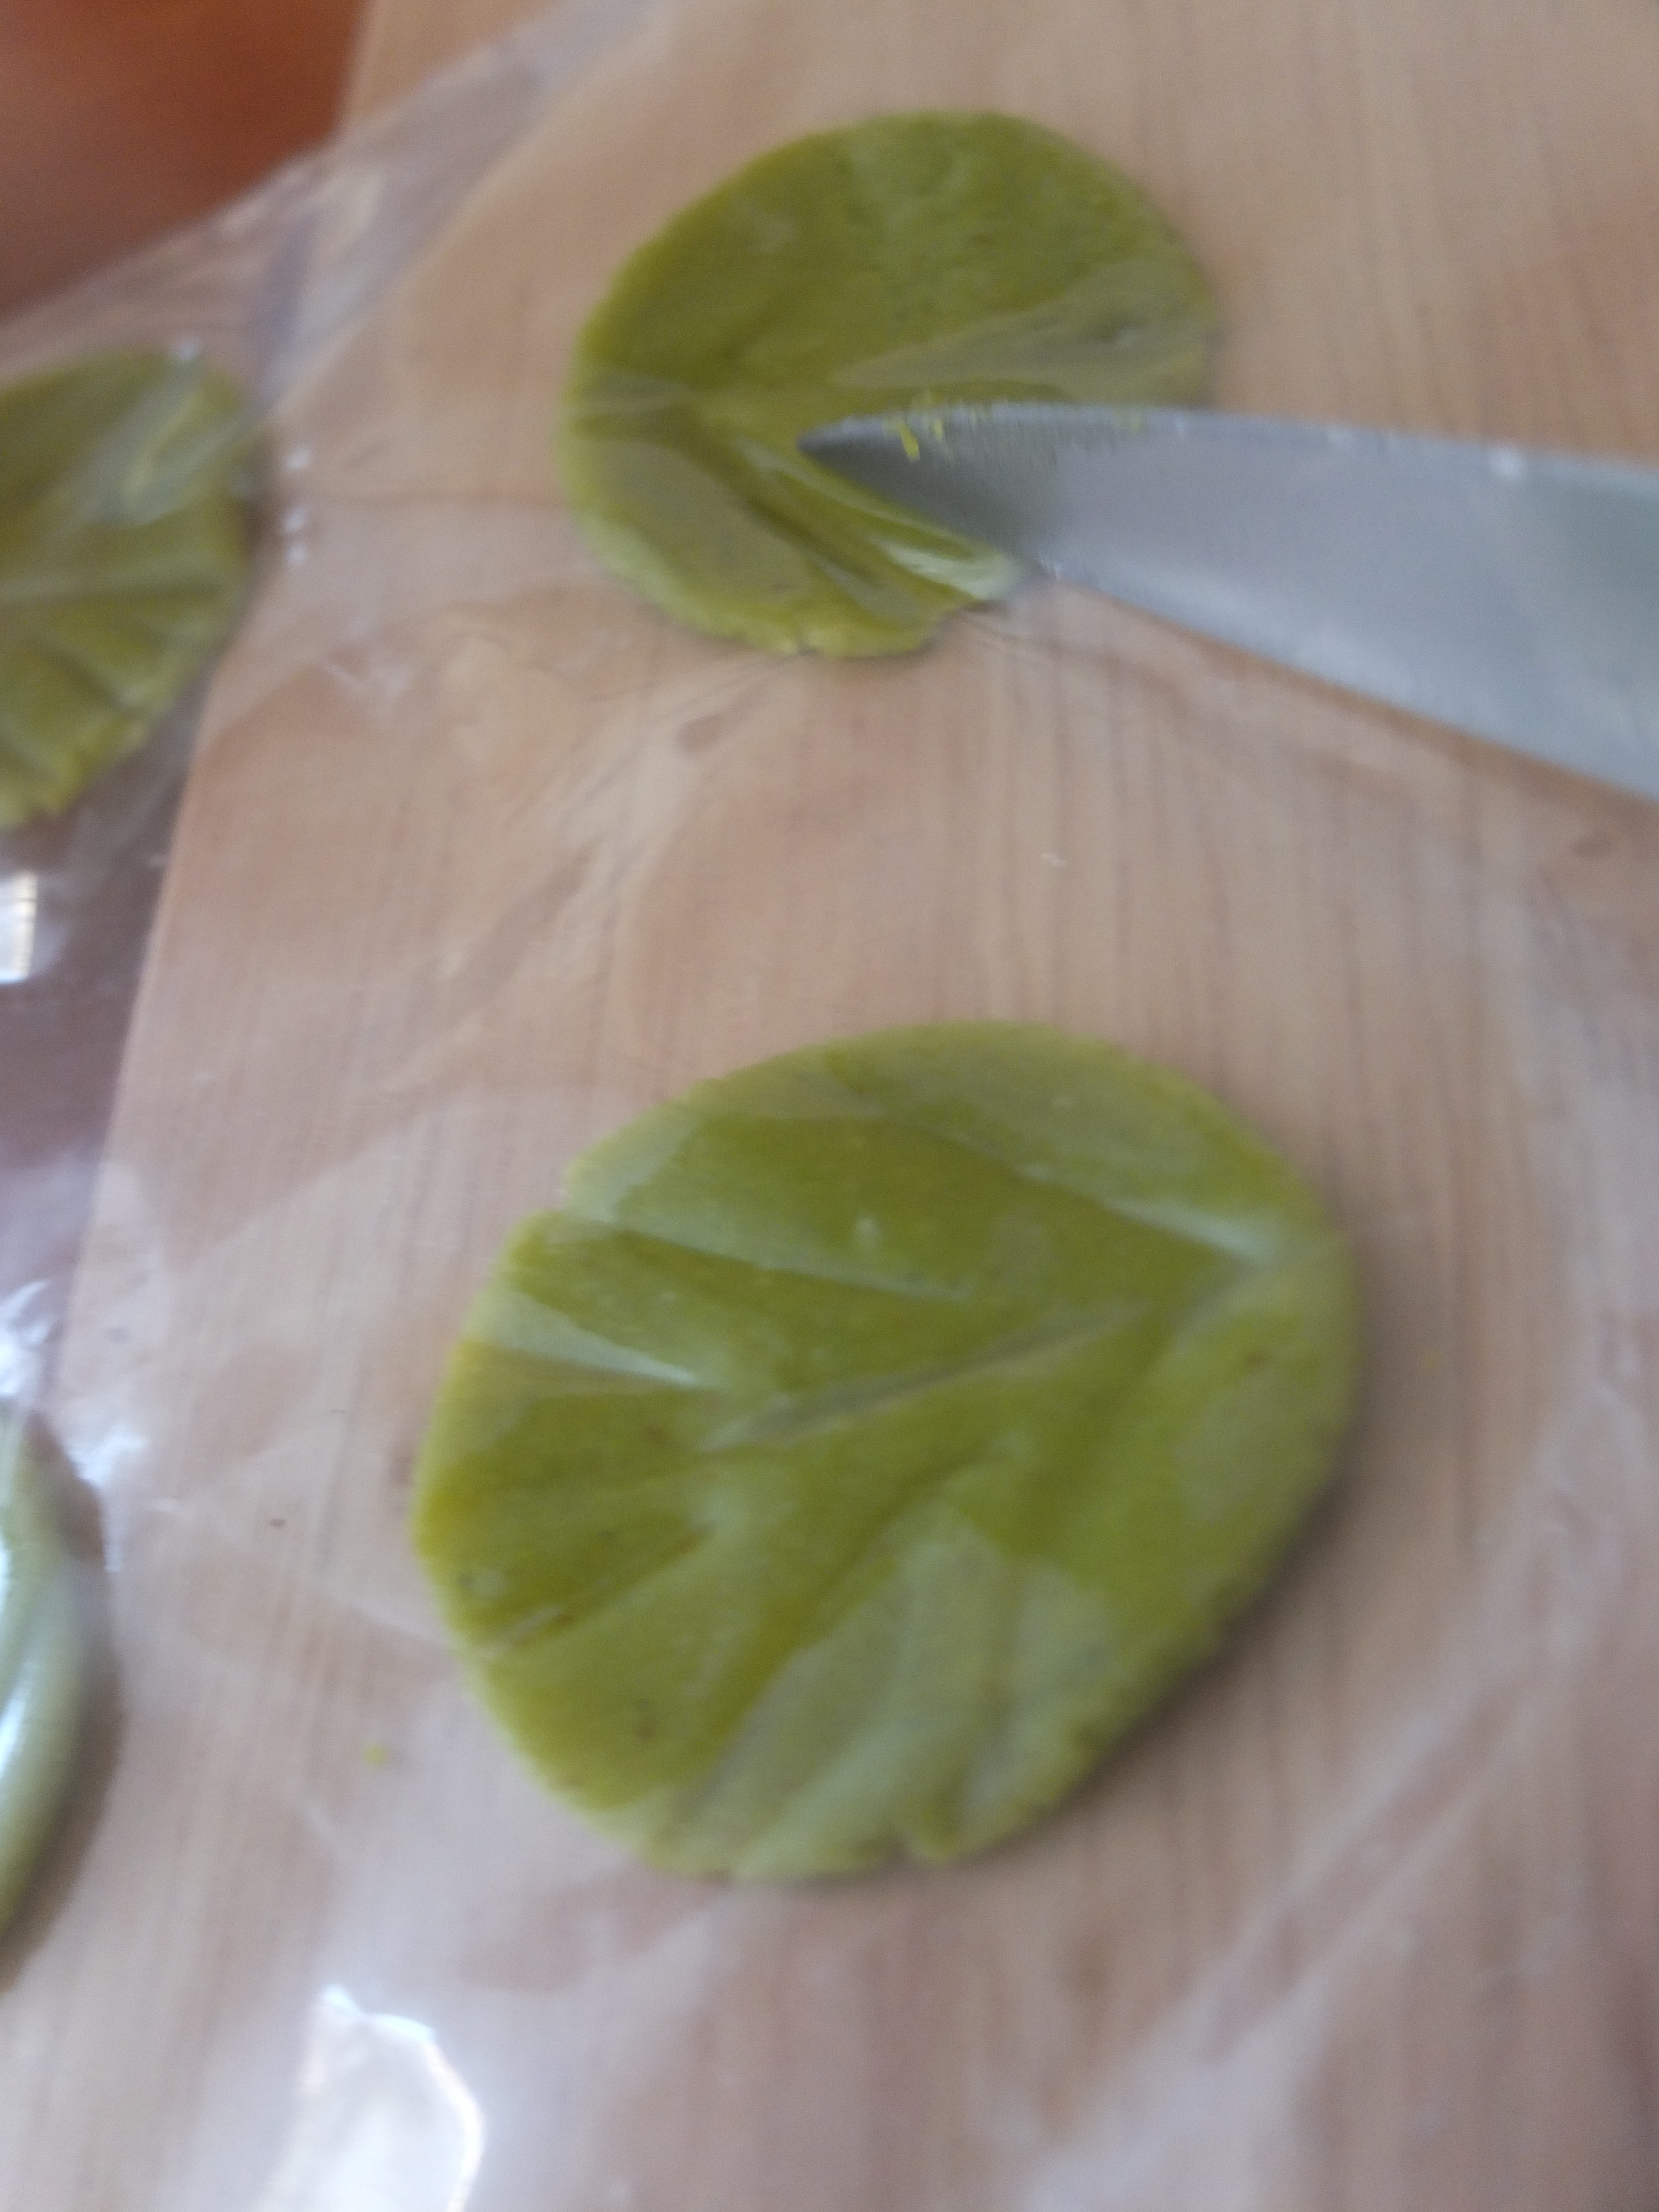
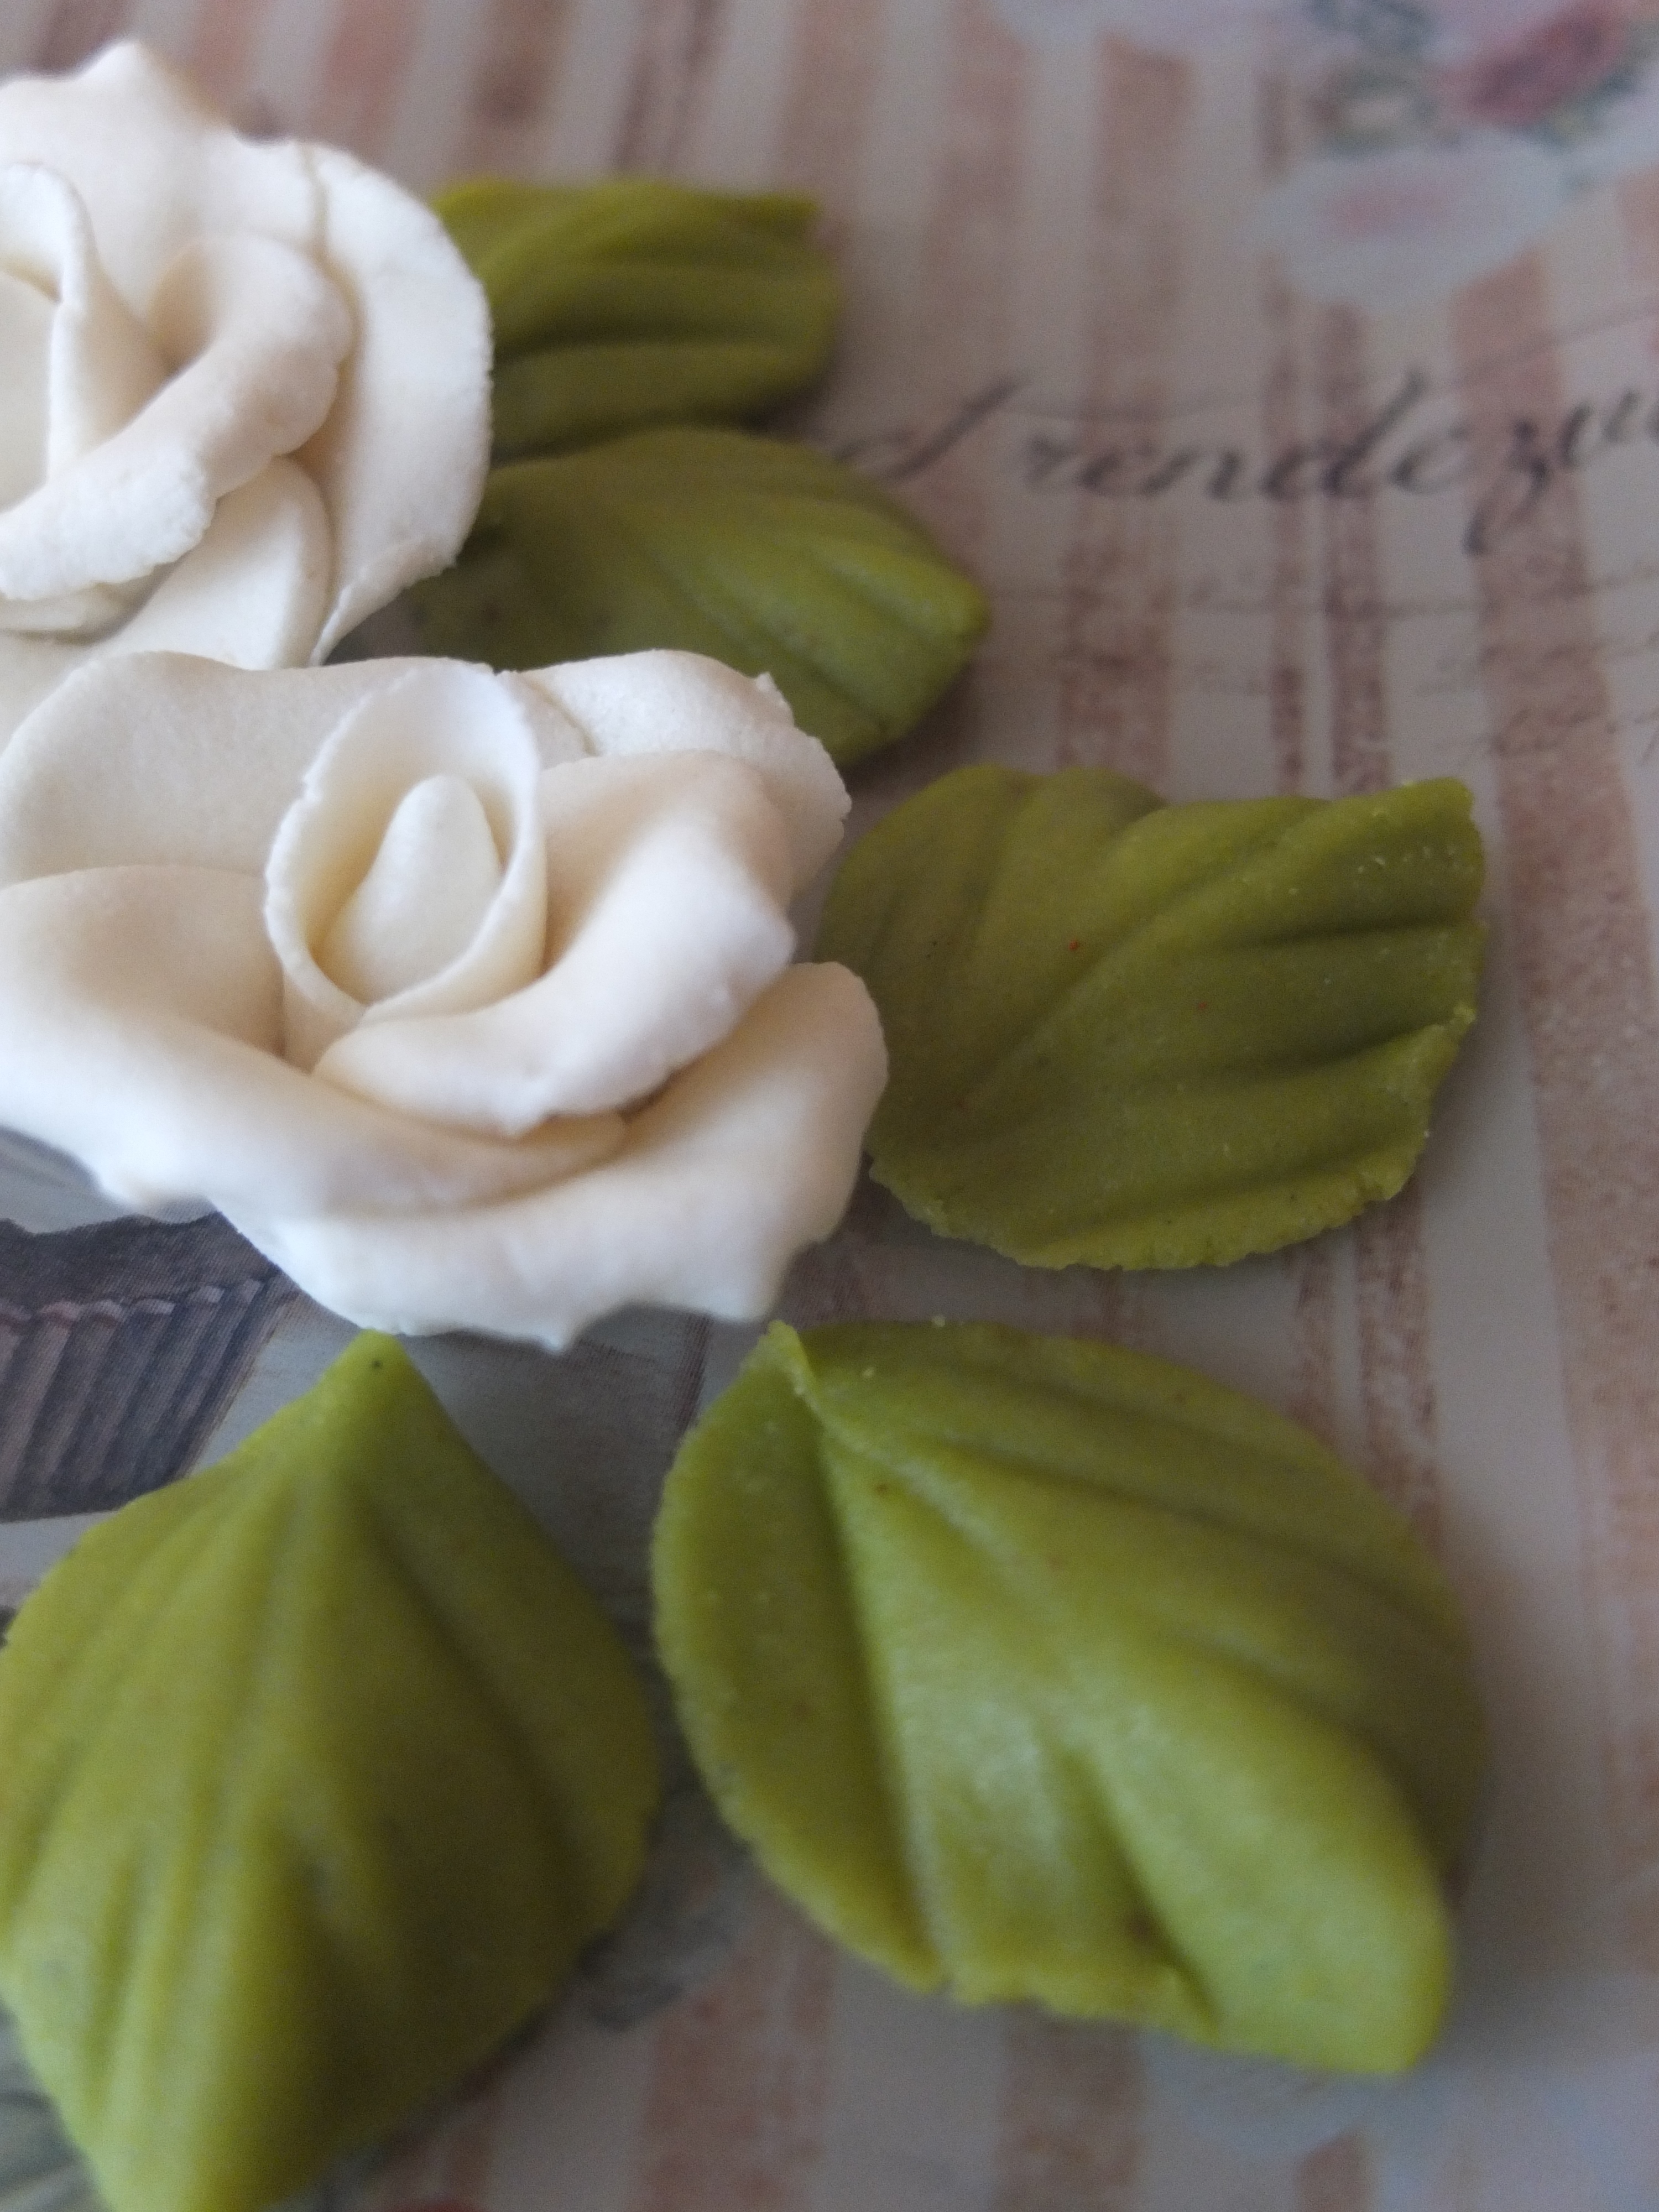
Leaves
The leaves are self-explanatory and fairly easy. Please follow the photos and don’t make them toooo thin or thick.
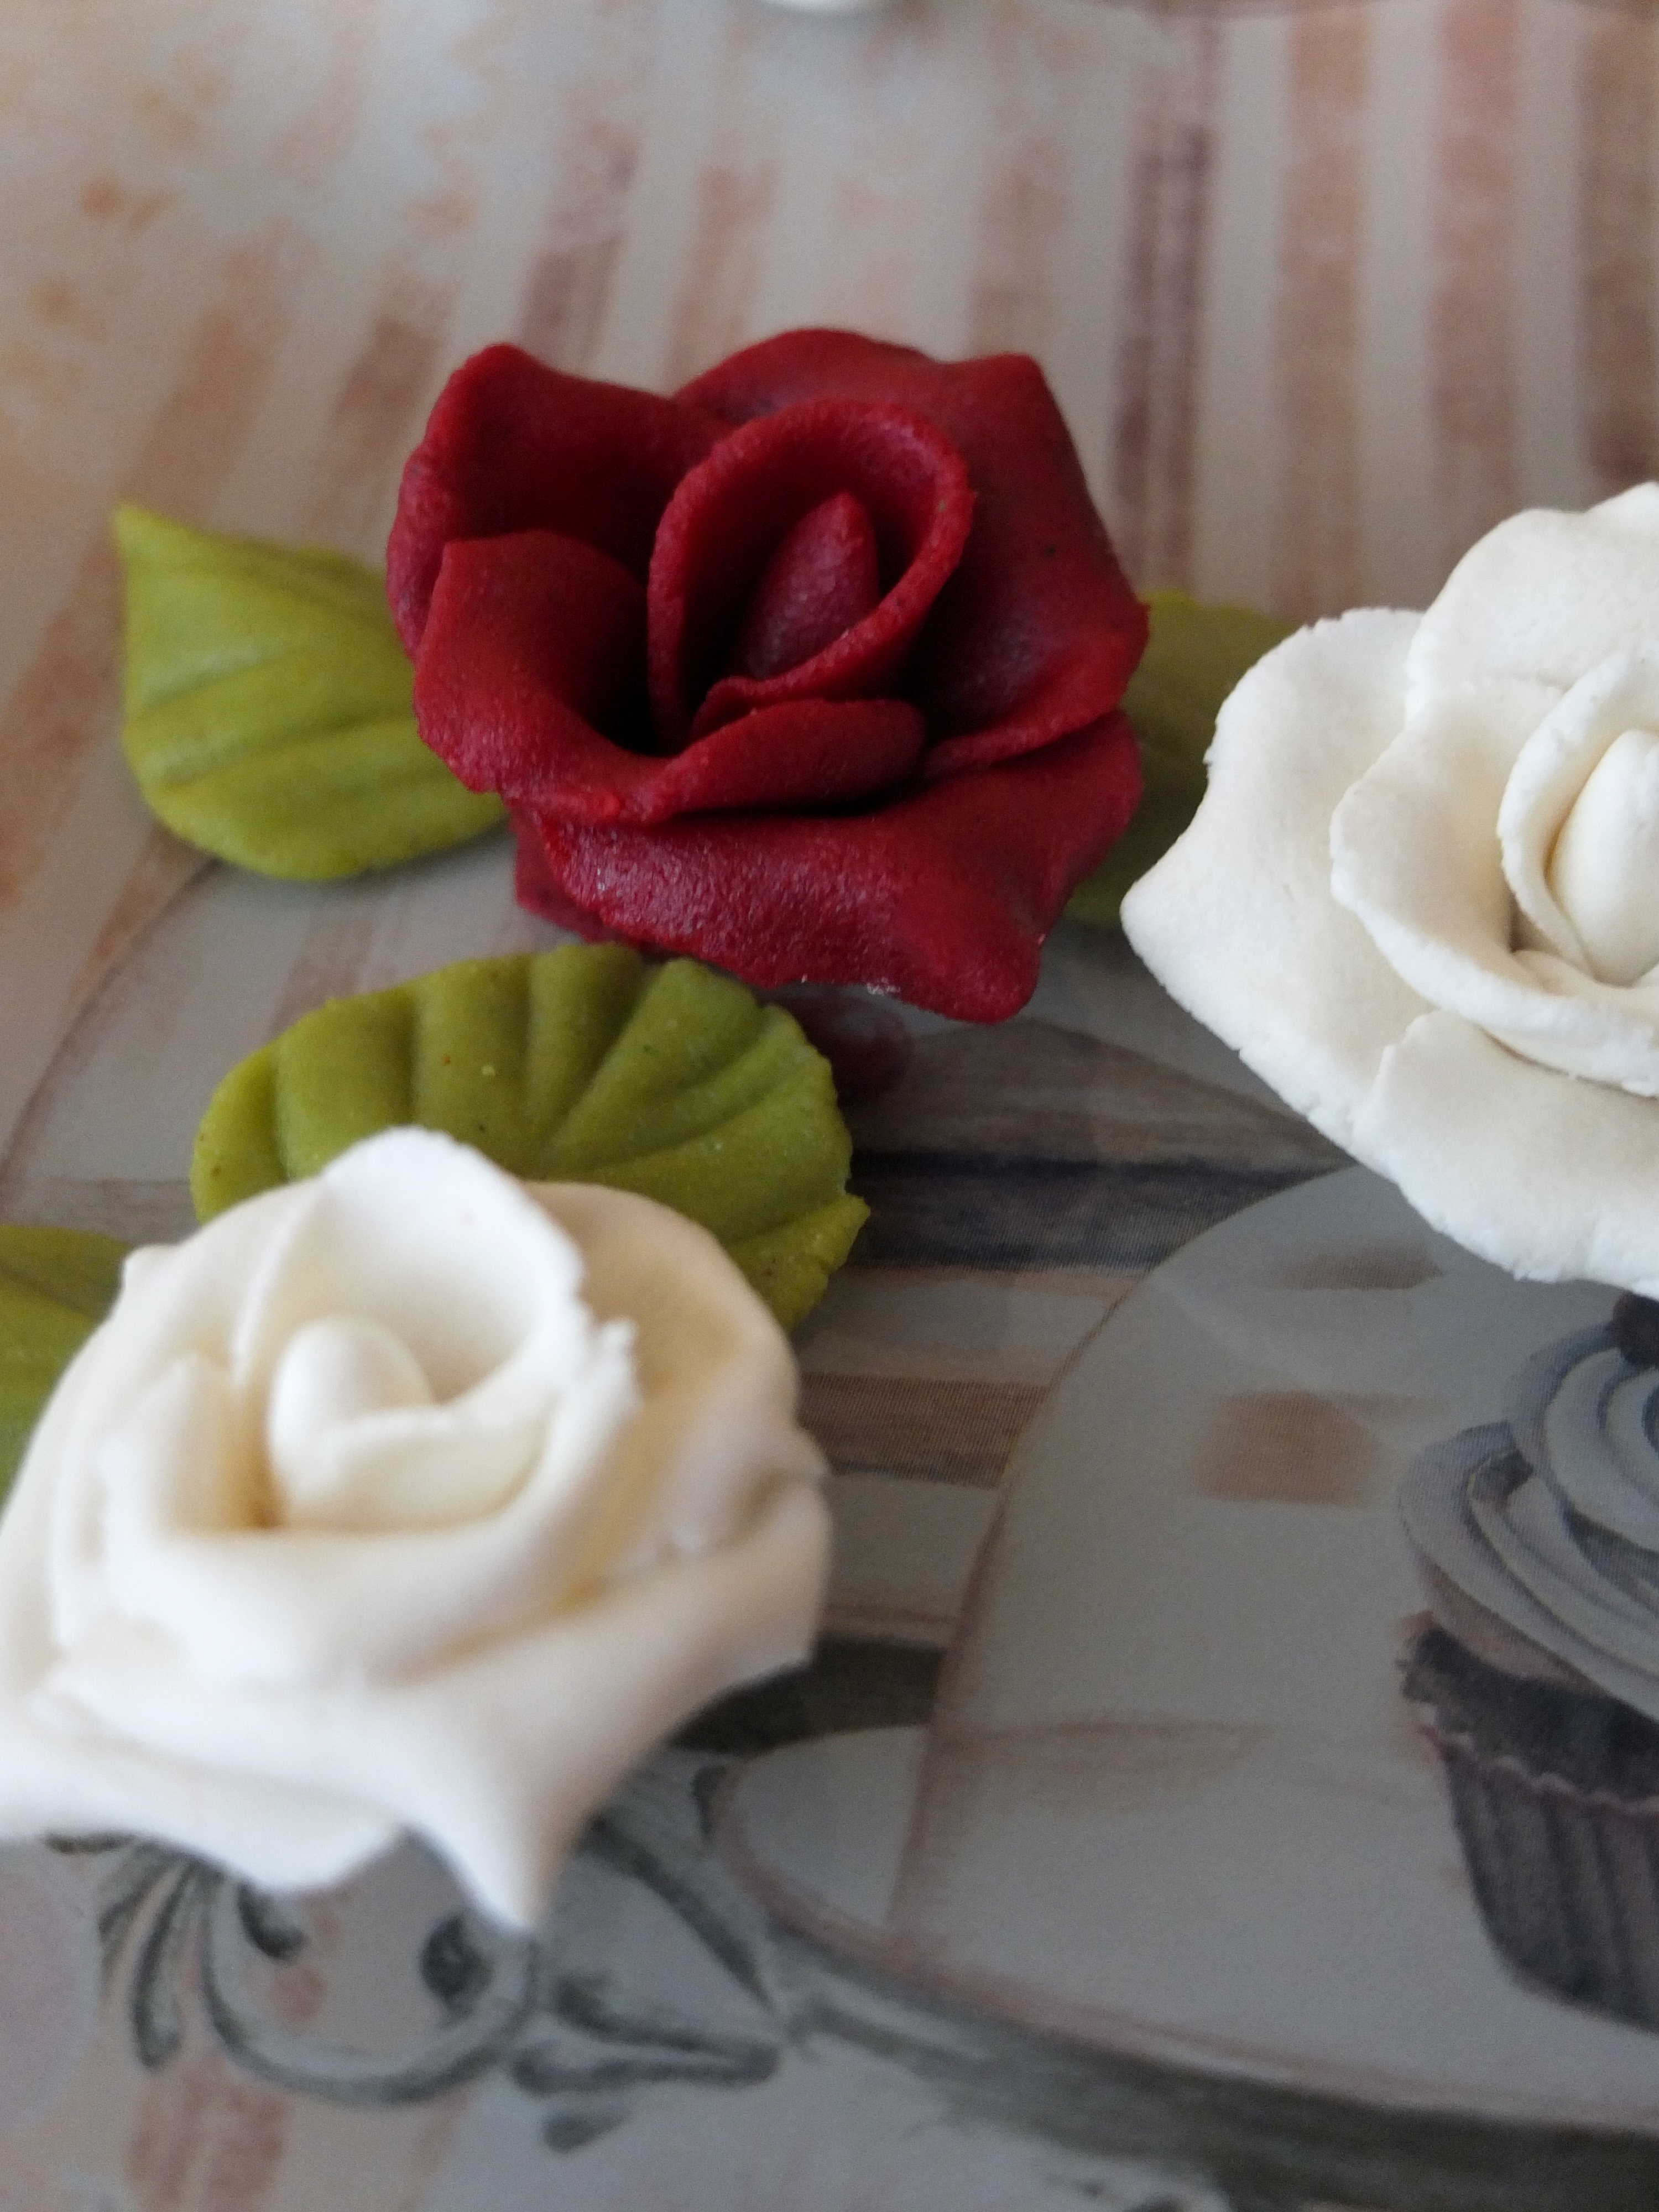
 Put it all together and tada!
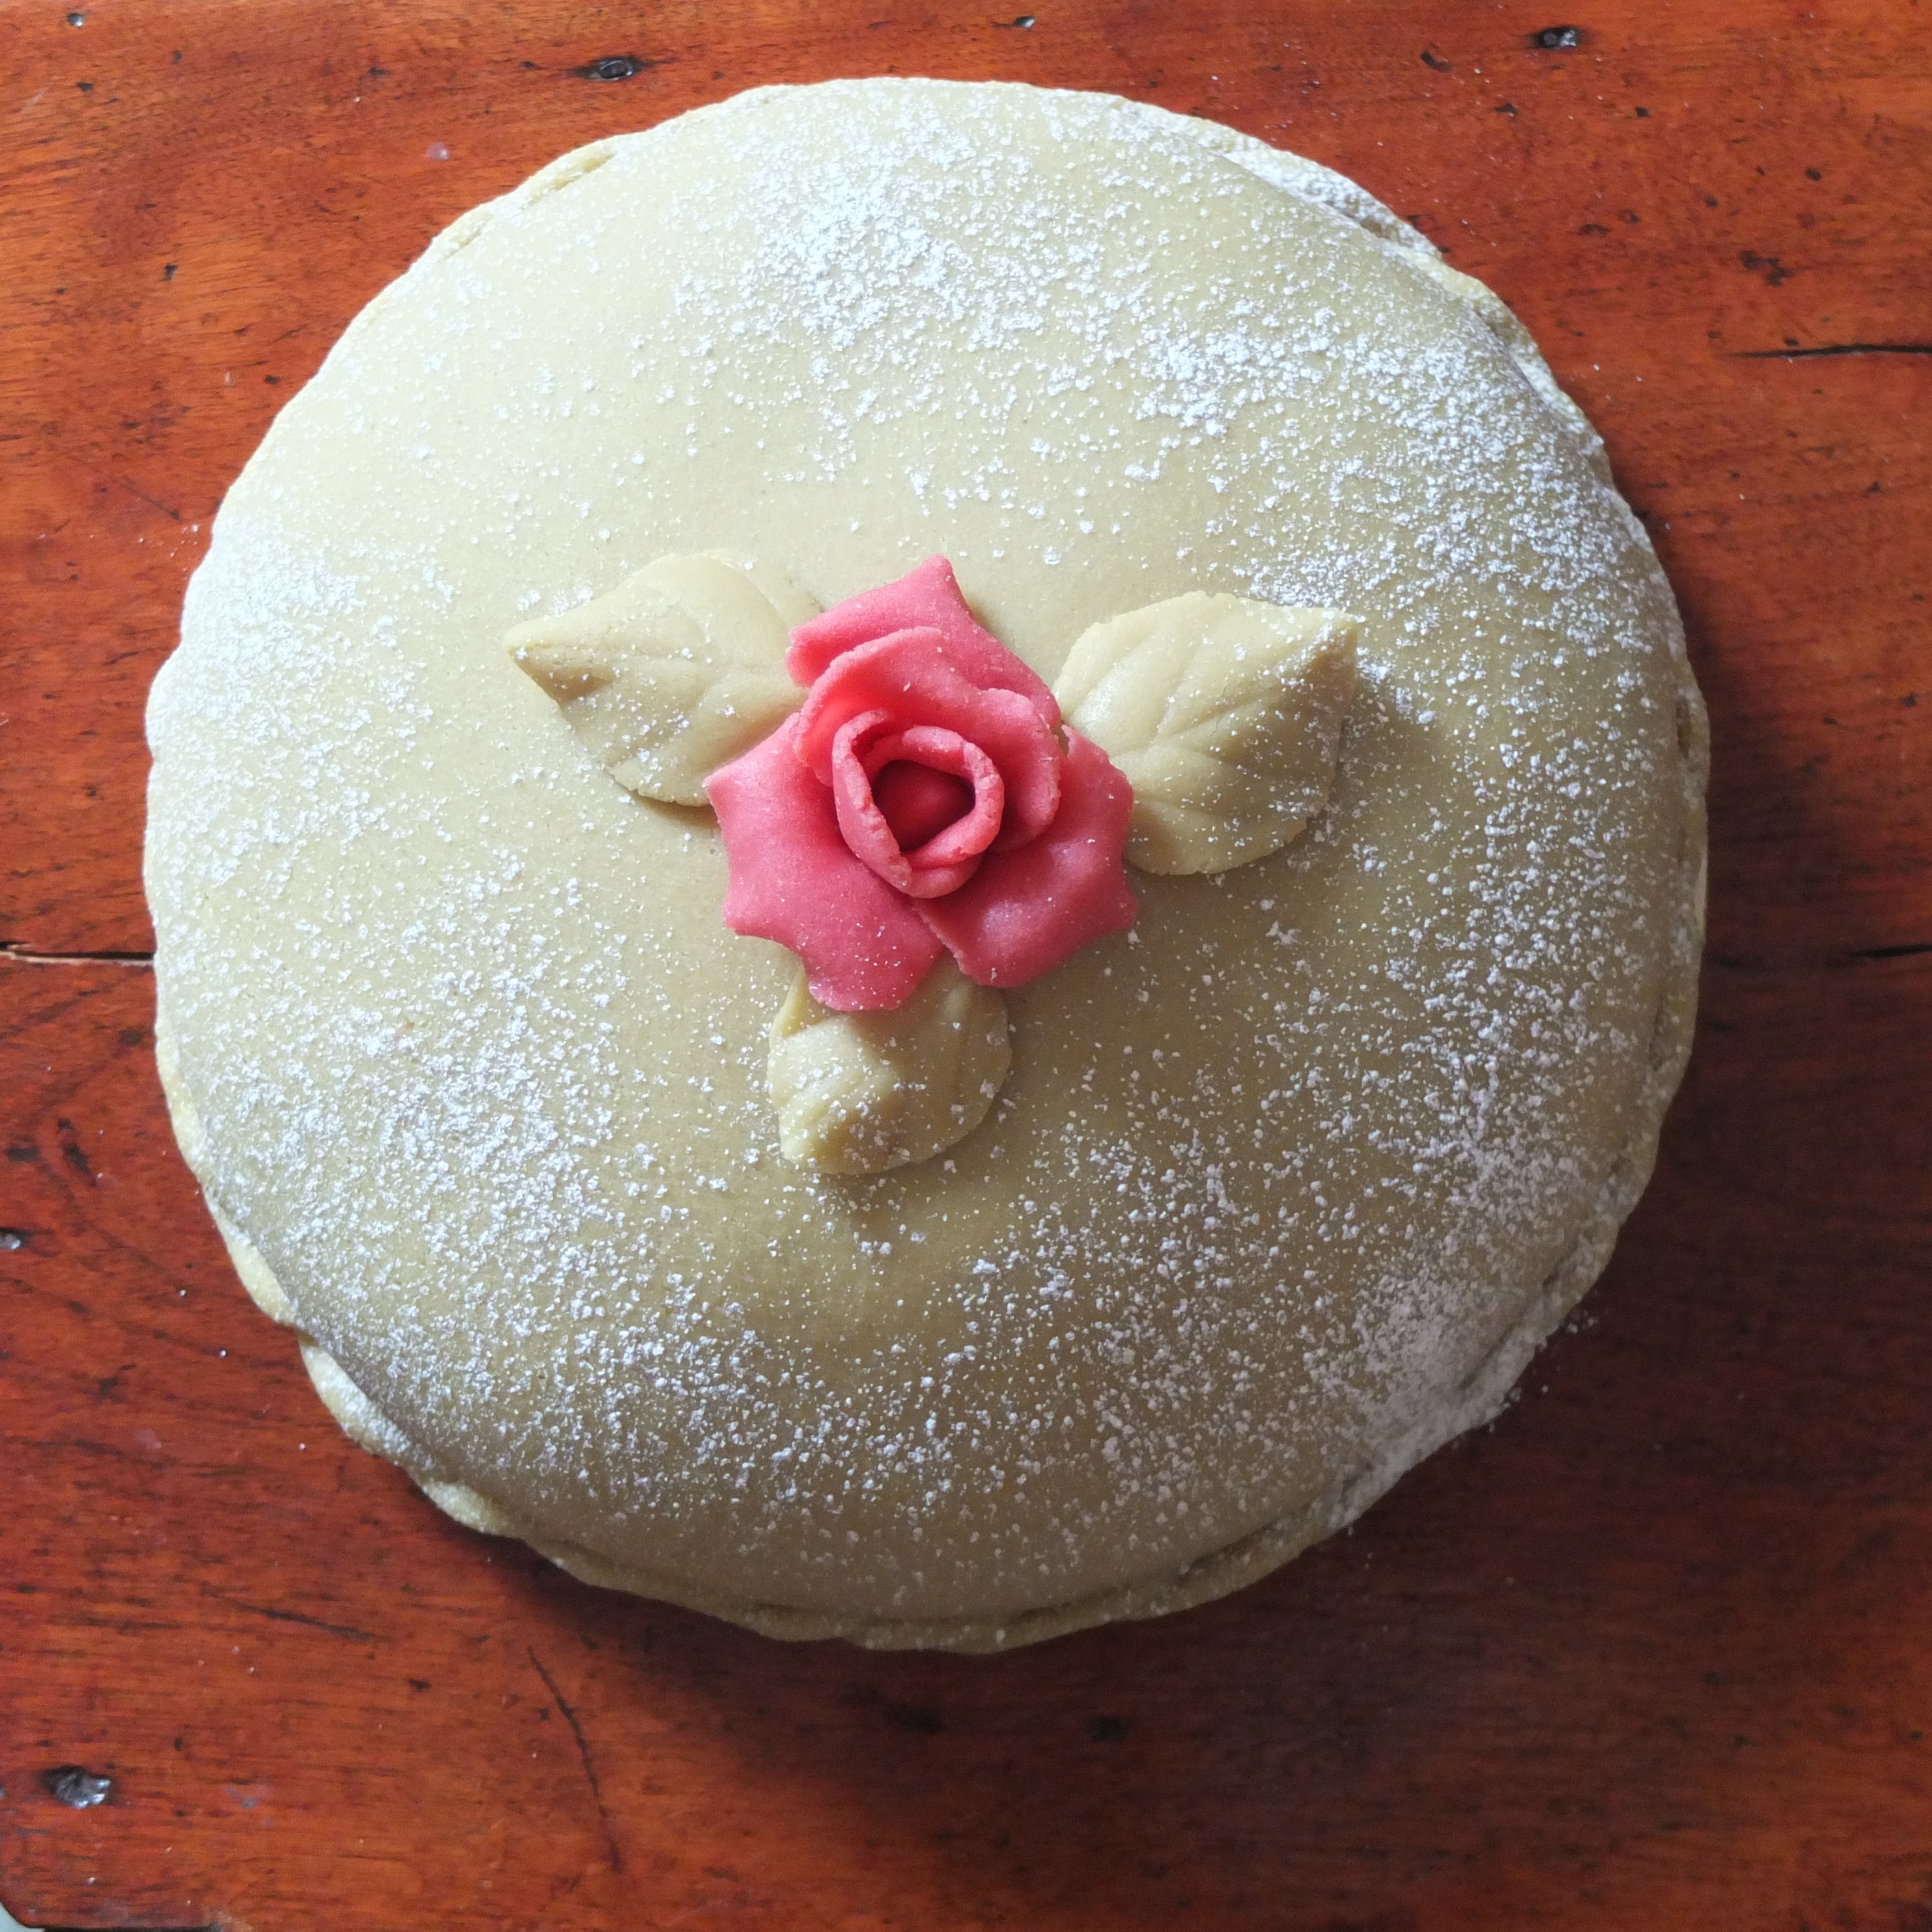
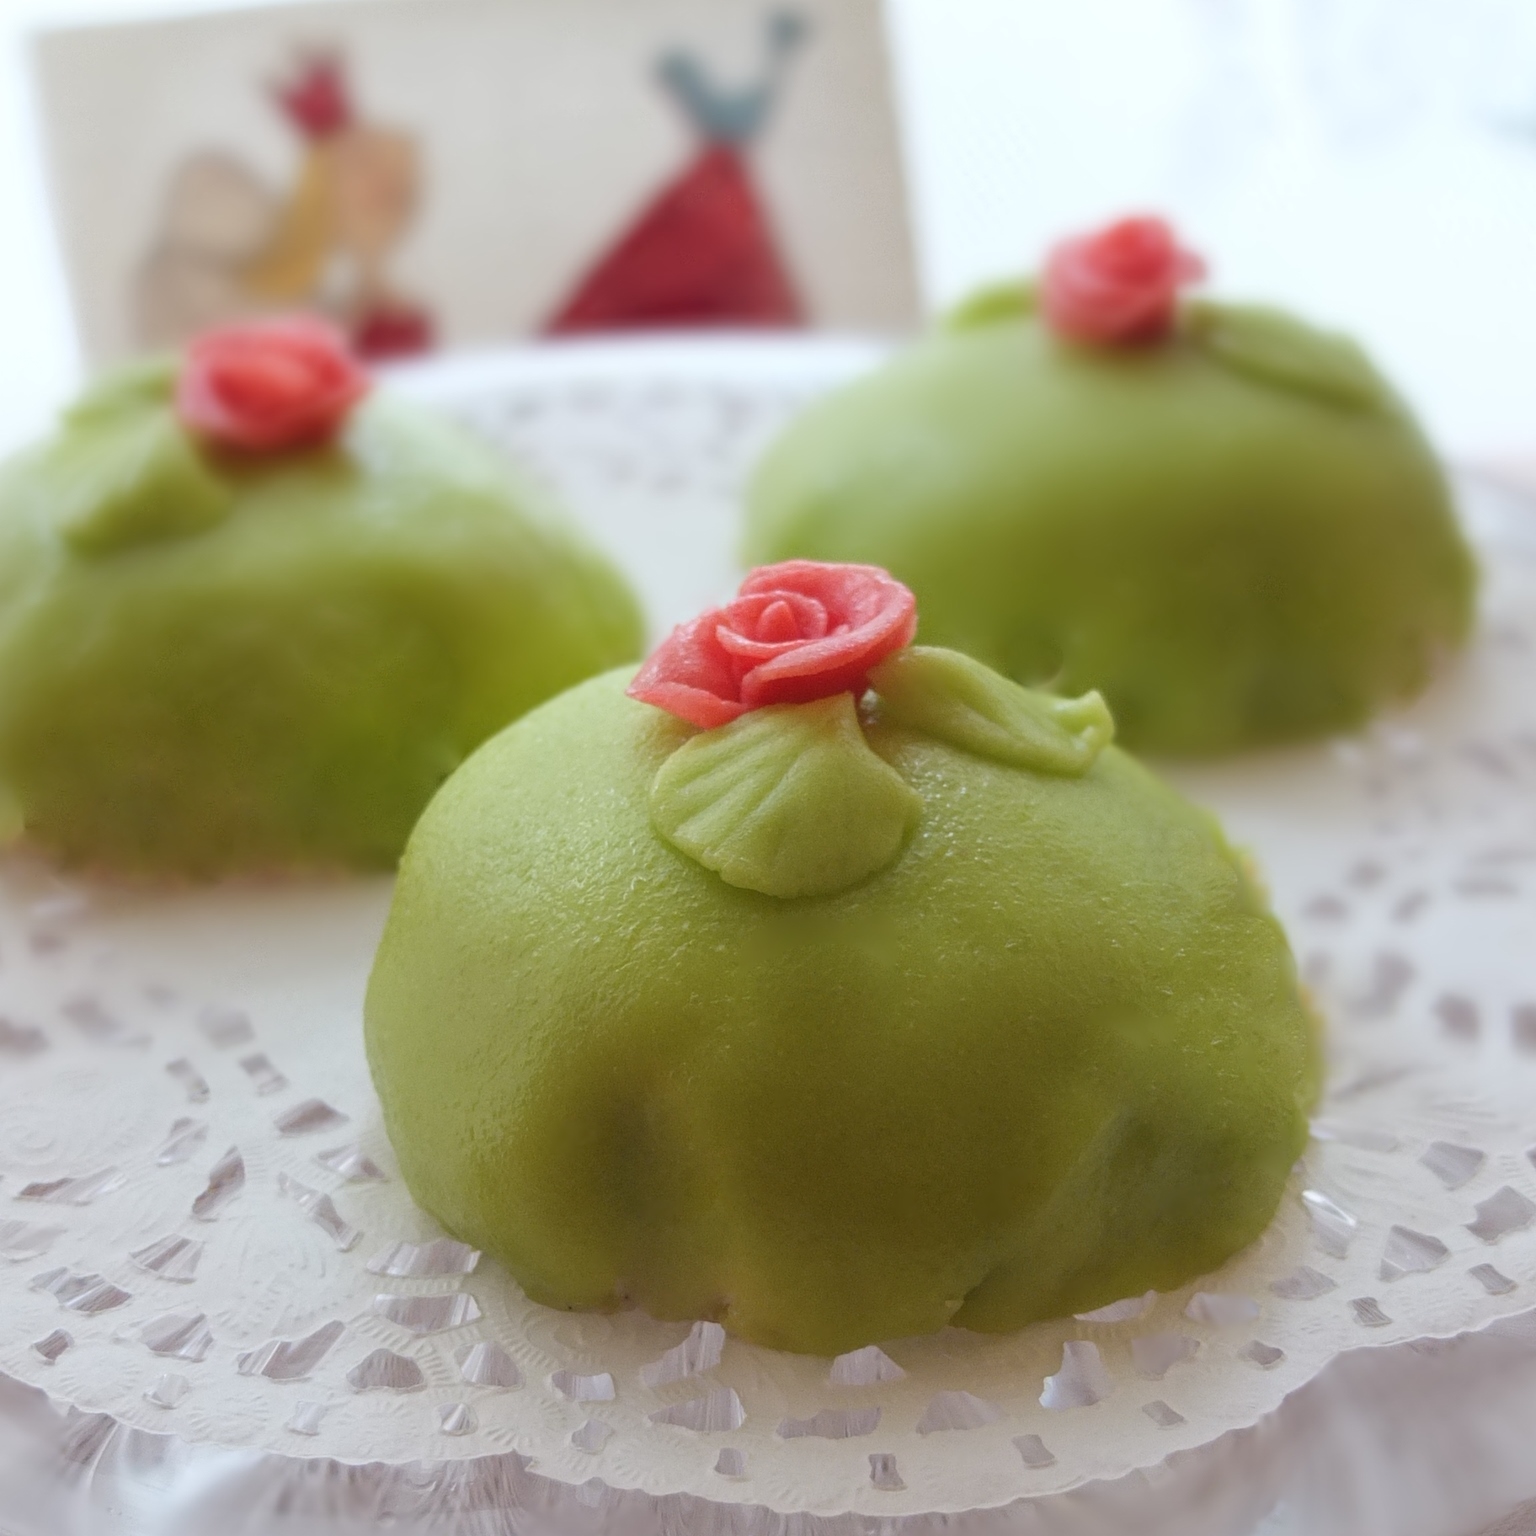
All we need to do now is … keep practising. 🙂
KEEP CALM AND MAKE ROSES
