
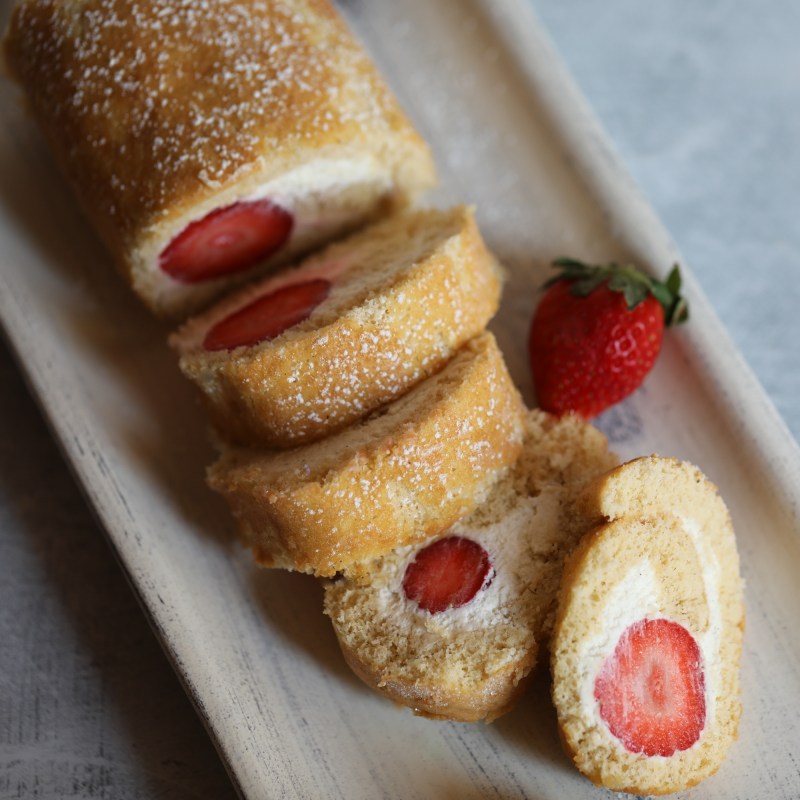
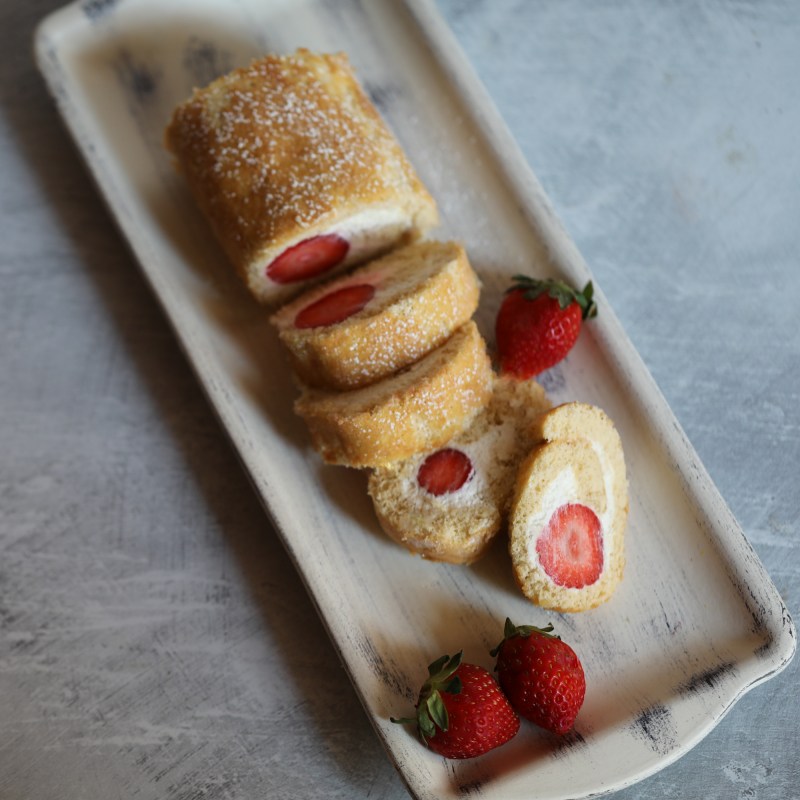
This is a lovely, light summery cake that’s delicious and can look fantastic. As you slice, you’re rewarded with the sight of striking strawberry discs surrounded by slightly-sweetened whipped cream, rolled in the fluffy genoise sponge. This delightful tenderly moist confection is also easier and quicker to put together than you’d think. Do try it out. Like me, you could find yourself making this strawberry roll cake on repeat!

Strawberry roll cake
And slices from another one!

Strawberry roll cake
Yum yum…
THE RECIPE
This makes 2 mini rolls, each about 11cm long (or one long 22-23cm one) with a 2-egg genoise baked in a 23-24cm x 26-27cm swiss roll baking tray (or some similar size).
Genoise sponge
Apparently genoise was the original sponge used for swiss rolls! But if you like, replace it with your preferred alternative sponge for roll cakes.
Ingredients
- 108-112g free-range eggs (about 2 medium-sized eggs)
- 63g/1/4 cup 1/2 tbsp caster (superfine) sugar
- 1/4 to 1/2 tsp pure vanilla extract or powder (optional)
- small pinch of fine sea salt
- 63g/1/2 cup plain/all purpose or cake flour
Method
For full instructions, photos and tips go to my Genoise recipe in the basics section. Note that the simpler version is just whisking the eggs and sugar to ribbon stage on the standmixer (no heat involved).
For this roll cake, I’ve been whisking the eggs and sugar over heat, in a bowl on a bain marie, to ribbon stage (thick and fluffy enough to leave a ribbon of batter on the surface when dropped from the whisk). Don’t overheat or let water in bain marie boil (the egg could cook and become scrambled eggs). Temperature should reach 45 to 50°C maximum.

Take off heat and add vanilla and salt. Keep whisking until cool. Batter should have doubled in volume and hold its shape.
Using a rubber spatula and figure of eight motion, delicately fold in 1/3 (one third) of flour into batter, until almost combined. Repeat to fold in 2nd then last third of flour. Don’t overwork or batter will flatten – fold until just combined then stop. Stoooop.
Lightly spread evenly in baking tray (lined with baking paper).
Bake at 160°C (fan oven) or 180°F (static oven) about 10 to 13 minutes until light golden brown and inserted skewer comes out clean. Also, when surface is pressed lightly with a fingertip, the sponge should spring back slightly.
Take out of oven, allow to cool 2 minutes but no longer – if the sponge cools too much it will be difficult to roll.

Carefully tip sponge onto clean sheet of baking paper that has had a little caster sugar sprinkled on it (optional, but helps it not stick). Peel off the baking paper that was on the bottom of the sponge when in the oven.
Use the clean paper to help you roll the sponge (not too tight, but not too loose). Twist paper at each end to keep roll in place.
Allow to cool completely before filling (1 hour or more). If making the mini roll, cut in middle to get 2 halves and freeze one half.
Assembling just one mini roll cake
Strawberry roll cake
Double the quantities below for the full long 22cm roll (240 to 280g/ml cream)
- 120 to 140g/ml fresh whipping cream, to taste (depending on how much cream you’d like and how much can fit without spurting out)
- 12 to 20g caster/superfine sugar, to taste (depending on how sweet you like your cakes)
- 1/4 to 1/2 tsp pure vanilla extract or powder, to taste
- 4 to 5 medium-sized fresh strawberries, all of similar size (rinsed, patted dry and hulled). Tip: if your strawberries don’t have much taste, marinate in a little sugar and juice from freshly-squeezed orange for 1 hour or so then pat dry before placing in cake
- A little icing sugar or cornflour (cornstarch) to sieve on finished cake
Method
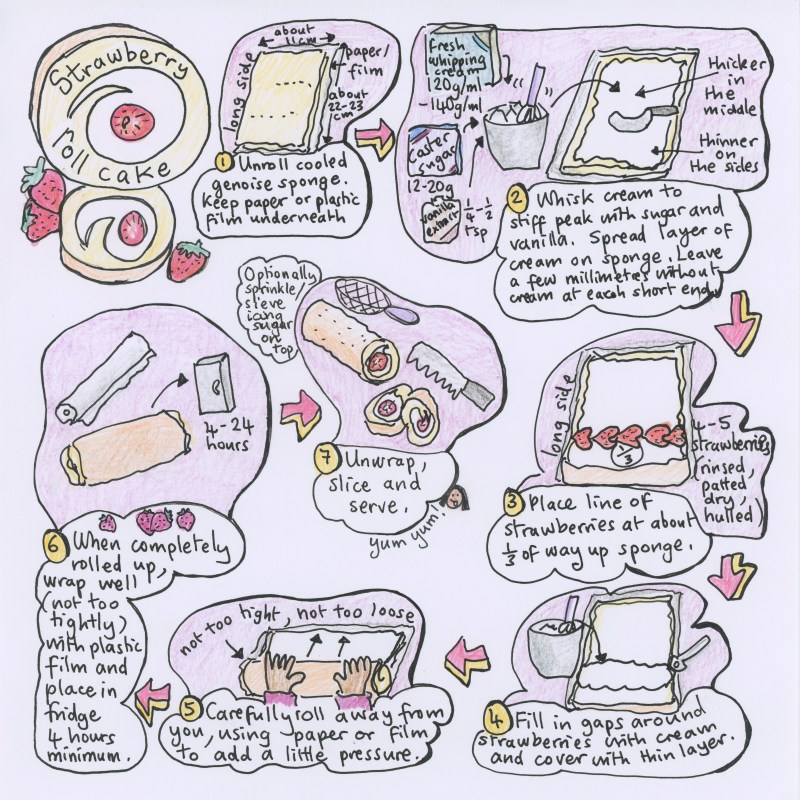
Click to access roll-cake-recipe.pdf
Follow the illustrated recipe above (click on pdf link for printable version). And/or check out the written instructions and photos below.
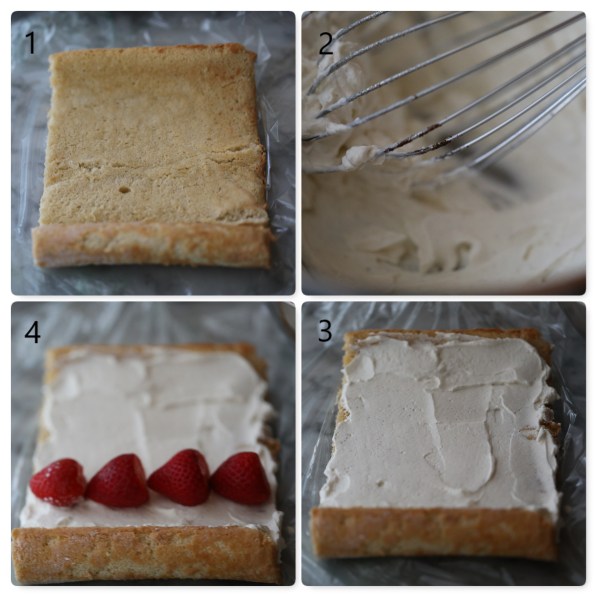
Unroll sponge and place so short edge is at the bottom (photo 1). Whip cream to stiff peak with sugar and vanilla (2) – if cream is overwhipped and starts turning to butter, add a little extra cream to loosen it up again and whisk (carefully). Spread cream over sponge (3) – it should be thinner around the sides, so it doesn’t all spurt out when rolled. Line strawberries up near bottom third of sponge (4).
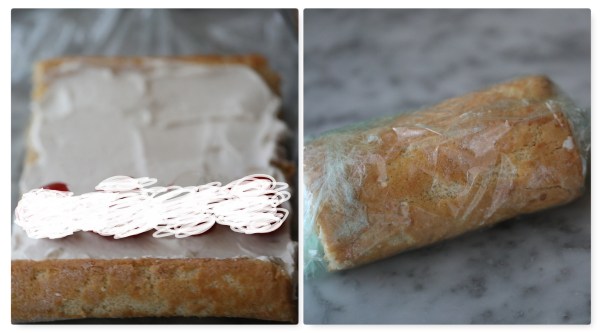
Next, use spoon to cover line of strawberries in cream, so you can’t see the strawberries any more (left-hand photo below). Sorry, yes… forgot to take a photo of this so I improvised and scribbled cream over them technologically! Then roll the sponge (not too loosely, not too tightly) away from you with the palm of your hands – using the plastic film to help you. Finally, place seam underneath.
Here I used plastic film, but you can also roll in the baking paper (then cover in plastic film to keep sponge sealed and moist).
Don’t worry if the cream comes out a bit at the sides. You’ll trim the sides (and taste-test them) before serving.
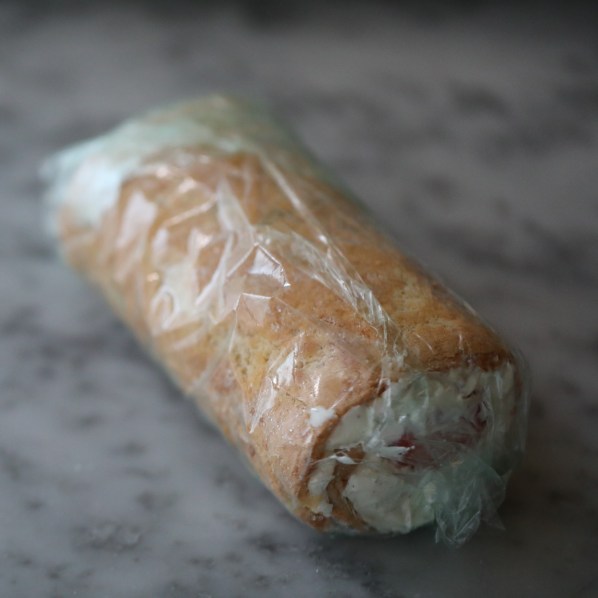
Eating and storing
Place in fridge still in the plastic film (and in airtight tupperware too, just to be extra safe, so it doesn’t get squashed by anything). Chill at least 4 hours to firm up but also moisten before slicing and serving. Personally, I prefer this roll cake the next day or even the day after, when it’s become really nice and moist from being in the fridge. It should keep up to 3 days in the fridge – perhaps more, but with time the strawberries start leaking a pink colour in the cake.
I haven’t frozen this cake though it might work. But the unfilled rolled sponge (in plastic film) freezes really well for up to 2 months or longer. So you can prepare the sponge in advance or make a first ‘mini-roll’ with half the sponge then freeze the remainder to make a second cake in the future. Defrost the sponge around 4 hours at room temperature in airtight tupperware then carefully unroll and assemble the cake.

Strawberry and cream roll cake
Time for a few slices! Very light…

Strawberry roll cake
This roll cake always comes out a little different (and sometimes a bit messy) but yummy every single time.
It’s basically not too sweet but light, fluffy and subtle, just like Japanese cakes tend to be – the fruit doesn’t dominate but participates equally with the sponge and cream. For added fruitiness, serve with extra fresh strawberries on the side.
Anyway, hope you try making this divine Japanese-style strawberry and cream roll cake!
Strawberry roll cake
Oh and sorry that this is my first post in a while – work can really get in the way of blogging! 😉 But it’s the summer holidays now and great to be back here.
Hoping you’re well and thanks for popping in again! Wishing you lots of relaxed baking and many yummy eating experiences! 🙂 Love, Lili x

Very tempting cake and I shall believe it is easy to make. Thank you daughter. 😘😘
LikeLiked by 1 person
Thanks mum, yes – easy, and simple ingredients too! 😊👍😘😘
LikeLike
That looks so refreshing and yummy! I may try it. I’ve never tried making a rolled cake before!
LikeLiked by 1 person
Thank you Deborah 😍 Yes, really nice light cake – hope you do try it. Roll cakes are ok! 😊
LikeLiked by 1 person
🥰
LikeLiked by 1 person
Lili, how pretty is that and I’m sure it’s as delish as it looks!
Mollie
LikeLiked by 1 person
Thanks so much Mollie! 😍 Yes, yummy – very easy to eat 😉
LikeLike
Pingback: Japanese-style strawberry and cream roll cake recipe!