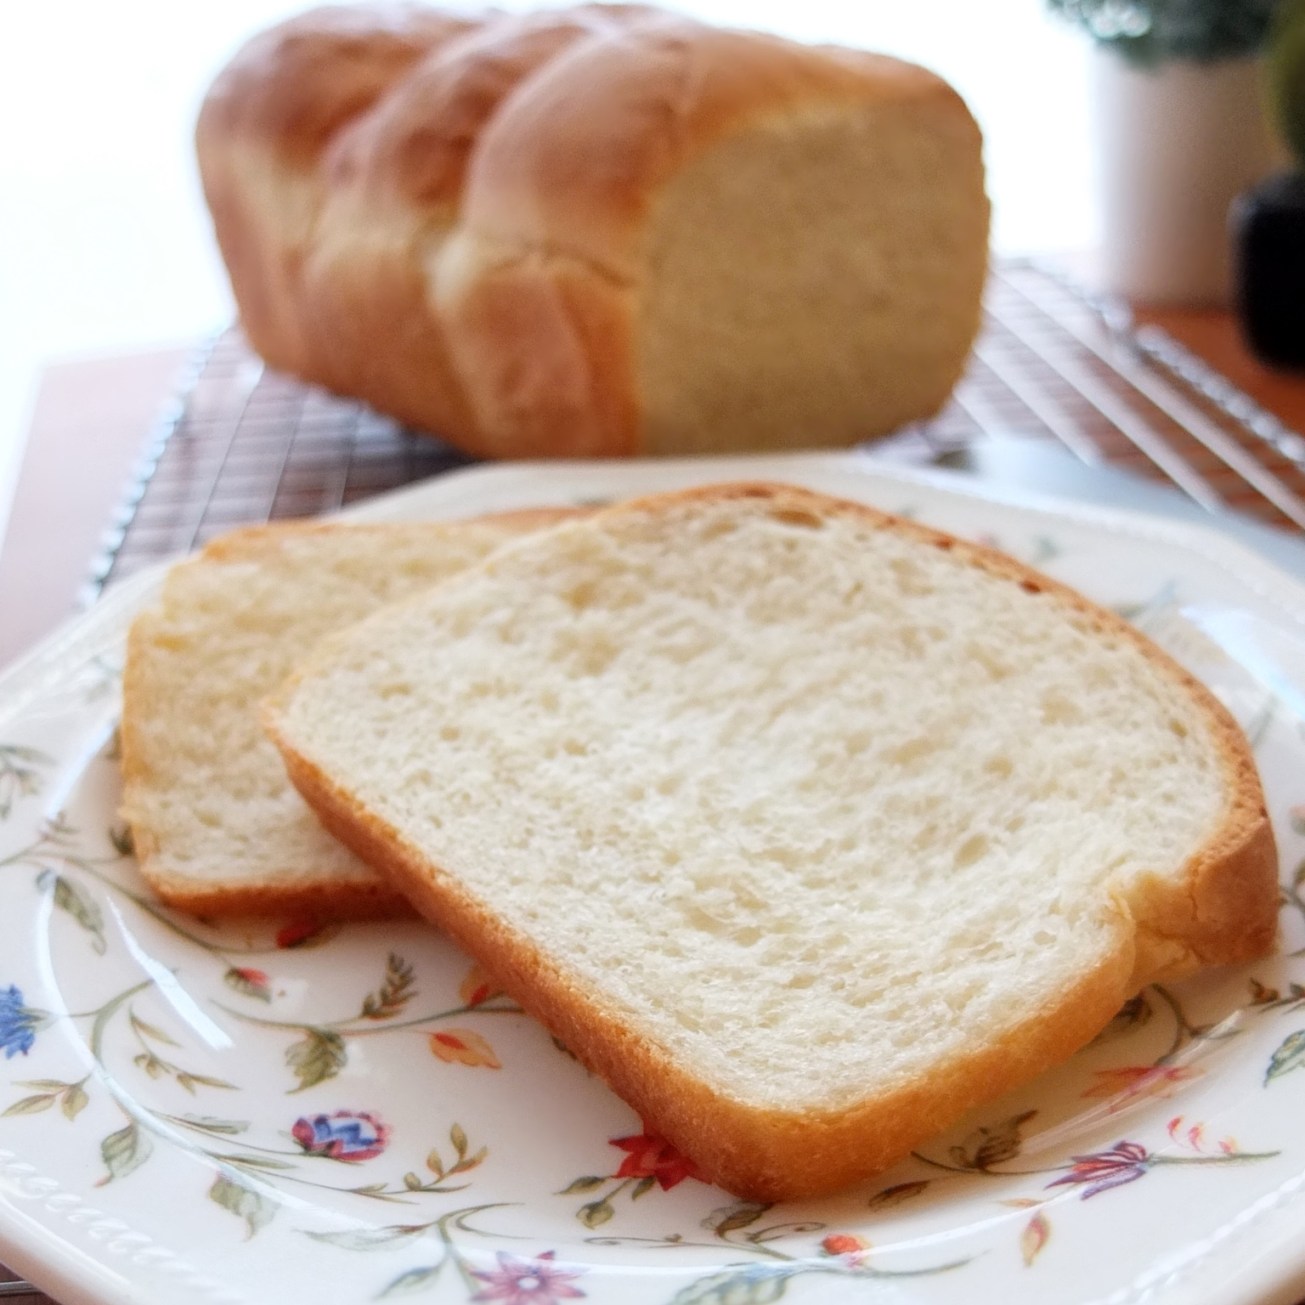
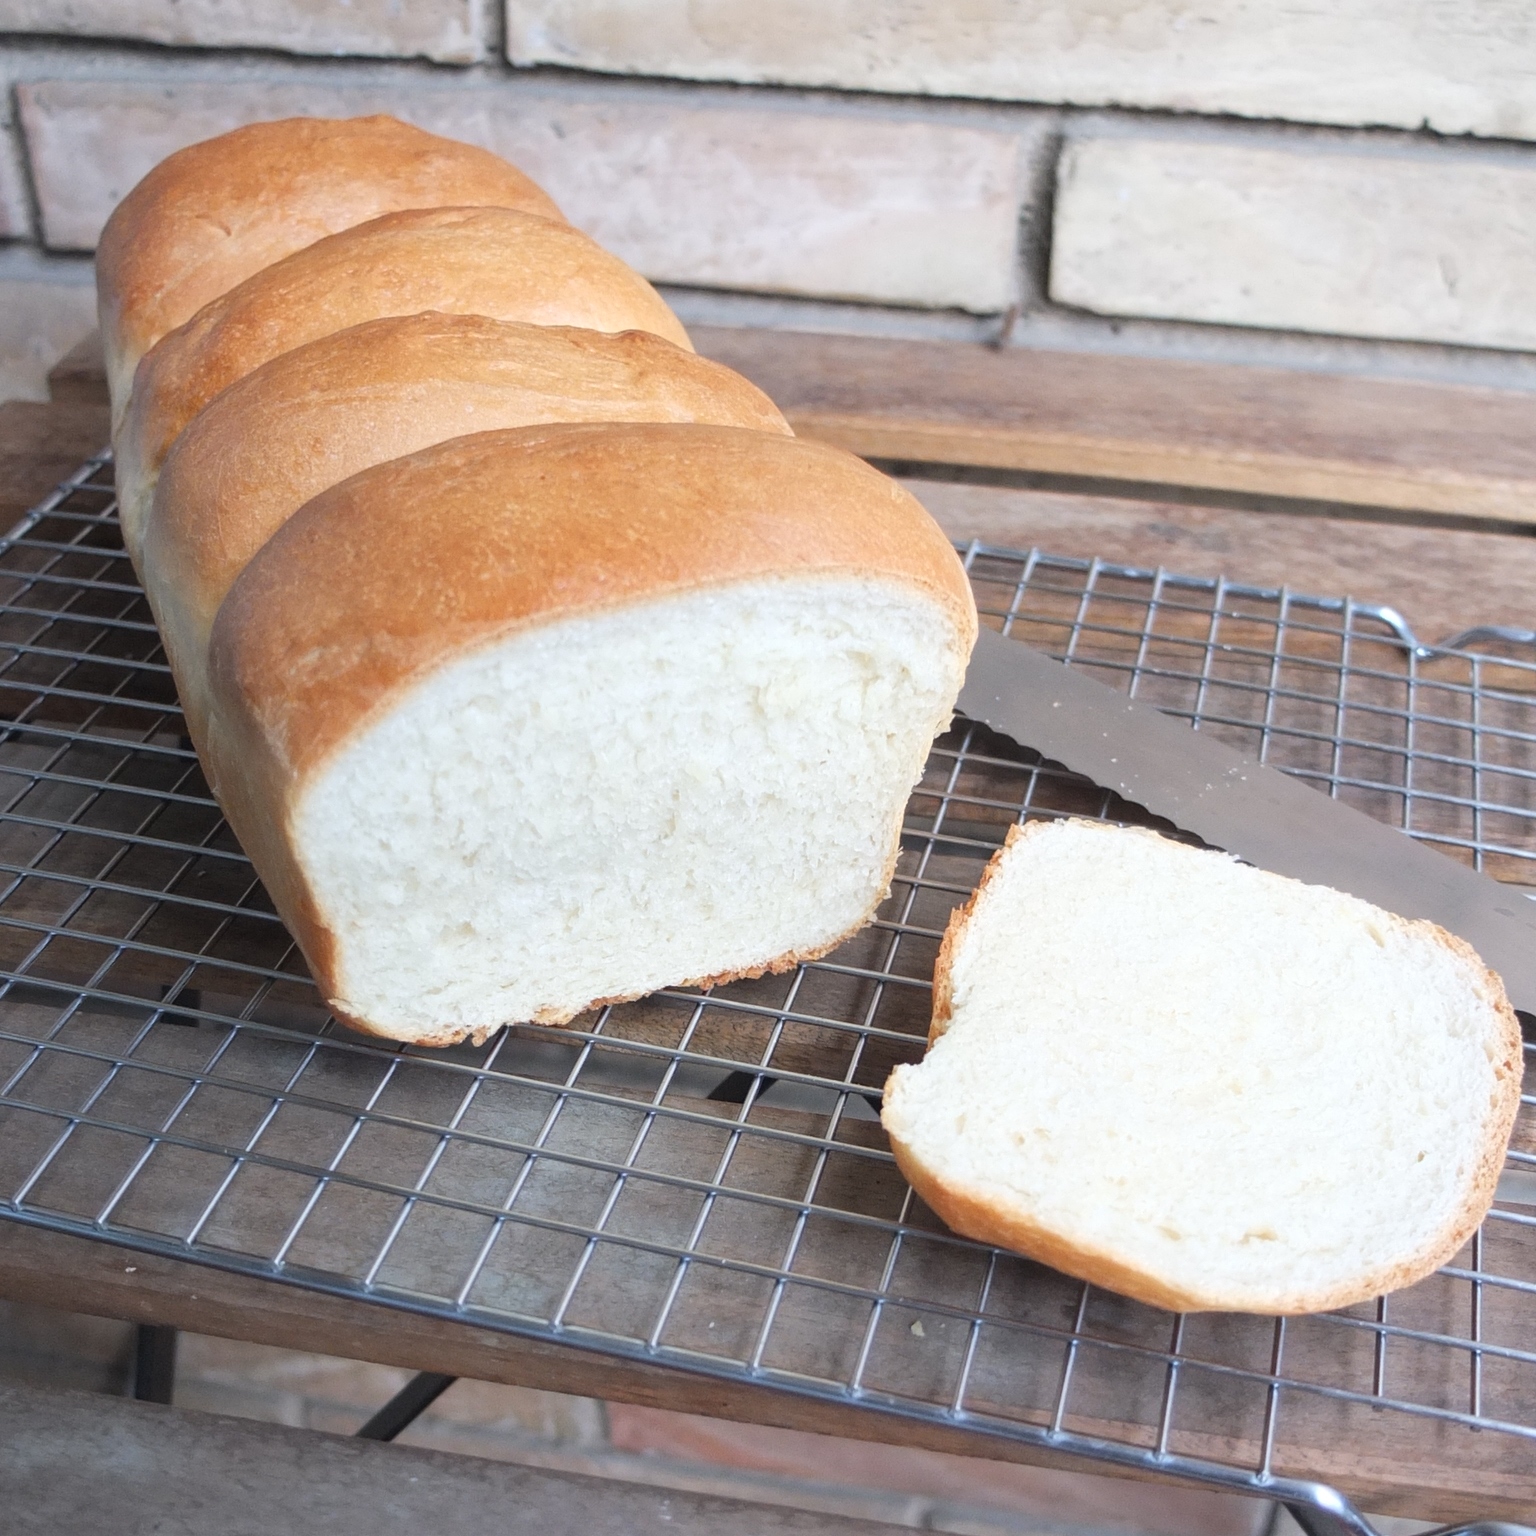
Pain de mie is the best thing since sliced bread. No wait, it is sliced bread if you take the serrated knife to it! Depending on the loaf tin you use, it can be very fluffy and light or a little denser and ideal for toast. But made with flour, milk, butter and yeast, pain de mie is always delicious and extremely sliceable. Yes indeed, I strongly recommend pain de mie classic French sandwich or toast bread. Hmmm, am I trying to brainwash you? If I say the words pain de mie often enough, will you make some?! lol. Here’s a photo. 🙂

Pain de mie French toast and sandwich bread
The grand discovery
I discovered pain de mie on my Intermediate Cordon Bleu patisserie course last year in Paris. We made masses of it and some baguettes too. Yes, these were mine… all mine. Muahaha.
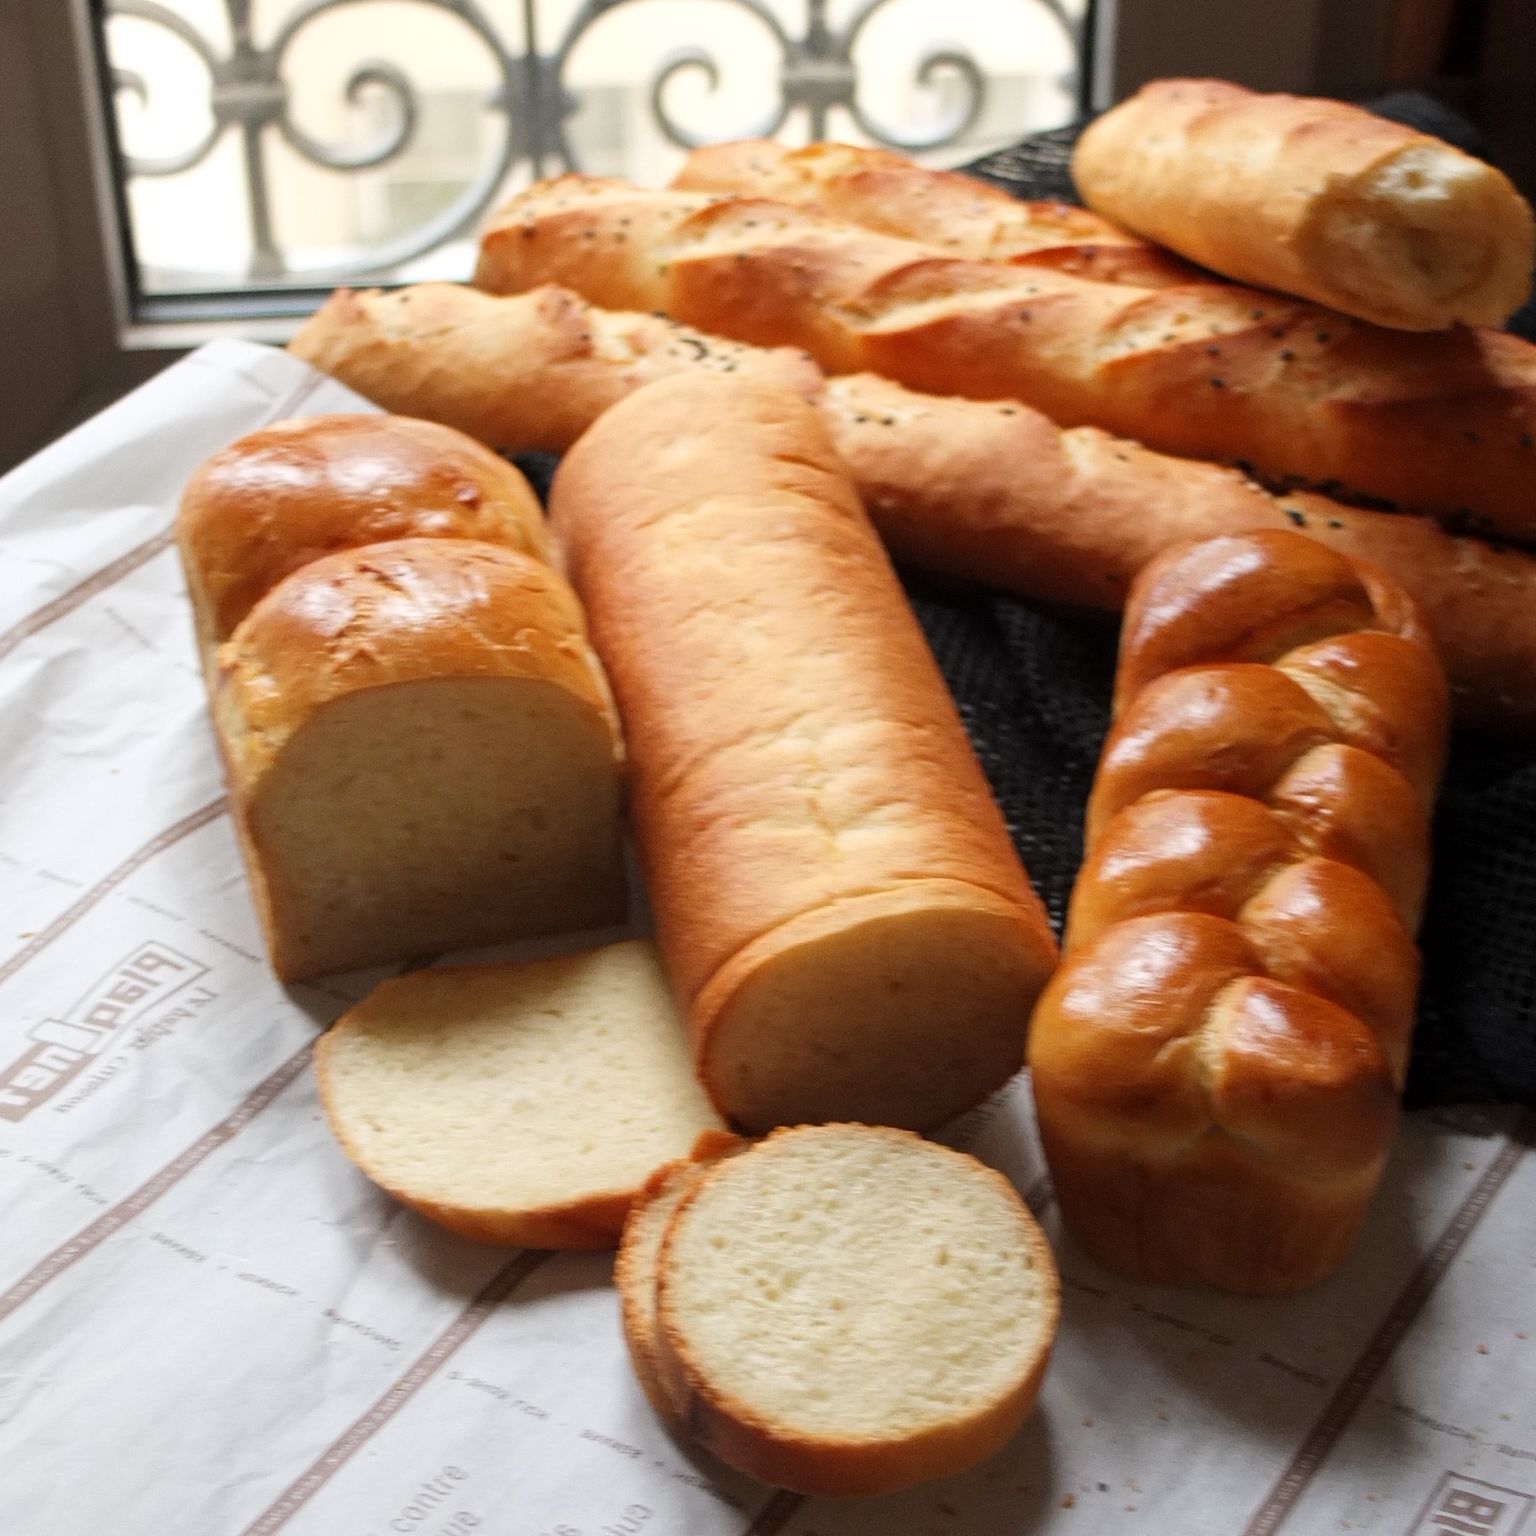
Pain de mie and baguettes – French breads
Luckily my lovely landlord was happy to help. When he saw the round loaf his face lit up and he explained this bread is typically toasted and lathered in foie gras for special occasions in France. Nice. Following a quick taste-test he took some bread home to share with friends. I think everyone should have pain de mie at home so here’s the recipe for you. 🙂
RECIPE
This recipe is a slight adaptation of the bread we made on the course. I’ve replaced the 100% T55 all-purpose/plain flour with 50% ’00’ flour and 50% T45 cake flour (in Spain it seems nicer quality than the plain/all purpose flour). Try any combination you like and maybe 50% strong white flour but not 100% because pain de mie is different from your standard bread. Of course it depends on your local flours and preference. I’ve also changed proving times as I don’t have a proving oven and at home there’s less hurry to get bread in the oven than on the course. I picked up many of the kneading, proving and baking tips at baking workshops, online or from experimentation. But be flexible with proving and oven timings as they depend on your environment, dough and tin.

Pain de mie French toast and sandwich bread
You can use a standard loaf tin – metal, silicone or even disposable aluminium! Alternatively use a Pullman or Exoglass bread mould with a sliding lid, like the one in the photo. The lid keeps the bread closed in to develop in an even rectangle shape. But be careful weighing the dough to put in the tin then let it rise to three-quarters of the way up so there isn’t too little to fill the tin or too much so it becomes compact with nowhere to rise. You’ll need to experiment with your tin.
Look! It has a closer or denser texture but it’s perfect for toast.

Pain de mie French toast and sandwich bread
Perhaps you prefer your bread untoasted and fluffier? Use an average loaf tin if you don’t want to buy a lidded tin or you’re a bread newbie. And try an easy loaf to shape, with 3 or 4 balls close together.
Preparation
Butter your tin lightly (the lid too if there is one). A 450g/1 lb loaf tin/pan is usually about 22.5 x 10.5 x 5.75 cm high/9 x 4 x 4 inches high. My silicone mould was a bit bigger at 24 x 10 x 7cm high so my 440g loaf was a bit low (the taller loaf in the main photos is 600g). If you have a Pullman or Exoglass tin check the exact quantity of dough needed and adapt quantities.
My Pullman 40x12x12cm tin needs 1800g (4lbs) of dough (it’s written on the tin) so I multiplied the quantities x 4 and used 1kg of flour!!! This loaf’s useful for a 20-person picnic or party. lol. I froze some.
- 120g/half a cup butter, melted and hot
- 600ml full-fat milk (room temperature)
- 40g/1.4oz fresh compressed yeast
- 500g/4 cups plain/all-purpose flour or cake flour
- 500g/4 cups ’00’ flour or strong white bread flour (or plain/all-purpose/cake flour)
- 40g/8 teaspoons caster sugar
- 20g/3 and a half teaspoons fine sea salt.
There’s a French online recipe Pain de mie by Meilleur du Chef with clear step-by-step photos and weights for different sizes of closed tins in their comments section.
Here are my quantities for a standard smaller loaf.
Ingredients for 440-450g (1lb) of dough
- 30g/2 tablespoons plus half a teaspoon butter, melted and hot
- 150ml full-fat milk (room temperature)
- 10g/0.35oz fresh compressed yeast
- 125g/1 cup plain/all-purpose flour or T45 cake flour
- 125g/1 cup ’00’ flour or strong white bread flour (or plain/all-purpose/cake flour)
- 10g/2 teaspoons sugar
- 5g/1 teaspoon minus 1/8 of a tsp fine sea salt
First rise
- Melt the butter in a small saucepan over low heat.
- Whisk the milk into the hot butter. Make sure it’s between 28 and 30°C/82 and 86°F)
- Pour into a large bowl and whisk in the fresh yeast crumbled in small pieces until it dissolves.
- Add the flour(s) and the sugar on one side.
- Add the salt on the other side.
- Stir the mixture with a big plastic or silicone spoon until it starts coming together.

- Pour onto a clean flat surface and knead the mixture until it comes together. It will seem dry but don’t add any water.
 Then the mixture will be very sticky but don’t add any flour. Use a pastry scraper to help gather your pastry for kneading. It takes about 5 to 10 minutes kneading until the dough is nice and flexible, coming easily off the surface and not sticking to your fingers. Only add a little flour if the dough is still very sticky.
- Make a ball with the dough and place in a big bowl. Cover the bowl with plastic film.
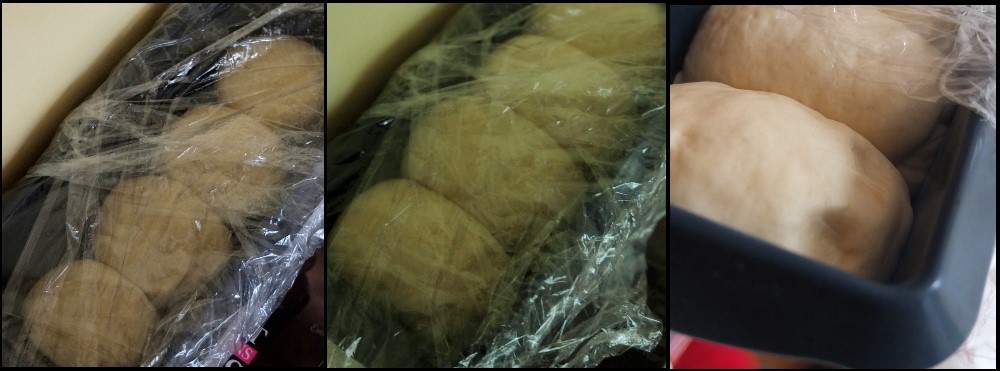
- First rise: place in a warm place (between 25 and 30°C/77 and 86°F) until the dough doubles in volume. It takes between 1 hour and 1 and a half hours. It could take less or if the temperature’s cooler it takes longer. When it doubles in volume do the next step immediately (don’t wait or you’ll overprove the dough).


Second rise (follow instructions A for an open loaf tin or B for the closed Exoglass or Pullman tin)
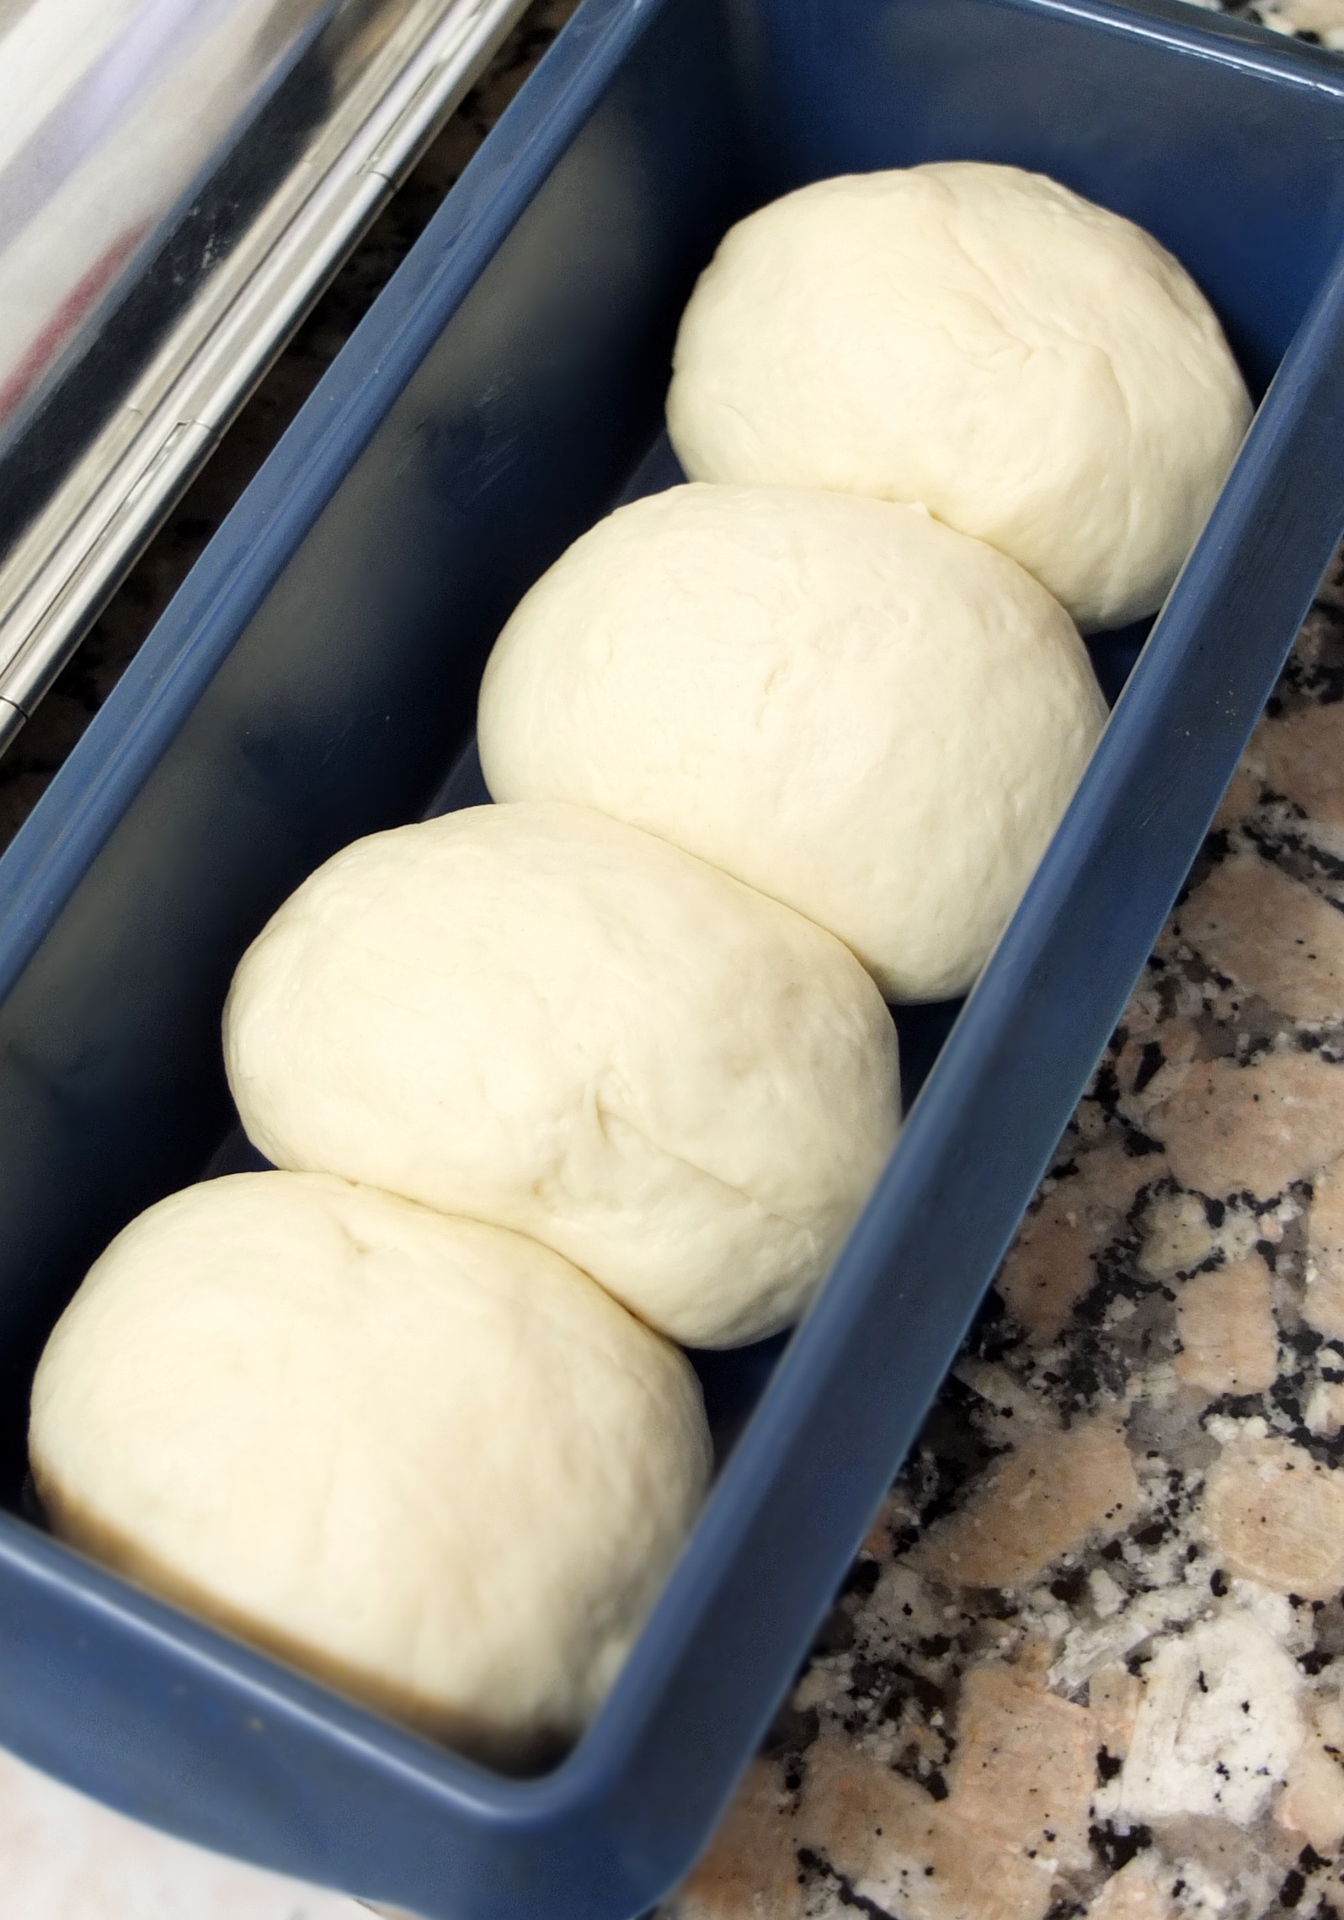
A. Open loaf tin – with balls
- Weigh out 4 balls (110-111g each) of equal size. Or 3 balls.
- Flatten each ball into a circle about 1cm/1/4 inch high then fold the outside edges into the middle to make a ball again.

- Turn upside-down so the fold is underneath. Roll each ball on your cold flat surface, letting it roll under the palm of your hand and fingers, with a little pressure but not so hard you flatten the balls. Roll in a circular motion (clockwise or anticlockwise) – pro bakers roll two simultaneously, one under each hand. 🙂 At the beginning the ball of dough will be very soft. After you roll it 10 seconds to 1 minute the ball becomes a little springy and offers some resistance. When you poke it with your finger the dough will spring back up a little.

- It’s okay if you can see a fold underneath. When your balls of dough are ready position them in your loaf tin so they touch: Press in a little with your fingers so the balls fill the loaf tin up towards the corners.

- Place a baking tray in the middle of your oven (so it heats up and helps your bread bake). Pre-heat your oven to 220°C/425°F (static, non-convection oven) or 200°C/400°F (fan-assisted/convection) to be ready when your bread has doubled in volume – the second rise is quite fast, sometimes even 20 minutes!
- Second rise: place the dough in a warm place as before until the dough doubles in volume. It takes less time than the first rise: from 25 to 40 minutes. It’s ready a) when it’s doubled in volume and b) when you poke it with your finger and the indent or mark made by your finger stays in and the dough only springs back very little (if it doesn’t spring back at all you need to hurry and bake).

- Baking: brush your loaf lightly with milk or beaten egg yolk (you don’t do this when using a lidded tin). Place on the hot tray in your oven and lower the oven temperature to 180°C/350°F (static, non-convection oven) or 160°C/320°F (fan-assisted). Bake 20-25 minutes (or 5 to 20 minutes longer, it depends on your loaf and oven). The loaf should rise a little and become golden brown. Apparently when you knock the bottom it should sound a bit hollow. I’ve read the temperature in the middle of the loaf should be 88°C/190°F – you can check with a probe thermometre. But I think it should be higher – mine’s usually at least 95°C/200°F.

Pain de mie French toast and sandwich bread


B. Closed Exoglass or Pullman loaf tin (with a lid)
- Weigh the exact quantity of dough needed for your tin.
- Flatten the dough with your fingers into a rectangle about half an inch/2.5cm high and about as long as your tin.
- Fold in each short side about 1 inch.
- Fold the long sides of the rectangle over each other.

- Roll into a long rectangle/oblong shape with the two palms of your hands. PInch the fold side and turn the dough around so it underneath.
- If the dough still feels very soft then repeat Steps 3 and 4. You need a dough that has some resistance to touch and springs back a little when you poke it with your finger.

- Place in your loaf tin and press down lightly with your fingers so it spreads and fills the tin towards the corners. Pull the lid across your tin till it covers a bit more than three-quarters of the bread so you can see how it’s rising.

- Follow the instructions in A. Steps 5 to 7 for rising and baking. But keep a close eye so the dough just rises to fill a little more than 75% (three-quarters) of your tin. When it’s ready don’t brush with milk or beaten egg and cover completely with the lid. Put immediately on the hot tray in your oven. My big 1800g/4lb Pullman tin loaf took about 35 minutes to bake. For the last 5 minutes remove the lid so the bread can brown on top. Check with your probe thermometre if the bread is baked and at the correct temperature in the middle: 88°C/190°F or a little over.


Note: if your dough didn’t fill the tin maybe you needed more dough or proving. Or if your dough filled your tin but is very compact maybe you needed less dough or proving.
Results: I love the fluffy light texture of the open loaves. My Exoglass loaf was denser but really delicious as toast – apparently this is normal but I’ll try for a lighter crumb next time.
Eating and storing
You know you’re supposed to wait a little before eating freshly baked bread? Well, with this loaf you almost don’t have to wait. It’s so sliceable! Yay! After it’s cooled wrap the bread well in plastic film and store at room temperature. It keeps well a few days and after Day 4 if it’s getting drier toast it. Wrapped tightly in plastic film, it also freezes well 1-2 months.
I love this bread. It makes you dream of English breakfast, avocado toppings, cured ham, marmalade, Marmite, toast and all kinds of sandwiches. And it’s delicious with just salted butter.

Pain de mie French toast and sandwich bread
Compared to more complex cakes, bread is a simple joy to make. And the smells of baked bread wafting in the kitchen are a delight. So let’s shout ‘hurray for pain de mie!’ Anyone for a slice? 🙂

Au revoir sweet reader. Hope you’ve enjoyed our outing into the land of bread and that you have a lovely weekend ahead. Happy baking and eating! 🙂 x

Pingback: The mojito lemon drizzle loaf, how to paint on a cake and the May cake collection! | lili's cakes
Pingback: Ham, cheese and pistachio bread wreath recipe! Couronne salée! | lili's cakes