
Did you know croissants didn’t originally come from France? Apparently they were invented following an attempted invasion and some helpful bakers! Will tell you the exciting tale later. But today’s recipe is for croissants that have been ‘speltified’. You can make them with plain or 00 flour, as I have many times with this recipe, also getting a lovely light croissant. But spelt flour is easily digested so you can eat more of them! And the croissants do actually rise and form that lovely soft honeycomb structure like your usual French croissant! Vive les croissants! 🙂

- Spelt croissants

You might have noticed French croissants are very special and don’t seem related to some rather greasy and flat versions in supermarkets. Which is why when I returned from Paris I missed them and was determined to make my own! Unable to wait for autumn, I struggled during high summer with butter merrily oozing out of the pastry as I rolled, sweating away in the high 60-70% humidity of a Barcelona kitchen. The croissants certainly proved rapidly but I don’t really recommend that kind of environment! There were definitely issues with the structure. Like was that a bit of honeycomb structure I could see there? On the bright side I discovered that even when imperfect, homemade croissants are delicious!

- Spelt croissant with cured beef
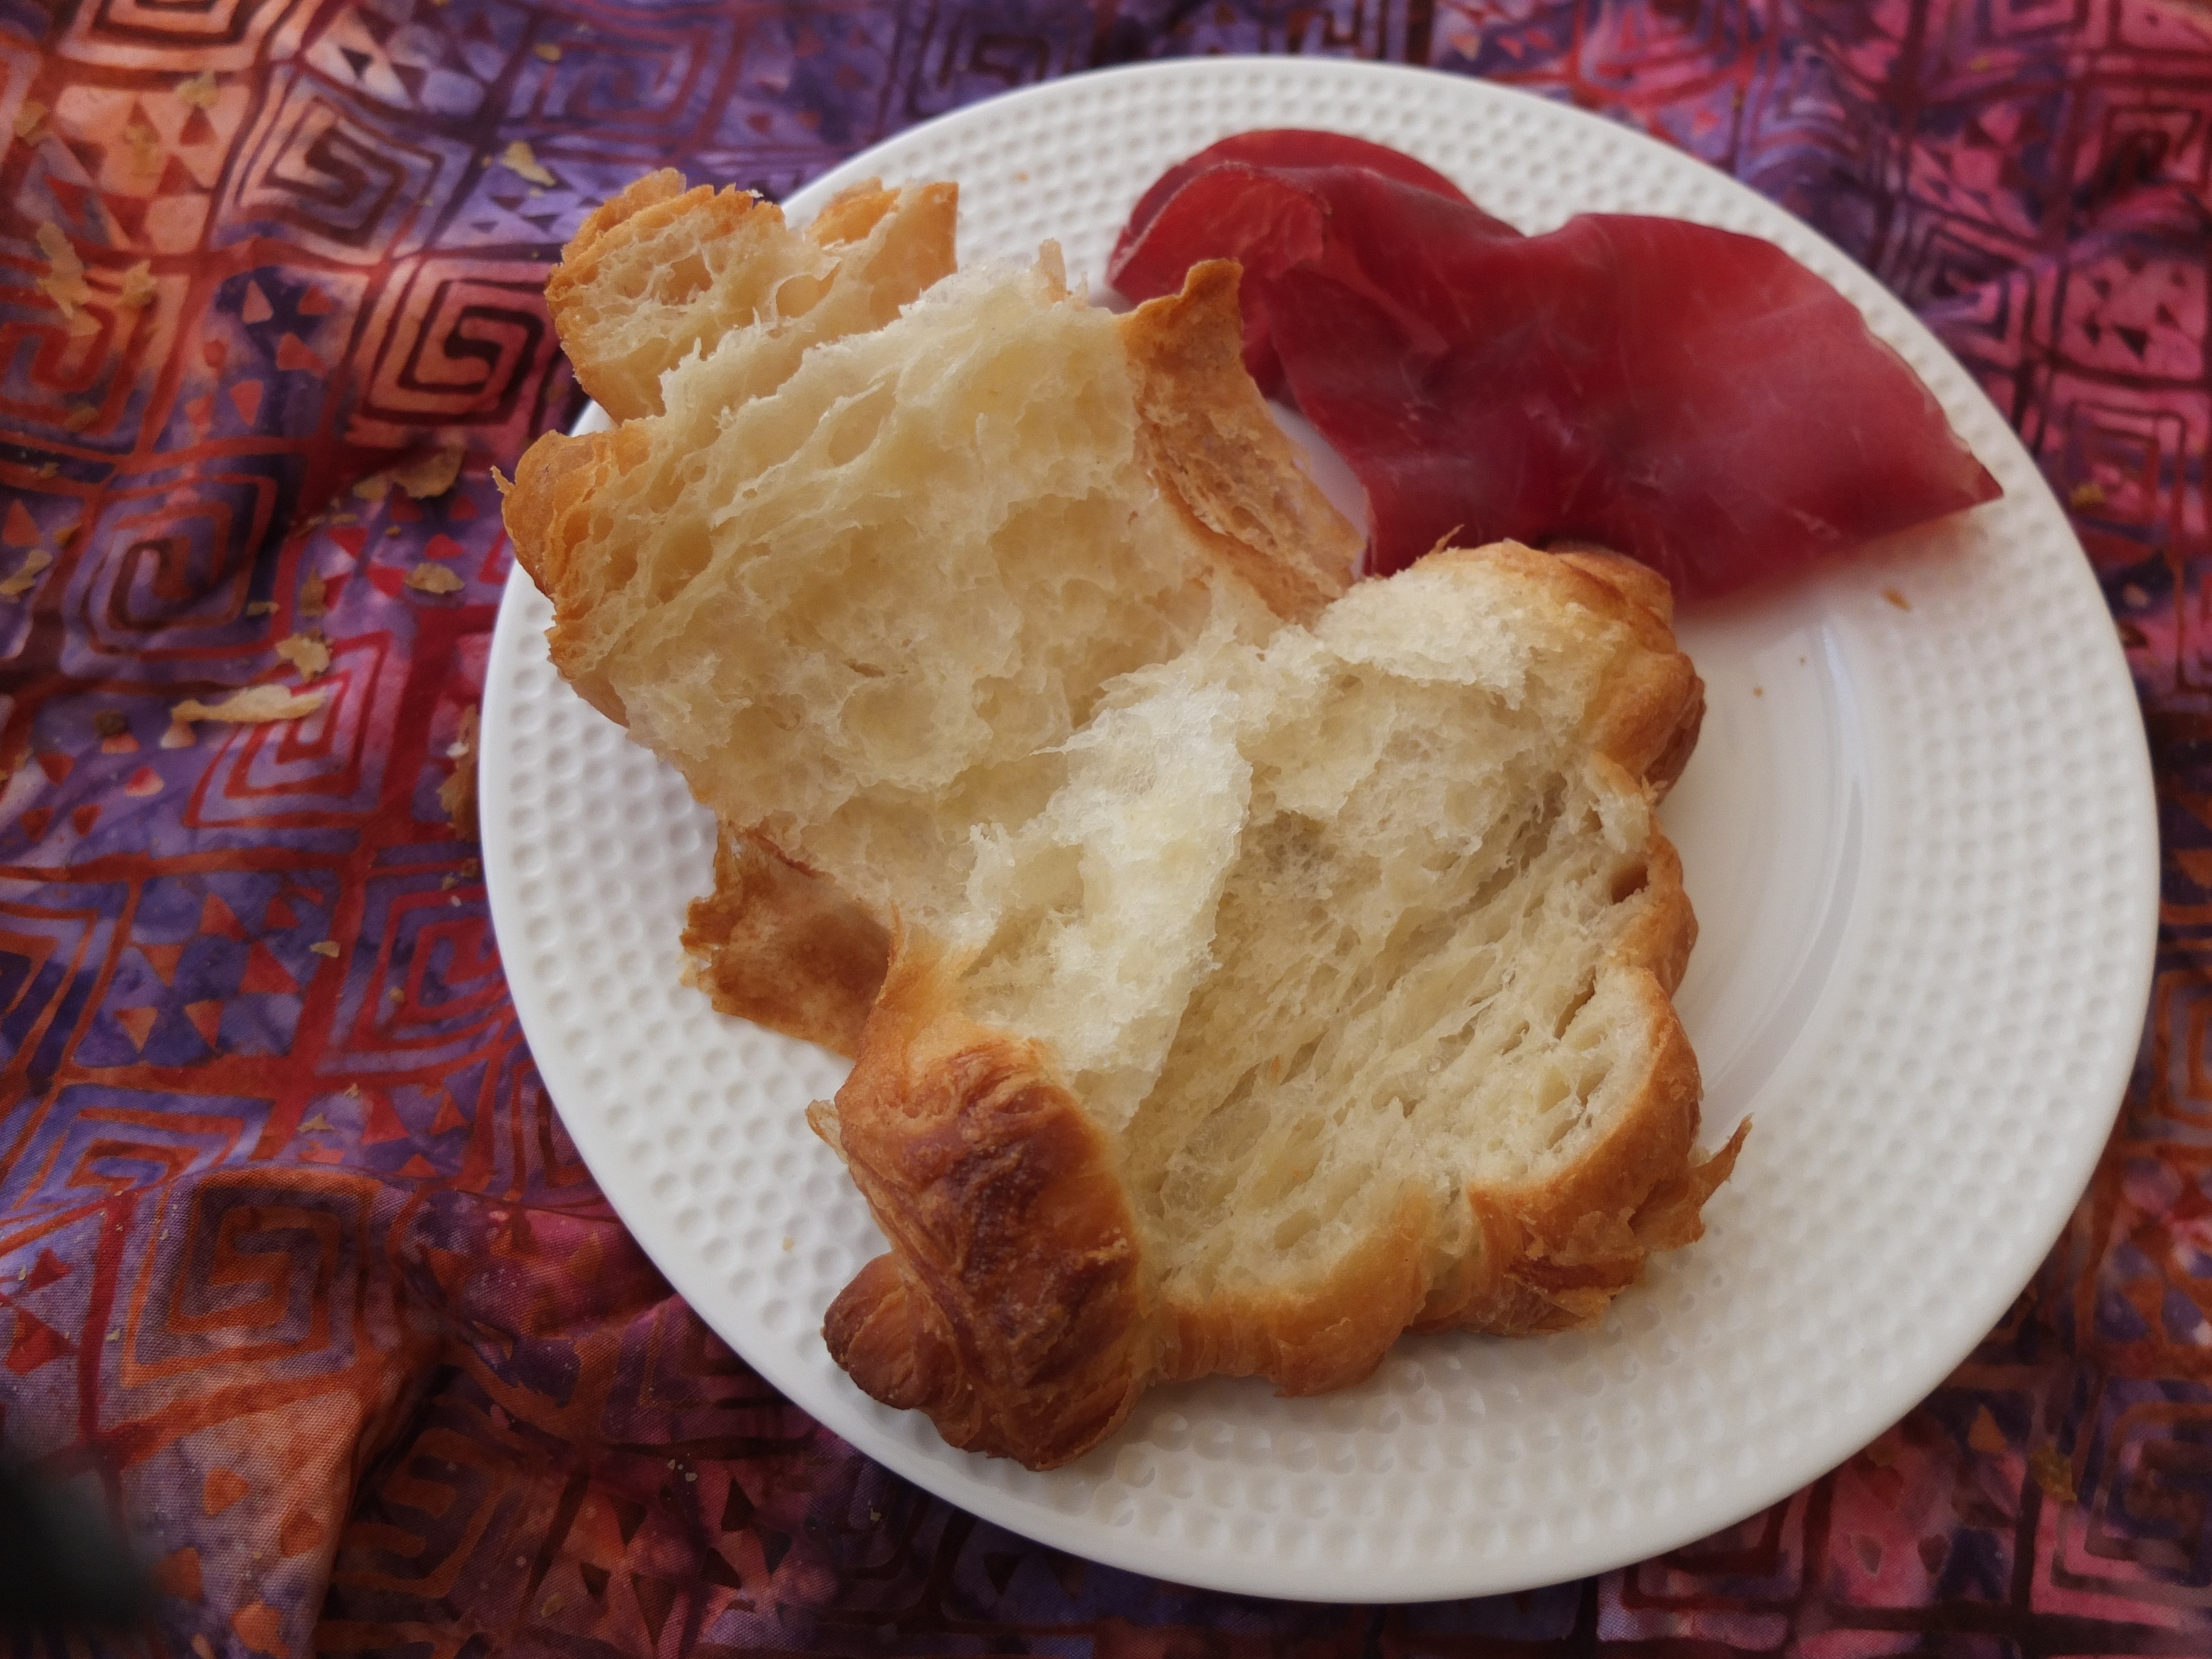
If you have half a day at home and can pop into the kitchen at 40-minute intervals to do very little rolling then do go for it! Think fresh croissants, continental breakfast, lunch, tea, ham and cheese, cured beef, honey or jam! Buttery flaky pastry on the outside but lovely soft honeycombed texture on the inside. Shall we go to the kitchen and make some now? 🙂

- Spelt croissant sandwich

We’ll be following a recipe resulting from my kitchen experiments based on and inspired by a variety of sources, including patisserie books, information on the internet and the Cordon Bleu basic course.
Recipe (makes 15 medium-sized croissants plus 2 or three pains) – make over 2 days
 DAY ONE – the Détrempe
Evening, 10-15 mins prep time
Ingredients for the Détrempe – try to use the finest and lightest white spelt flour you can find. If your flour is coarse, heavy or even a little old then your croissants won’t have such a light honeycomb structure but you can improve the structure by having half white spelt-half 00 flour. Use good-quality butter that doesn’t have a high water content, like Président unsalted butter.
- 130g/half cup plus 2 teaspoons warm water (maximum 32°C)
- 15g/scant 5 tsp fresh yeast or 5g/1 and three quarters tsp dried yeast
- 50g/3 generous tbsp melted butter
- 500g/4 cups white spelt flour (or plain or 00 flour) – check cup quantity for your flour type
- 60g/a quarter cup plus 1 teaspoon caster sugar
- 5g/a scant teaspoon fine sea salt
- 75g/a third of a cup + 75g/a third of a cup milk at room temperature (total: 150g/two thirds of a cup)
- Crumble the yeast into the warm water and whisk to combine (if using dried yeast add directly to the flour).
- Melt the butter gently over a very low heat and let cool to lukewarm.
- In a big bowl, whisk the sifted flour, sugar and salt together to combine.

- Make a well in the flour mixture and pour in the tepid melted butter, water and yeast, and 75g of the milk.
- Mix with your hand and pastry scraper till it starts coming together and incorporate the remaining milk.
- Knead gently on a lightly-floured surface for 10 seconds and make a ball.
- With a big knife cut a cross in the ball, wrap loosely with plastic film and place in a metal tray.

Leave to rest in the fridge overnight. DAY TWO – Turns and baking
- 25 mins work; 2 hours waiting
- 20 mins assembling croissants; 1.5 to 2 hours proving
- 25 mins baking for each tray
So you’ll need a stretch of about 6 hours. It’s worth it and the actual work involved is less than 1 hour! 🙂
Ingredients for the turns
- 300g/1 cup and a third unsalted butter
- Beaten eggs to brush over the croissants
- Place the butter between two sheets of greaseproof paper. Wait a few minutes for it to soften a little.
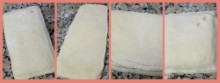
- Beat then roll out the butter to a square around 17 x 17cm and 5mm high.

- You’ll see your pastry ball has risen slightly. Roll it out with a rolling pin to make a square of around 32 x 32cm wide and 5-7mm high, with a little bump in the middle (keep this bump).

- Place the butter in the middle of the pastry square. The pastry and butter should have similar consistency and thickness. Wrap the pastry over the butter.

- Roll out the pastry square with short roller movements to and fro, in one direction only to make a rectangle twice as long (40 x 20 x 1cm high). Fold the bottom third up to cover the middle third of the rectangle. Sweep any flour away with a pastry brush. Then fold the top third over the middle. Press the sides down with the sides of your hands or the rolling pin.

- Turn your rectangle around to the right (some people do it to the left) one-quarter turn so the long sealed side is now facing to the right. Make one indented fingerprint in the top right corner (to mark One Turn). COVER LOOSELY WITH PLASTIC FILM, PLACE IN A METAL TRAY AND LEAVE TO REST IN THE FRIDGE 30 – 45 MINUTES (if it’s hot then a little longer so the butter hardens).


- Once rested, place your pastry with the fingerprint in the top right-hand corner as before and repeat the process (no.5 and 6), marking with 2 fingerprints (TWO TURNS DONE). LEAVE TO REST IN THE FRIDGE 30-45 MINUTES.

- Repeat the process (no.5 and 6), marking with 3 fingerprints (THREE TURNS DONE). LEAVE TO REST IN THE FRIDGE 30-45 MINUTES.

- Cut the rested dough in three parts. You’ll see layers if you look at the sides. Leave two parts covered in the fridge and roll out the other to make a rectangle of 20 x 30 cm.
- Make cuts at 10 cm intervals at the bottom of the rectangle and at the top (starting at 5cm from side). Then cut 5 triangles of 10x20cm height with a sharp knife.

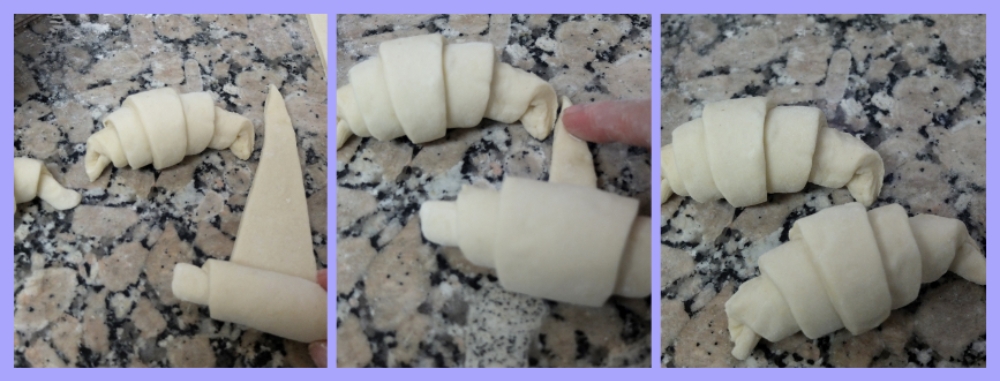
- Pull to stretch out each triangle a little then roll the large side away from you towards the point (which you wet with a little water). Make sure the point is under the croissant.

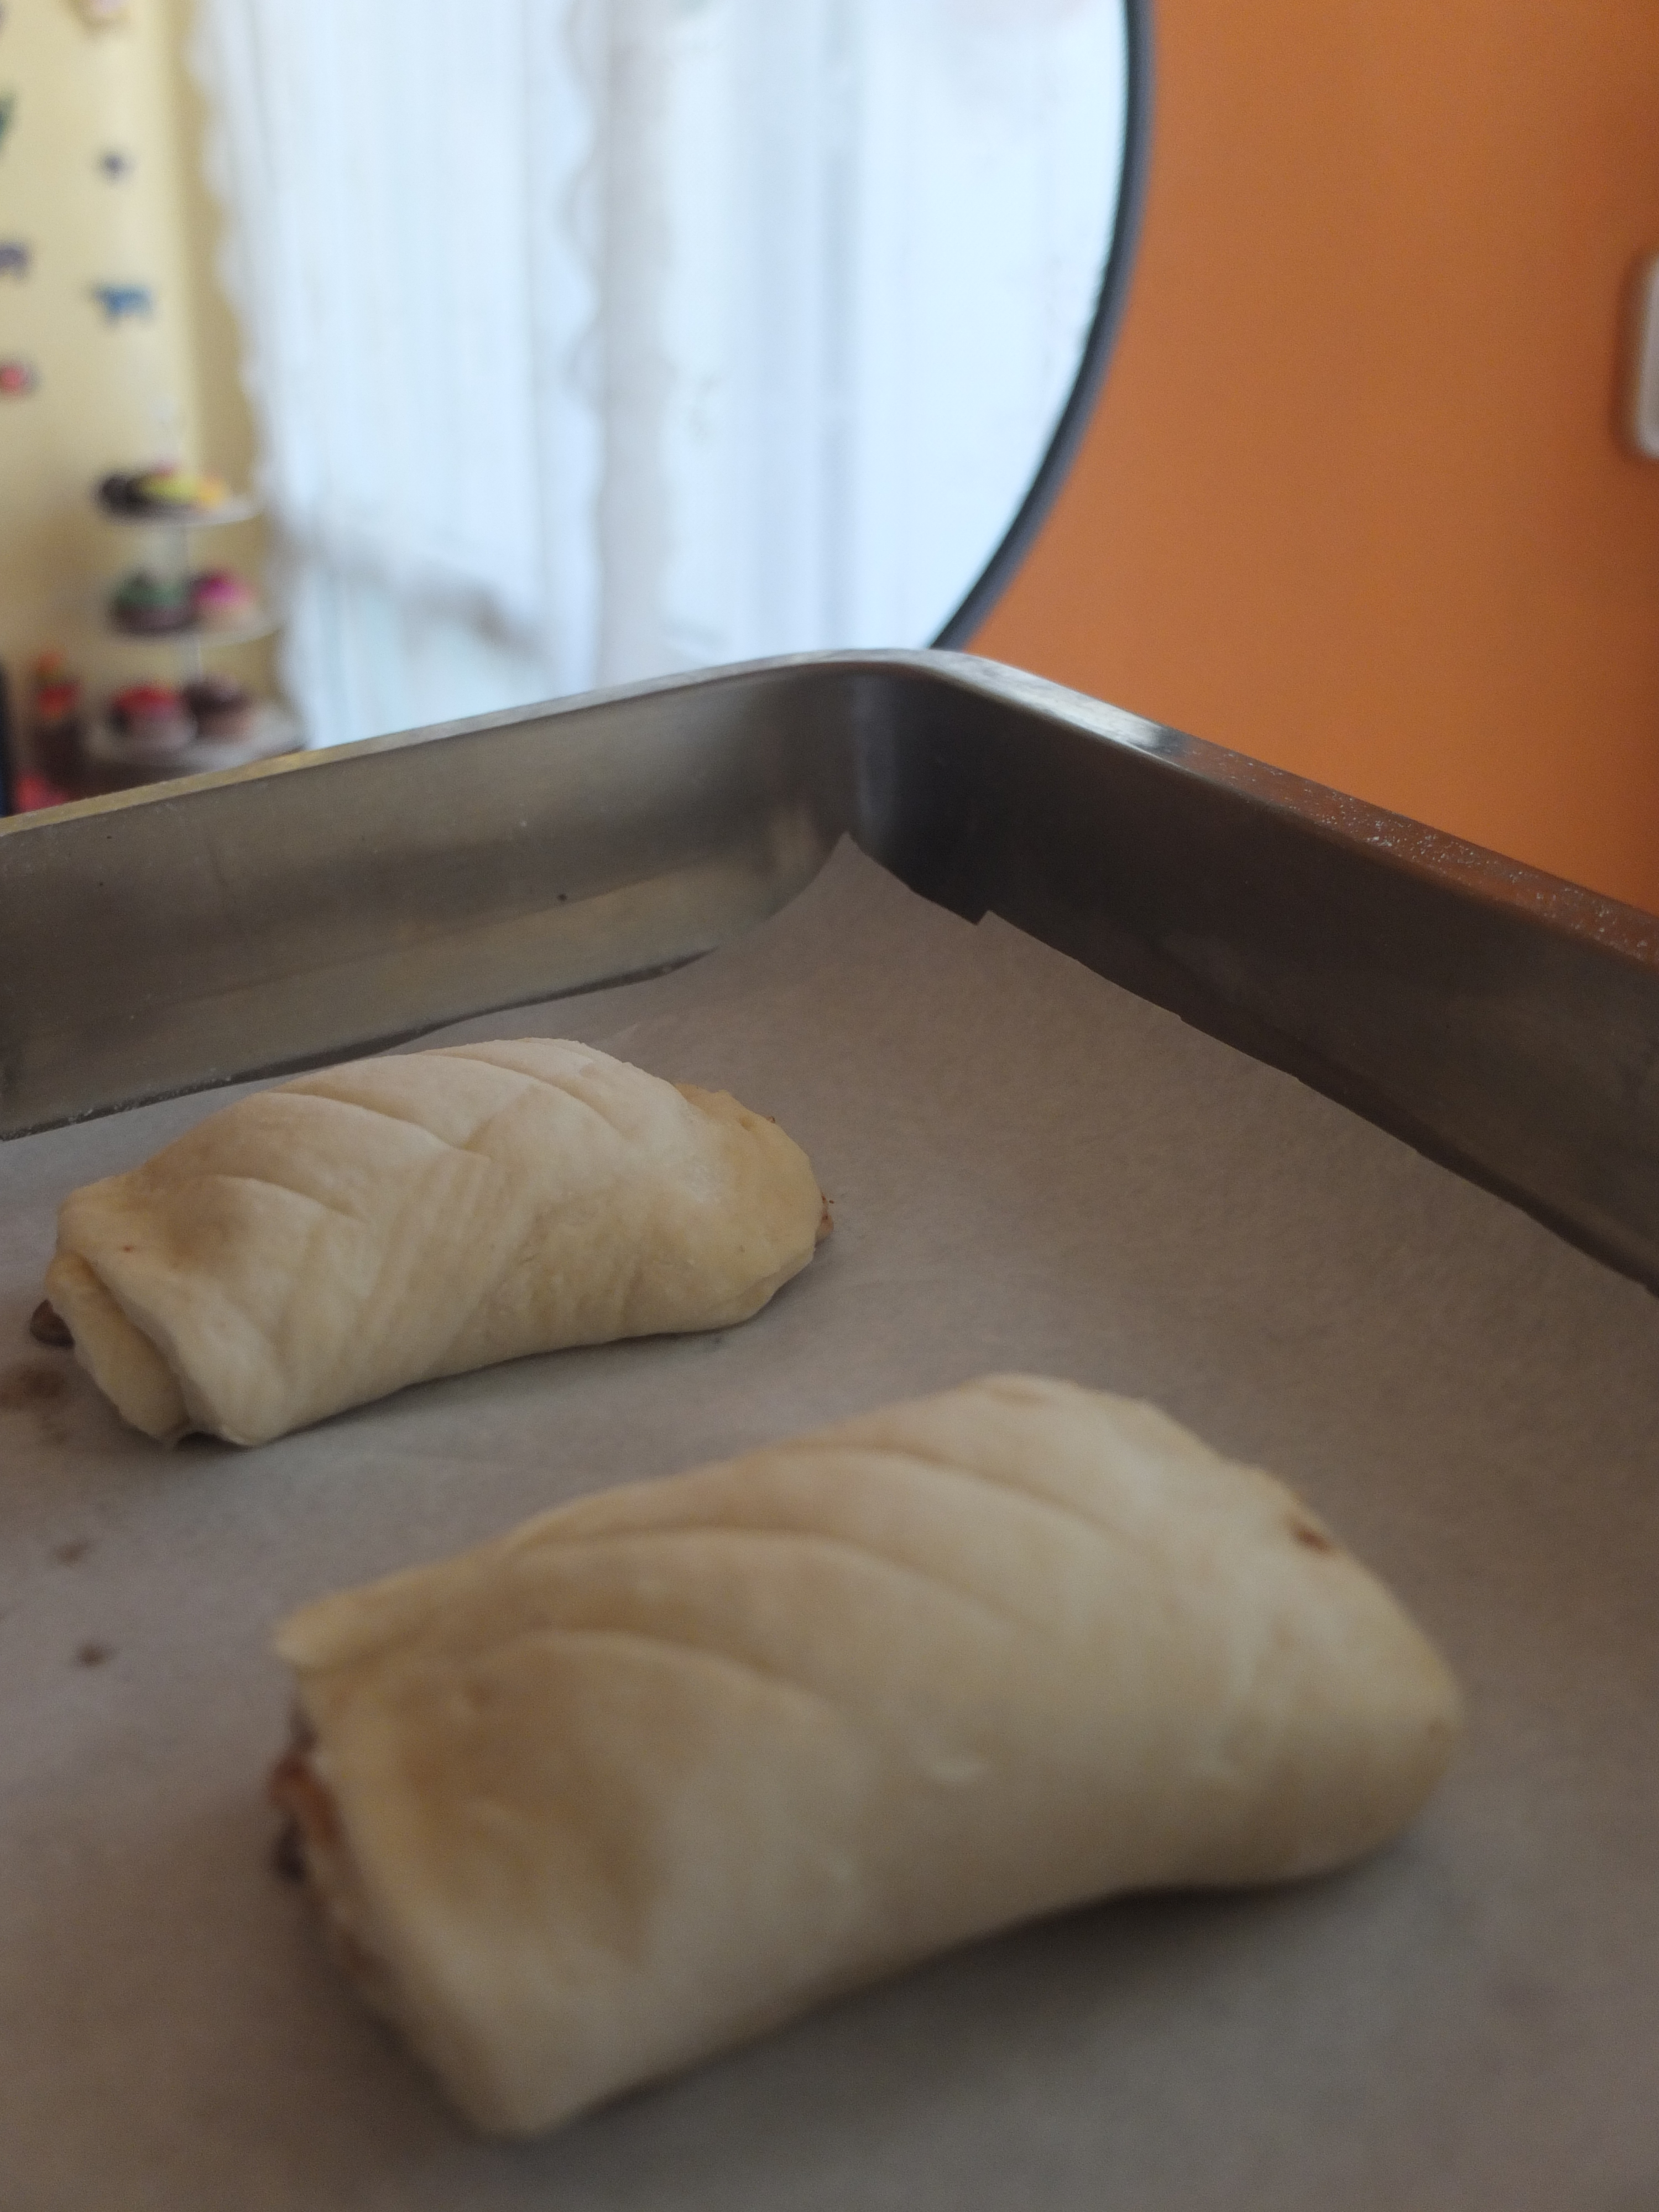
- Make a pile with the leftover pastry, roll out into rectangles, add a filling and roll around it to make pains (you can put cheese and ham inside, jam, or chocolate).

- Place the croissants spaced out on trays, and leave 1 and a half to 2 hours to double in size in a warm place (around 30°C but will also rise in the twenties). If you’re living in a dry environment then loosely cover the croissants with plastic film so they don’t crust up. Also, if it’s cool they may take around 3 hours to prove.


- When the croissants are almost ready preheat the oven to 190°C (static, non-convection oven) or 170°C (fan-assisted oven).
- The croissants are ready when doubled in size and if you poke with a finger the imprint does not immediately spring back. It should stay in a bit. Then brush the croissants lightly with some beaten egg and bake in the middle of the oven for 20 to 30 minutes. I bake one tray at a time.
 When done, cool on a wire rack.


Eating and looking after your croissants
Store your lovely croissants in airtight tupperware containers when cool, or wrapped tightly in plastic film. If eating within two days keep them out, but after the second day store in the fridge (or freeze up to a month or so). You can reheat croissants straight from frozen in the oven for 6 to 8 minutes or so at 175°C (static oven) or 155°C (fan oven). Still just as yummy! 🙂
How the croissant was born
A long time ago in 1683, Vienna lay under siege by the Ottomans and things didn’t look good for the Austrians. According to legend, one night the Turks almost made their way right into the city by sneaking in underground. But the hard-working bakers who were up all night heard the sound of their tunnelling and so raised the alarm and saved the city from invasion! As a reward the bakers were allowed to invent a pastry to commemorate the occasion and chose to make one in the form of the Islamic crescent, the kipferl.
 So how did the kipferl travel to France? Well, you know Marie Antoinette? Yes the queen who lost her head at the guillotine not long after her infamous exclamation ‘Qu’ils mangent de la brioche!’ (Usually translated as ‘let them eat cake!’). The starving peasants were not impressed. Well, she’d been more popular in earlier days and in 1770 when this 15-year-old Austrian Princess married King Louis XVI of France, the Parisian bakers made some kipferls to honor their new queen. But they adapted them and called them ‘croissants’, the French word for crescent, so we can thank Marie for their arrival in Paris!
 As you know, the Parisian croissant later became immensely popular worldwide and has obtained a starring role in the continental breakfast. So hope you’ll seriously consider producing your own and partaking of a few. If your first language isn’t English you could follow tradition and name them with the word in your language for ‘crescent’!
These ones are going to the wonderful Fiesta Friday party, hosted by Angie and this week’s co-hosts Justine @ Eclectic odds n sods and Jhuls @ The Not So Creative Cook – lots of brilliant food for everyone! And they’re also going to the May Perfecting Patisserie blogging event hosted by Lucy@bakingqueen74, where you’ll find some lovely pâtisserie recipes!  Wishing you a wonderful weekend sweet reader, with some great continental or traditional breakfasts! Sausage, bacon and eggs, yum! Sorry, croissant! You know I love you too! Oh dear, I’m speaking to my food again. Best say goodbye now. Happy baking, bon appétit and see you very soon! Yes, speaking to you now lovely reader, not to the croissants! 🙂 x

Looks yummy. I am glad you spelt it out for us!
…I’ll be showing myself out…
LikeLiked by 1 person
Yes… erm .. thanks for that Jacob! 🙂 Actually you did provide me with a good laugh! I like a good food pun! 🙂
LikeLike
Thanks for all the step by step pictures, they’re so helpful and pretty as well. Have a wonderful weekend, and happy FF! 😀
LikeLiked by 1 person
You’re welcome Kaila! Happy if the photos can be of help … and get you some nice croissants! 🙂 Have a lovely weekend and happy FF too! 🙂
LikeLiked by 1 person
These look so good, perfectly formed! I keep meaning to try croissants as I do like them so much and we don’t get that many that are good here, but haven’t been brave enough yet!
LikeLiked by 1 person
Thank you Caroline! I’m glad you like these croissants and I hope you’ll make some – just follow the steps carefully and you and the croissants will be great! 🙂
LikeLike
What a thoroughly informative post – thank you so much. I loved the story behind the kipferl/croissant too! Your croissants look incredible light and airy and very delicious! Thanks again and Happy Fiesta Friday!
LikeLiked by 1 person
You’re very welcome Selma and thank you for your lovely comments! I’m very happy you enjoyed the story and croissants! 🙂 Happy Fiesta Friday and weekend to you too! 🙂
LikeLiked by 1 person
Outstanding Lili – croissants from scratch? I’m tres impressed :)). …..and I see you have a new top on 🙂 (meaning your cover page has changed on your blog), all lovely. What I’d do for one of those light croissants right about now!
LikeLiked by 1 person
Thank you for your lovely comments Loretta! Yes, new page with BIG photos of food! 🙂 Glad you like it and the croissants too! Virtual one on its way to you! 🙂
LikeLike
Pingback: Week (16) of cakes and baking with friends :) | lili's cakes
These are absolutely beautiful!!
LikeLiked by 1 person
Thank you so much Tracy!! 🙂
LikeLike
Pingback: Week (18) of cakes, jam and the three-great-cookbooks discovery! | lili's cakes
Pingback: Week 35 of cakes, some apple recipes and ‘wild’ boars in the mountains! | lili's cakes
Pingback: Week (15) of cakes! And what’s an entremets? | lili's cakes